Edit Drains
The ‘Existing Drains’ list will show all drains in the current project.
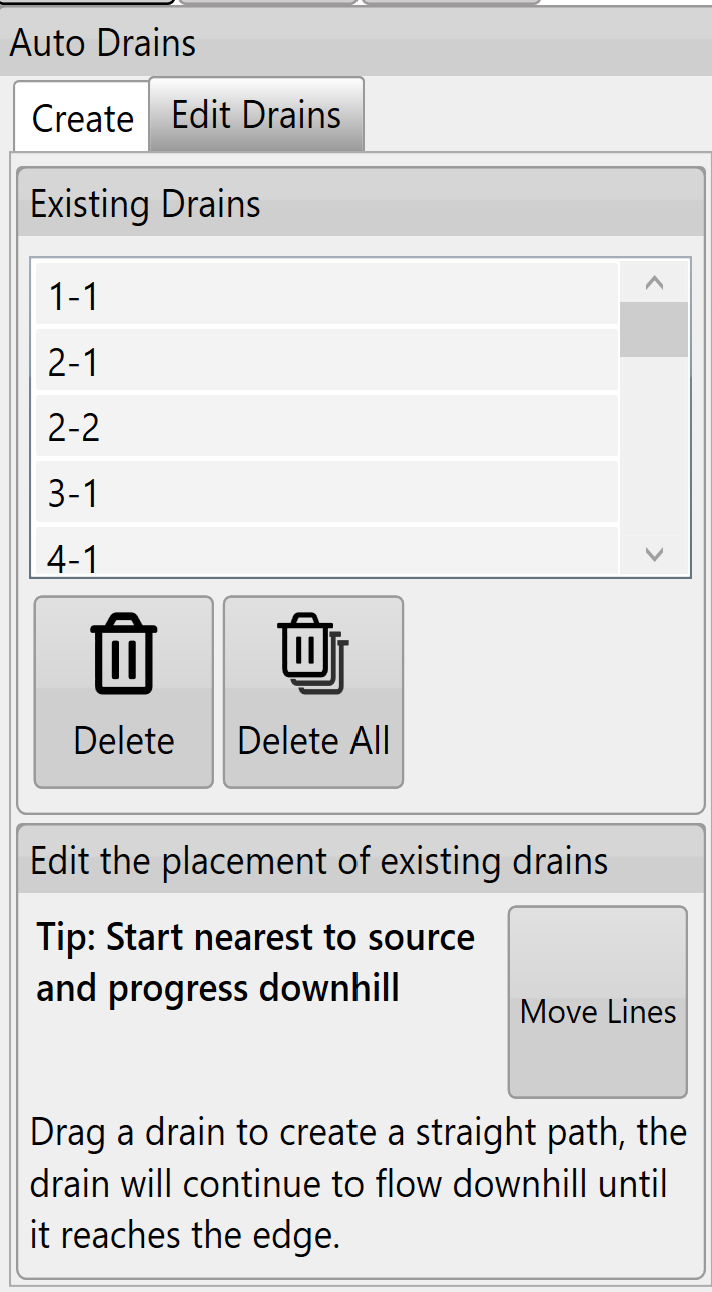
Tapping on any of the drains in the list will select or unselect it. Multiple drains can be selected.
Pressing the ‘Delete’ button while drains are selected will delete all of the selected drains.
The ‘Delete All’ button will delete all drains in the list (even if they have not been selected).
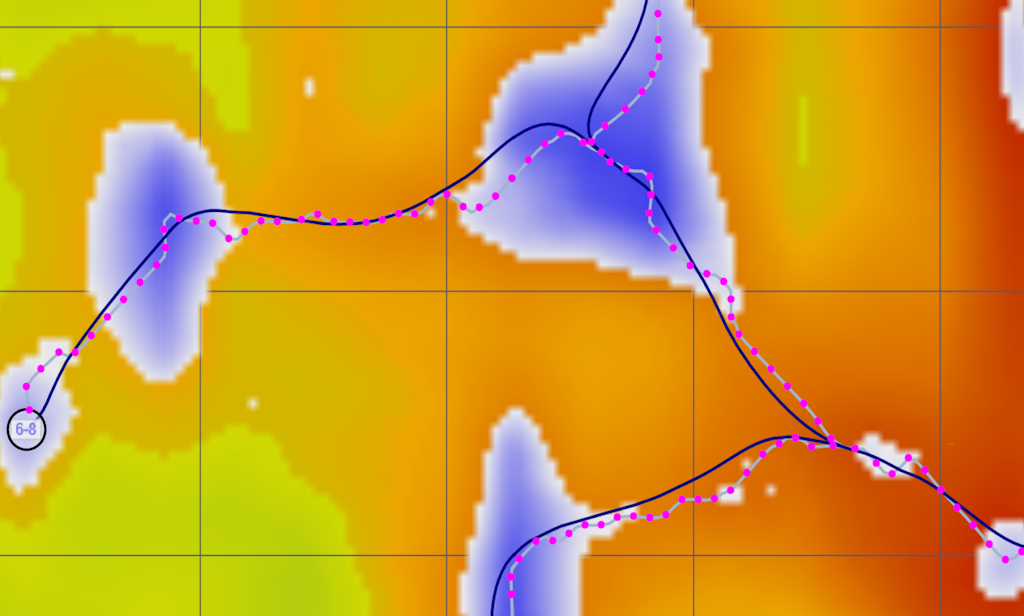
The ‘Move Lines’ button will change all the drain lines on the surface (shown in bottom image).
Drain lines will have blue dots along them to indicate they can be moved to adjust the drain path.
When moving drain lines always start at the origin point (which can also be moved) and move downhill.
The drain lines will automatically adjust their paths according to your changes to ensure they flow off the edge of the surface.
Press 'Save Changes' to keep changes or ‘Discard Changes’ to revert to the original paths.
NOTE: If you make an adjustment on a drain line and make a second adjustment closer to the origin point the first adjustment will revert to the line's original state. Auto-drains ALWAYS flow downhill from the point of the last change.
Once you are happy with the drains go back to the wizard page and use the ‘Drain Design’ function to set their profiles and cross sections.