Survey Guidelines
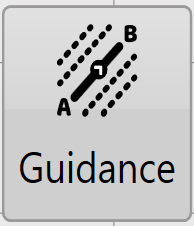 No matter what type of surveying you are doing you are able to implement guidance lines on the survey surface by pressing the guideline button at the top of the screen.
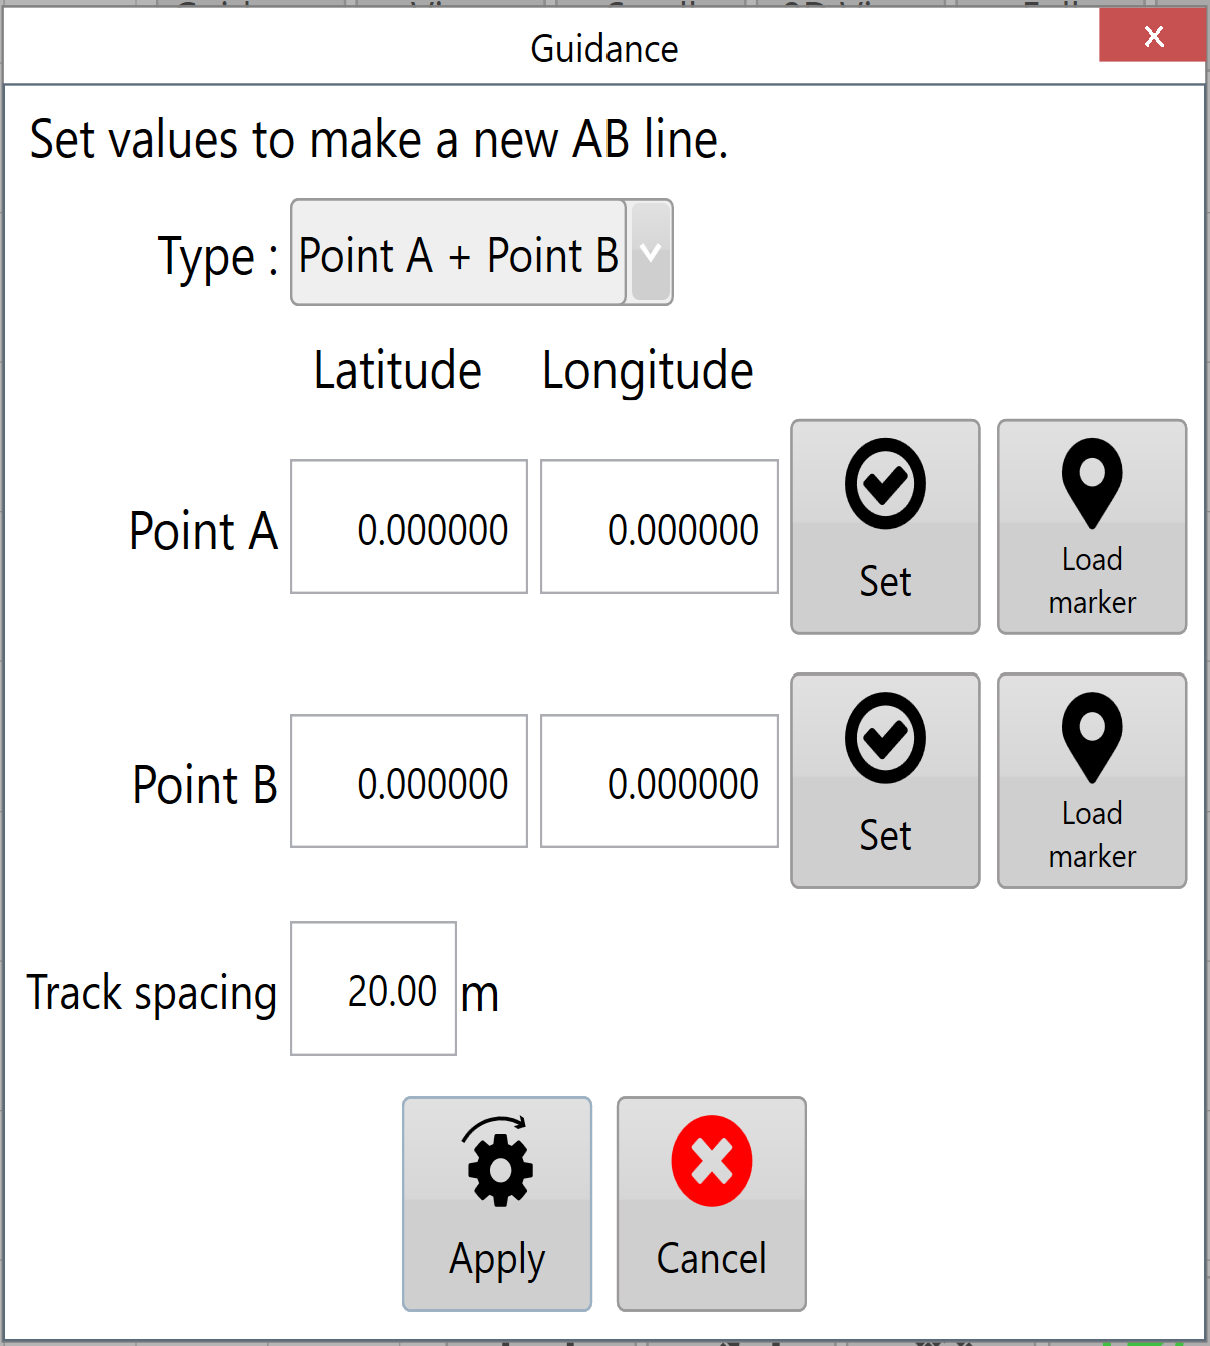 The 'Guidance' button will cause a pop-up window to appear on the screen with a two design options for AB lines in the 'Type' dropdown menu.
The default type is 'point A + Point B' which draws AB lines based on 2 set points on the field. The location of these points can be set in 3 different ways
- If you know the latitude and longitude for the points they can be input manually.
- Drive to Point A and click “Set” then drive to Point B and click “Set”.
- If you have recorded markers you are able to use their GPS locations for either or both of the points.
 A single point can be used by selecting the 'Point A + Heading' type. Like with using 2 set points Point A can be set using the same methods mentioned above. The 2nd point is replaced with your current heading and can be adjusted to a heading of your choice.
Once the 'Type' is selected the guidelines will then create a central line from the information provided and duplicate lines parallel to it, spacing the to what has been set in the ‘Track spacing’ field at the bottom of the pop-up window.
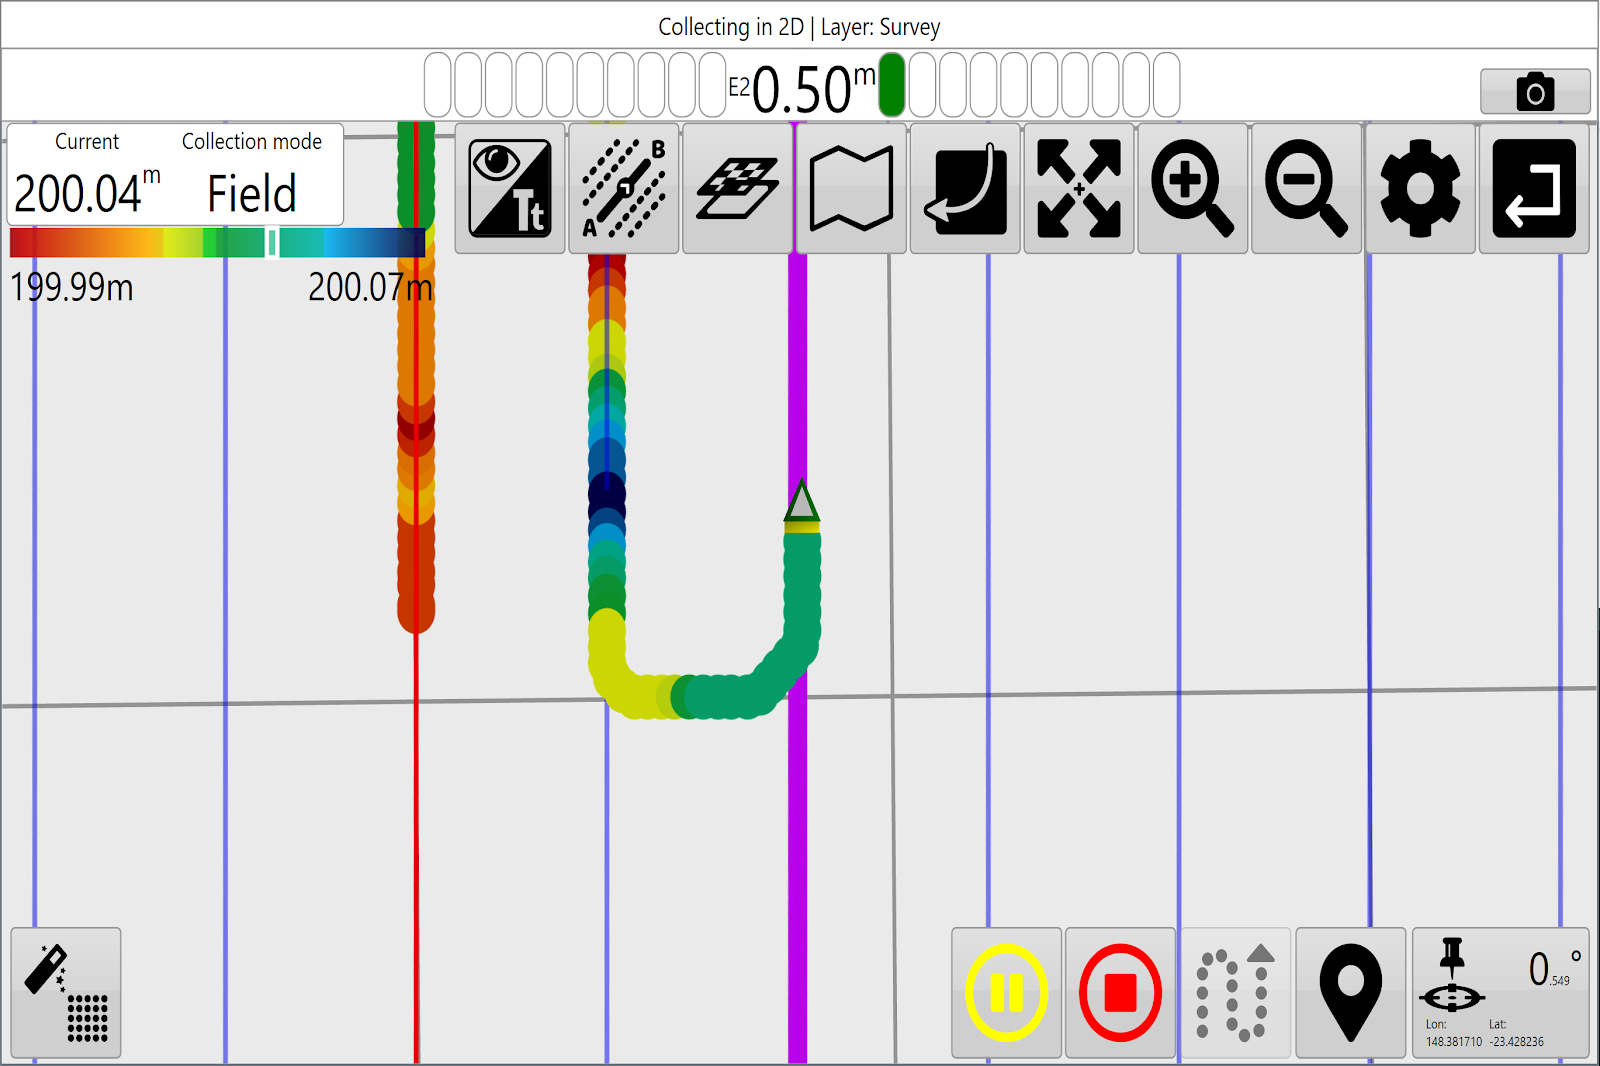
The lines made with the guidance tool will be blue and the centre line will be red.
The nearest line to your current location will be highlighted bright purple.
As shown below when surveying a light bar at the top of the screen will display how far you are from the nearest line, which side of the line you are on, and which line you are on (e.g. E2 is 2nd line east of the centre line).