Boundary Survey
 Boundary surveying allows you to survey the outer perimeter of a field which can be used for Design purposes.
In T3RRA software the boundary survey mode is located in the bottom right corner of the survey screen and is accessed by pressing the survey mode button until the boundary survey mode icon is displayed and ‘Boundary’ is displayed in the top left corner of the screen.
When using Boundary survey it is not required to survey the entire perimeter of the field. If you start your system in one corner of your field but you know the position you want to start from is directly across from you, you can survey the rest of the sides of the field and the Boundary survey tools will automatically close the boundary line once you press the stop collection button.
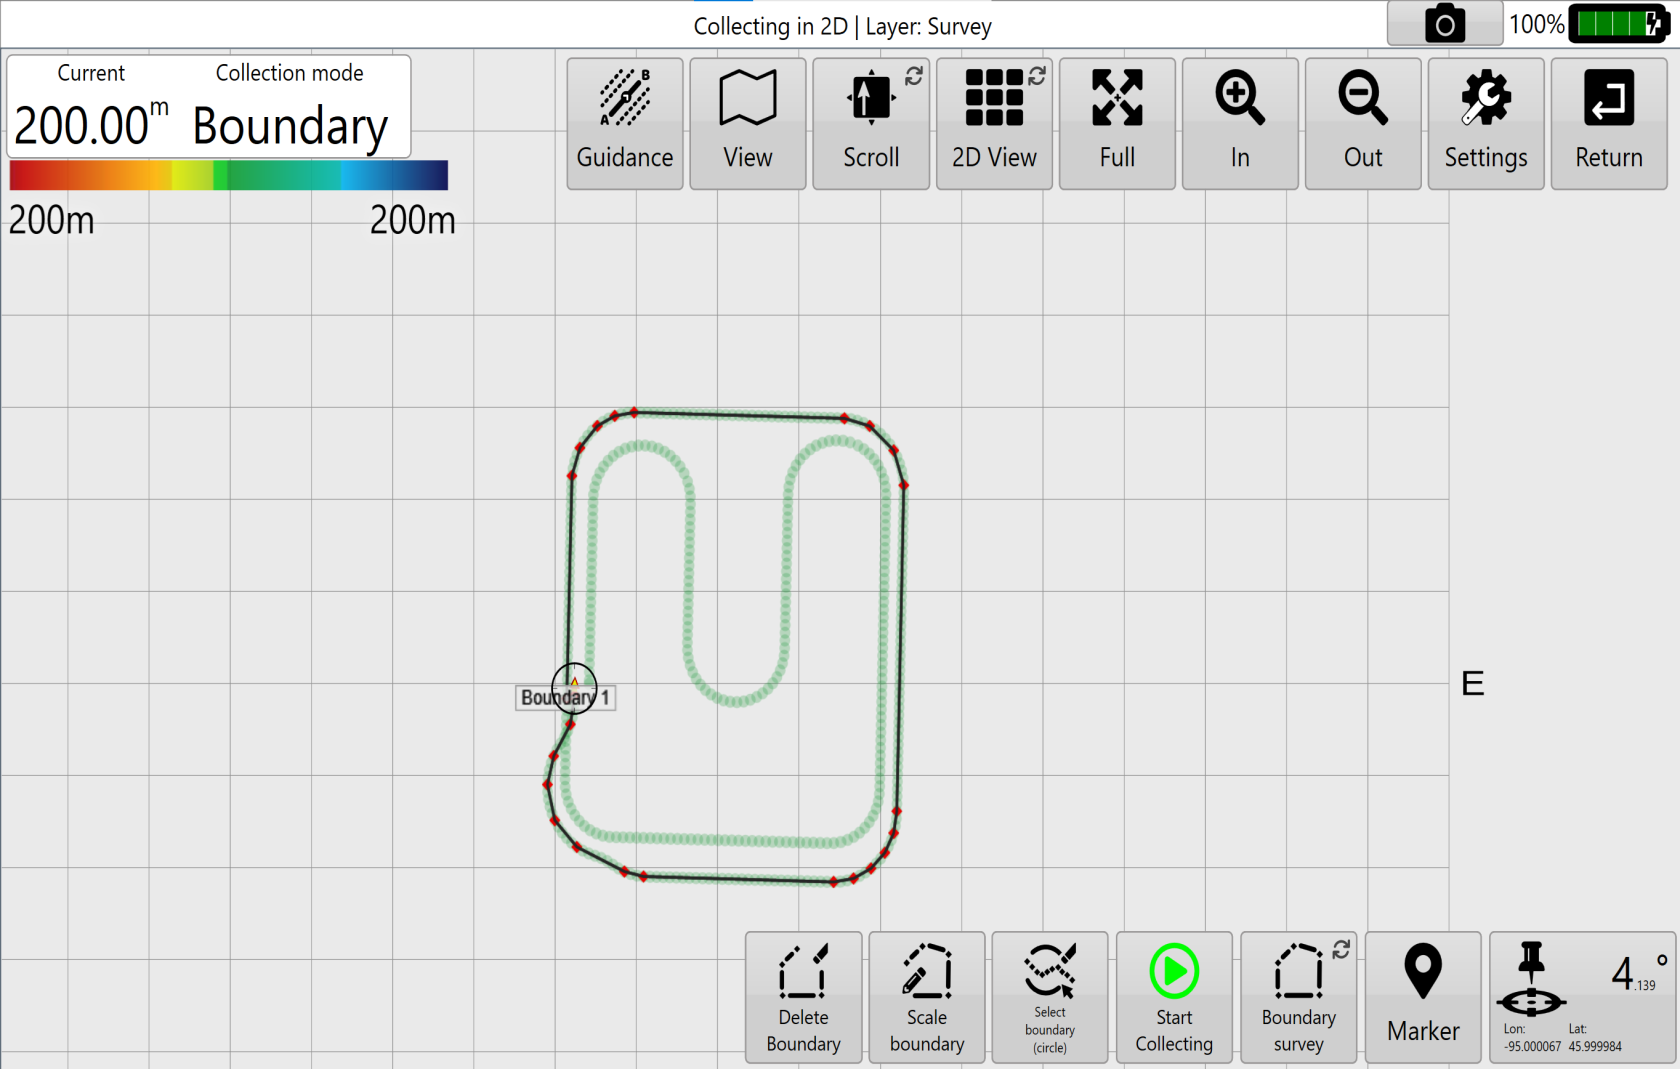
To make a boundary with few points (as shown above), simply start collecting a boundary while stationary, then pause collection while traveling to the next corner. Once at the next corner, resume collection for a few seconds, then pause to go to the next corner. In this way you can collect a boundary with only the points you want, but you can use the delete points tools to thin out extraneous points as necessary afterwards.
There are 2 tools specific to only Boundaries: Delete boundary, and Scale the boundary.
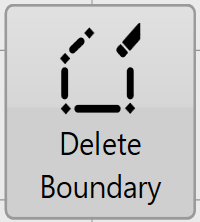 Delete boundary: allows you to delete a specific boundary if multiple have been recorded or if you wish to start the surveying over again. Elevation points that are collected while recording the boundary will remain even after the boundary has been deleted.
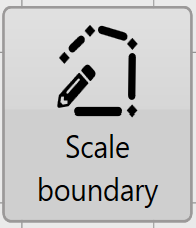 Scale the Boundary: this tool allows you to expand or retract the size of the boundary lines by moving each boundary line a set distance away from the original position to a maximum of 98ft (30m) and a minimum of -98ft (-30m).
Exporting boundary information: Boundary survey information can be exported as Shapefiles or as KML files