Drain Surveying specific edit controls
The following tools become available in the ‘Collection’ and ‘Surfacing’ stages if drain survey points exist.
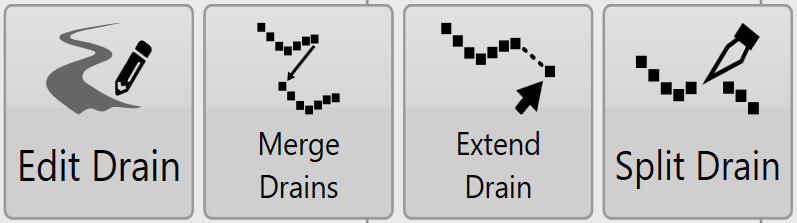
- Edit Drain
- Merge Drains
- Extend Drain
- Split Drain
 Edit Drain
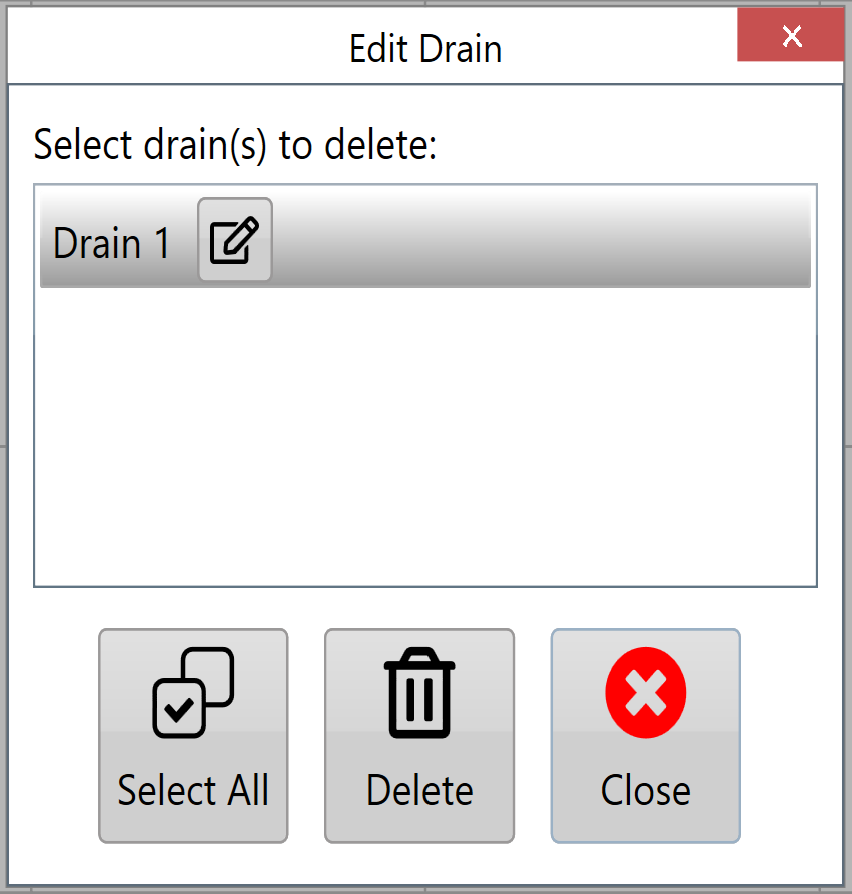
After pressing the 'Edit drain' button a window will appear with a list of available drain paths. Select a drain from the list, and press the corresponding button to either change the name of the drain or delete it.
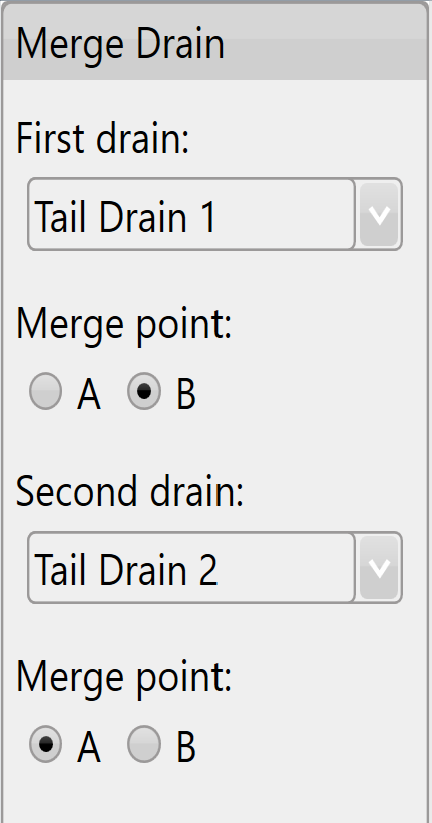
Merge drains
 This tool allows two drains to together at either end. When merging a copy of the original drains with the joining line will be made and you be given the option to delete the originals if you would like.
Extend drain
This tool allows you to arbitrarily extend a drain from either end of the surveyed path. This can be useful if the drain needs to extend to a location that was not directly accessible by the surveying vehicle.
Pressing the 'Extend Drain' button will bring up the below screen. This screen allows you to extend the drain in whatever direction you wish.
The red arrow shows the direction in which the drain will be extended, as well as which end of the drain will be extended.
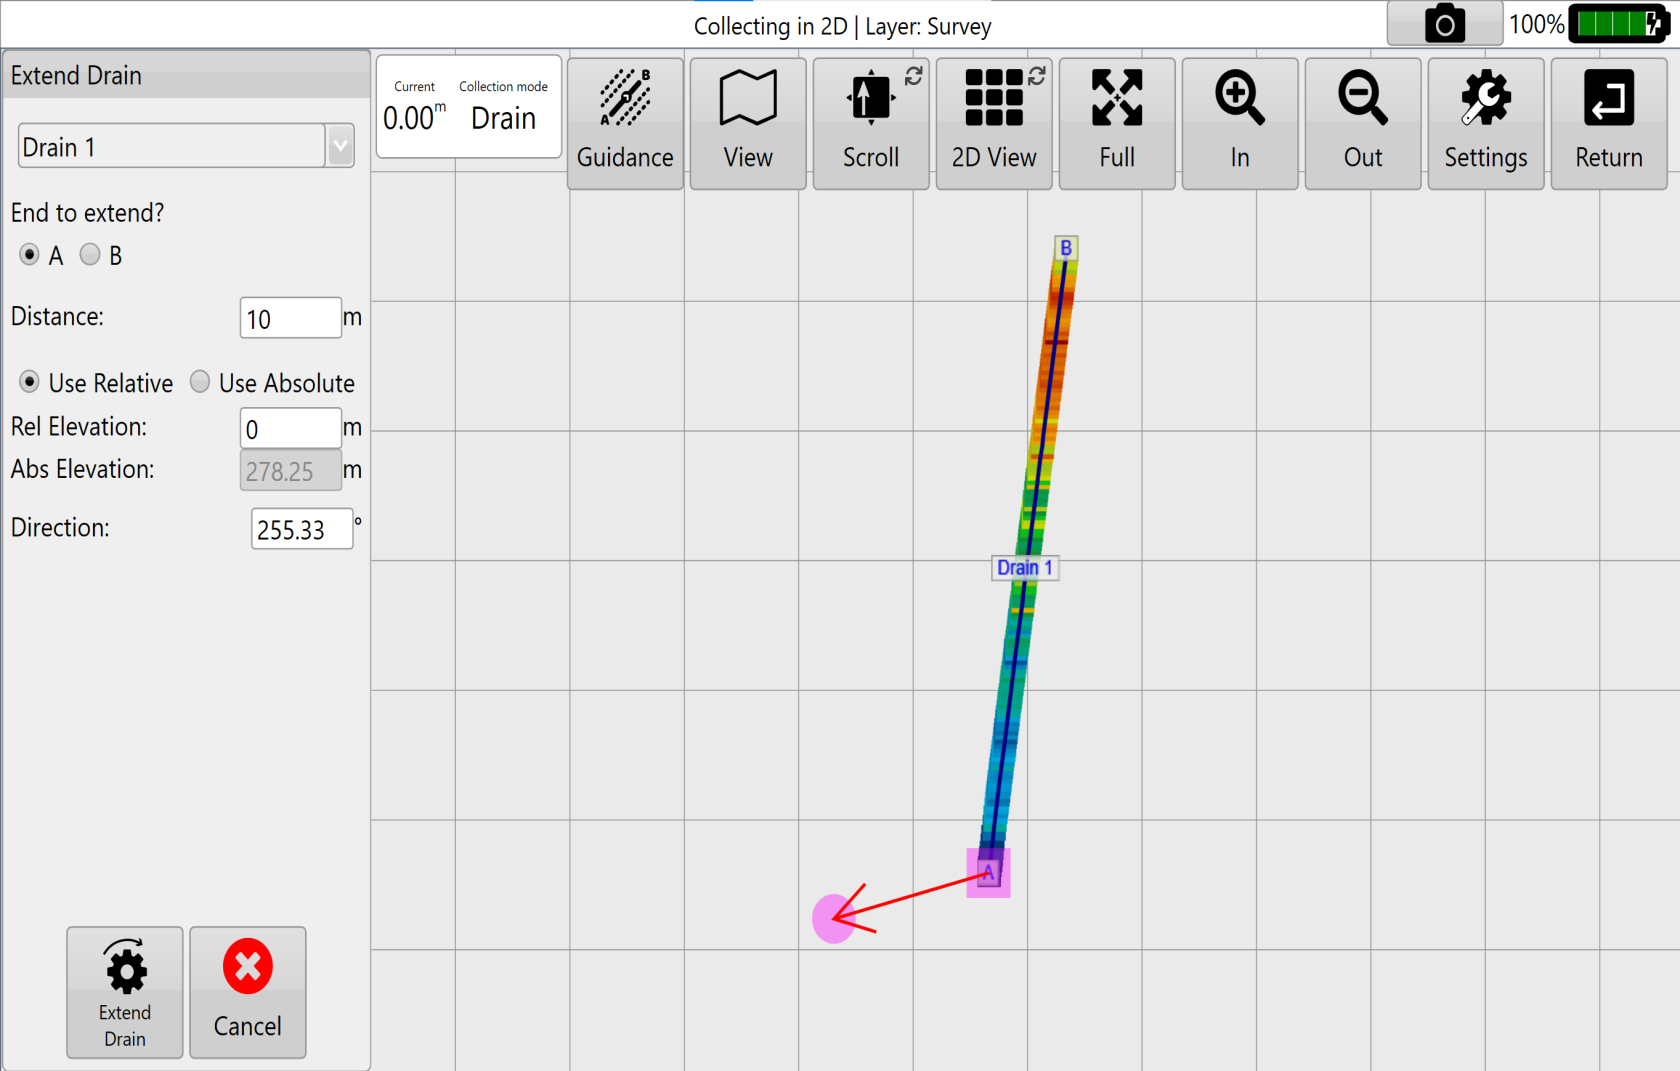 Use the controls on the left hand side to select a drain. Then choose the length, elevation, and direction of the extension.
‘Rel elevation’ adds (or removes) the value entered into to the elevation of the existing drain end to calculate the elevation of the extended drain end.
‘Abs elevation’ Sets the extended drain end to the value entered.
For example, to extend the drain 1ft below an ending elevation height of 100ft:
Rel elevation value: -1ft
Abs elevation value: 99ft
Once you have finished making these adjustments press the 'Extend Drain' button.
Split drain
 Split drain allows you to split a drain into two separate drains.
First select which drain it is you wish to edit from the 'Which drain to split?' drop down menu in the bottom center.
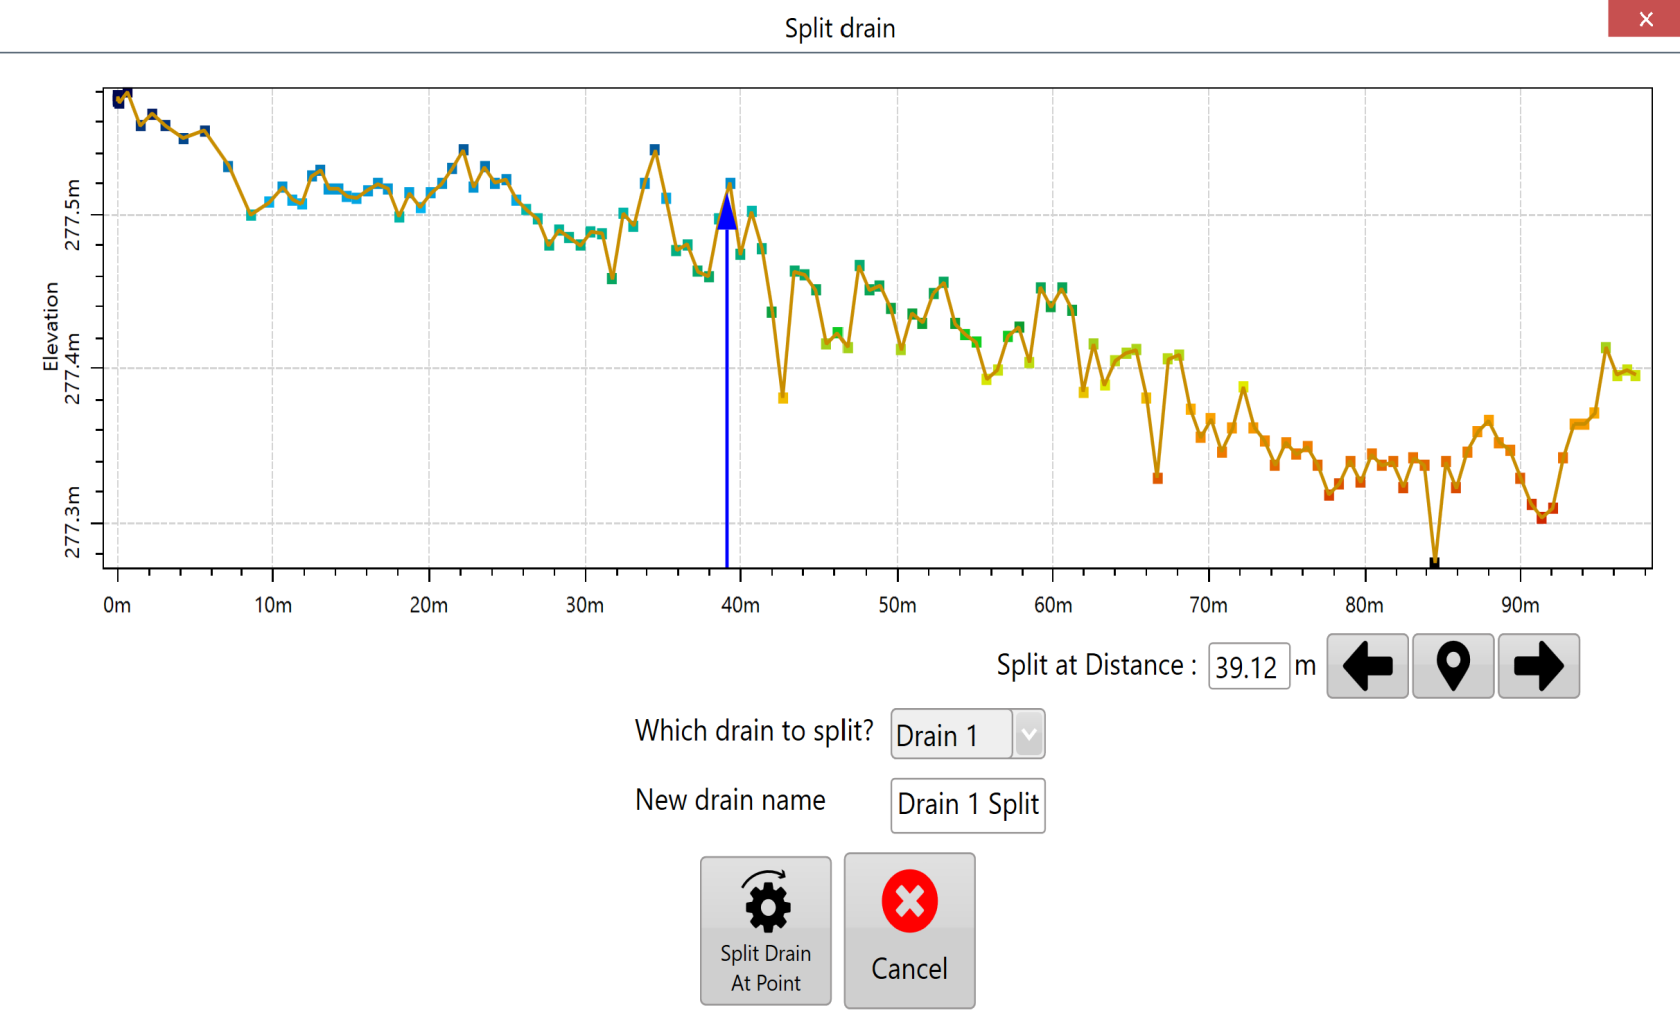
Once a drain has been selected you can press anywhere along the drain profile. A blue arrow will appear to show where the split will occur. The arrow can also be moved using the left and right arrows found to the right of the ‘Split at Distance’ option.
Create a Marker for referencing by choosing the Marker button.
Name the new drain using the 'New drain name' text box. Once you are happy with all of these settings press the 'Split Drain At Point' button to apply the split.
NOTE: The new drain name cannot be the same as an existing drain. The 'Split Drain At Point' button will become disabled in this case.