Choose Mode/Terrain/Layer
Mode
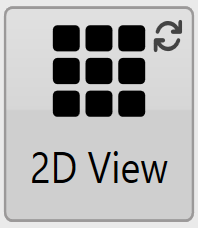
2D View - By default the map will be displayed in a 2D aerial view.
3D View - When switching to 3D view the map will show all the terrain as small hills and valleys. In this viewing mode if you press the vertical scale magnifier (shown here) it will increase the exaggeration of these hills and valleys so that they can be more easily identified. The focal point when viewing in 3D can be changed by quickly double tapping on a position.
 |
 |
 View
View
When viewing a map you have a variety of display options.
Surface
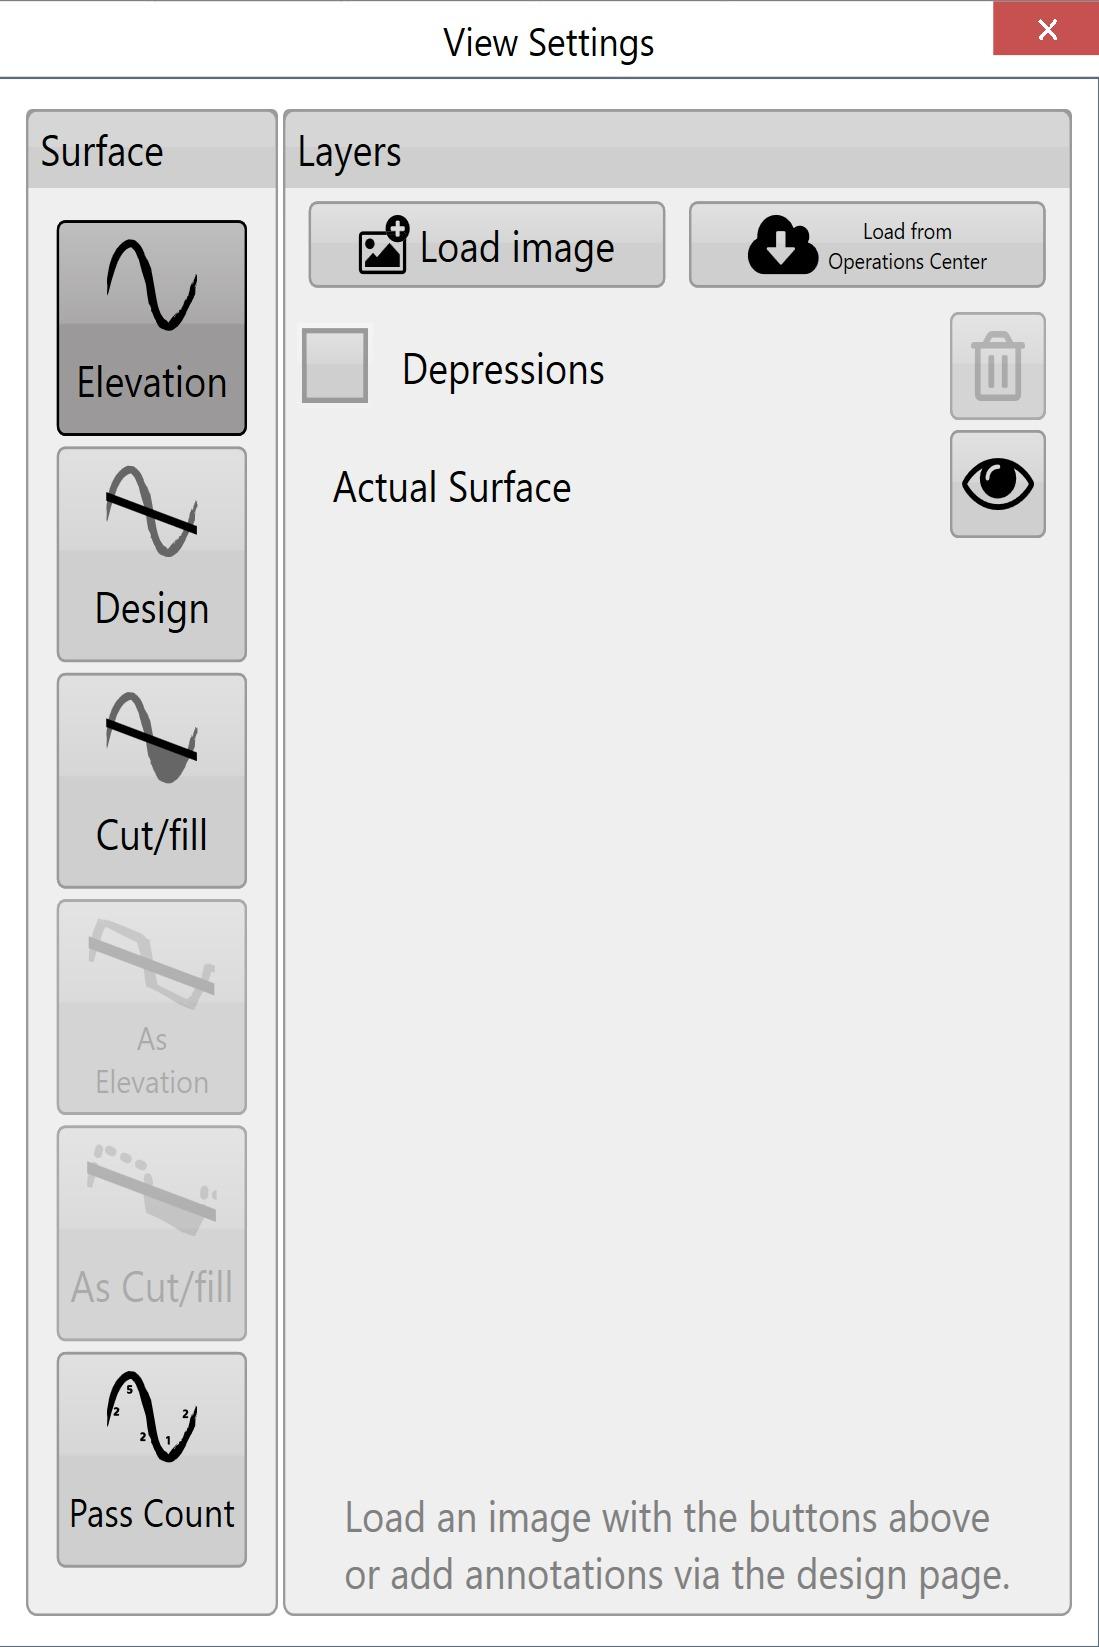 This refers to the source for the 3D topography and coloring of the map. There are 6 options:
Elevation - This terrain viewing mode shows the map as the original surface prior to any dirt being moved. Displays the map in a Red to Blue gradient scale with Red being low areas and Blue being high areas.
Design - This viewing mode shows the design that has been applied. This is the surface that you are attempting to reach at the end of the dirt moving process. Has the same color scheme as Elevation.
Cut/Fill - Shows where the design will be taking dirt from and where it will be putting it. Coloring of this layer depends on the current Cut/Fill color scheme (Settings > Application).
As applied - Displaying the map using this method shows changes as they occur. It shows a real-time representation of progress as work progresses. Has the same color scheme as Elevation. This terrain is only available if ‘As Applied’ mapping has been enabled in the machine tab of ‘Settings’.
As Cut/Fill - Shows where the design will be taking dirt from and where it will be putting it. Coloring of this layer depends on the current Cut/Fill color scheme (Settings > Application).
Pass Count - This layer displays how many passes you have done over an area. This layer is only available once pass count tracking has been enabled in Settings > Machine:
Layers
Various defined layers can be turned on and off here. This includes the current surface (see above), depressions, drains, linework, and overlays such as KML that have been loaded. The buttons at the top allow you to load and clear layers, and beside each layer is a transparency toggle button. Click the button to change its transparency.

NOTE: The depressions layer is not shown if the project only has drains (and no elevation surface).