Create Plane surfaces(In progress)
Plane Project allows users to create simple surfaces without surveying the entire area.
The Level COMMAND feature supports the creation of up to four plane surfaces.
Once the new plane project is created, the Plane button will appear on the main page.
Steps to set up a plane surfaces


1 .Click the "Plane 1" button to open the plane list. (By default, "Plane 1" is selected.)
2. Select the plane surface you want to use.
3. Create the Origin Point using one of the following methods:
GPS: Uses the current GPS location.
Marker: Opens the marker list for selecting a marker as the origin.
Edit: Opens the location editor for manual input.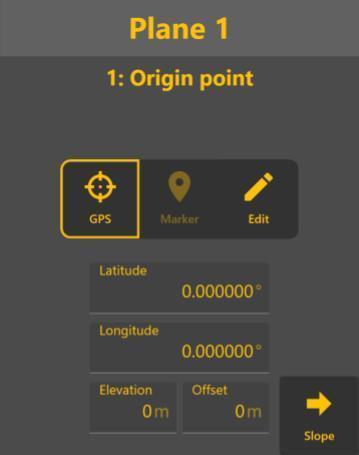
4. Decide direction and slope by GPS, marker or Edit (manual input).
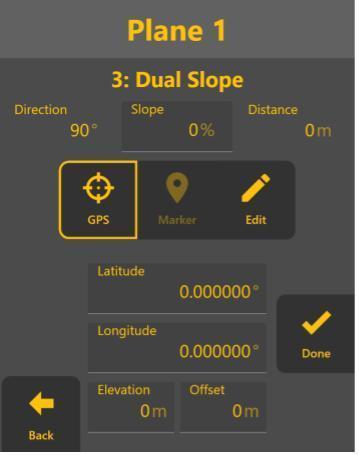
If you want to use a dual slope, click the "Dual" button after setting both direction and slope.
Otherwise, click "Done".

5. (Optional) Set a Dual Slope using GPS, Marker, or Edit manually.
Click "Done" when you're satisfied with the current result.