
5.6 | Surveying & Field Data Collection
The Survey tool records terrain data that can later be used for design creation, project verification or archival purposes. Survey data may also be collected before grading to capture the existing ground surface, or after grading to verify completed work.
SurveyThe recorded data can alsothen be exported for use in third-party design software.

Starting a Survey
To begin a new survey:
- Press More → Start Survey.
- Select the location where the survey project will be saved.
- Press Save.
A new blank survey project will be created and displayed in the Work Area.
Insert Start Survey screenshot.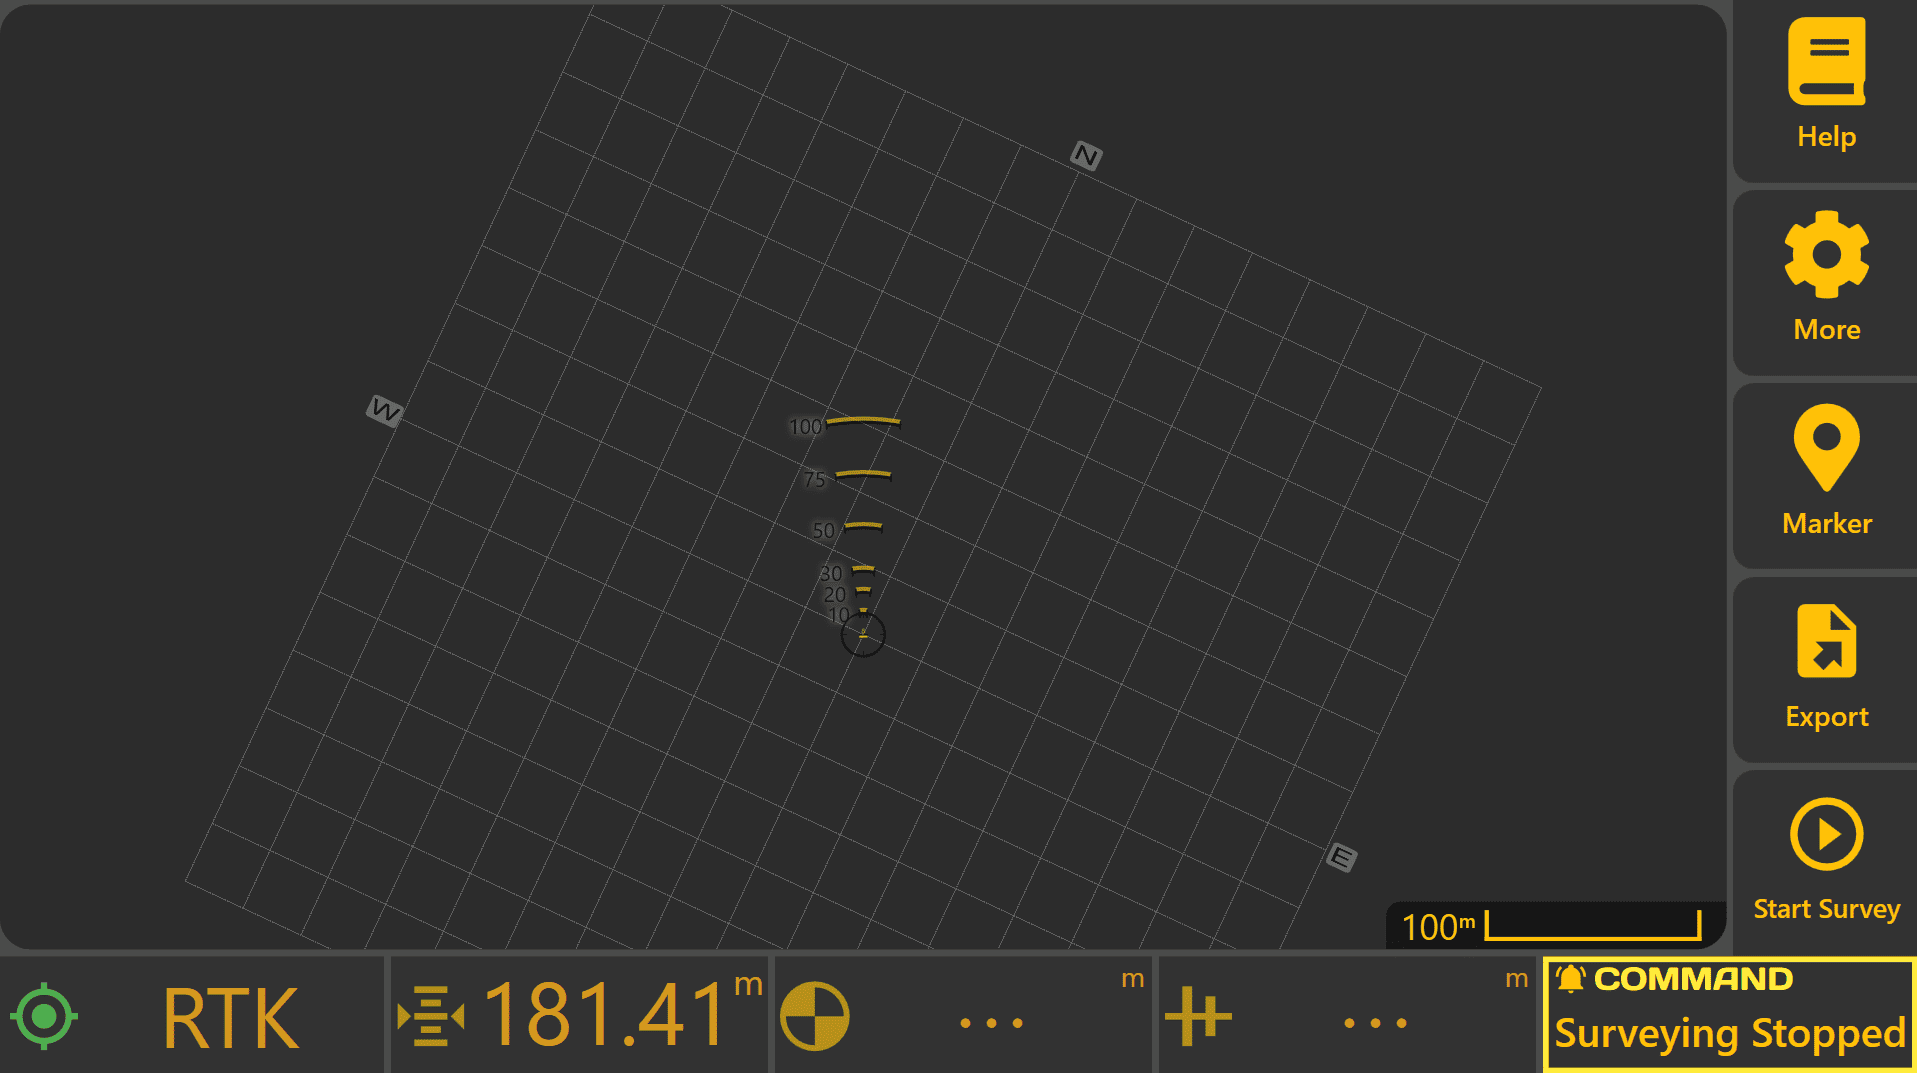
Survey Types
Before recording begins, choose the type of survey to perform.
Boundary
Records the perimeter of a field or work area. Boundary surveys are commonly used to define the project extents before creating a design.

Drains / Paths

Records linear features such as drains, channels, roads or access tracks.

Full Field
Records terrain data across the entire work area to produce a complete surface model.
Each survey
should

Recording Survey Data
Once the survey type has been selected:
- Press Start Survey.
- Drive the machine through the area to be surveyed.
- Follow the appropriate path for the selected survey type.
- Press Pause if recording needs to be temporarily suspended.
- Press Start Survey again to continue recording.
- Press Stop once the survey is complete.
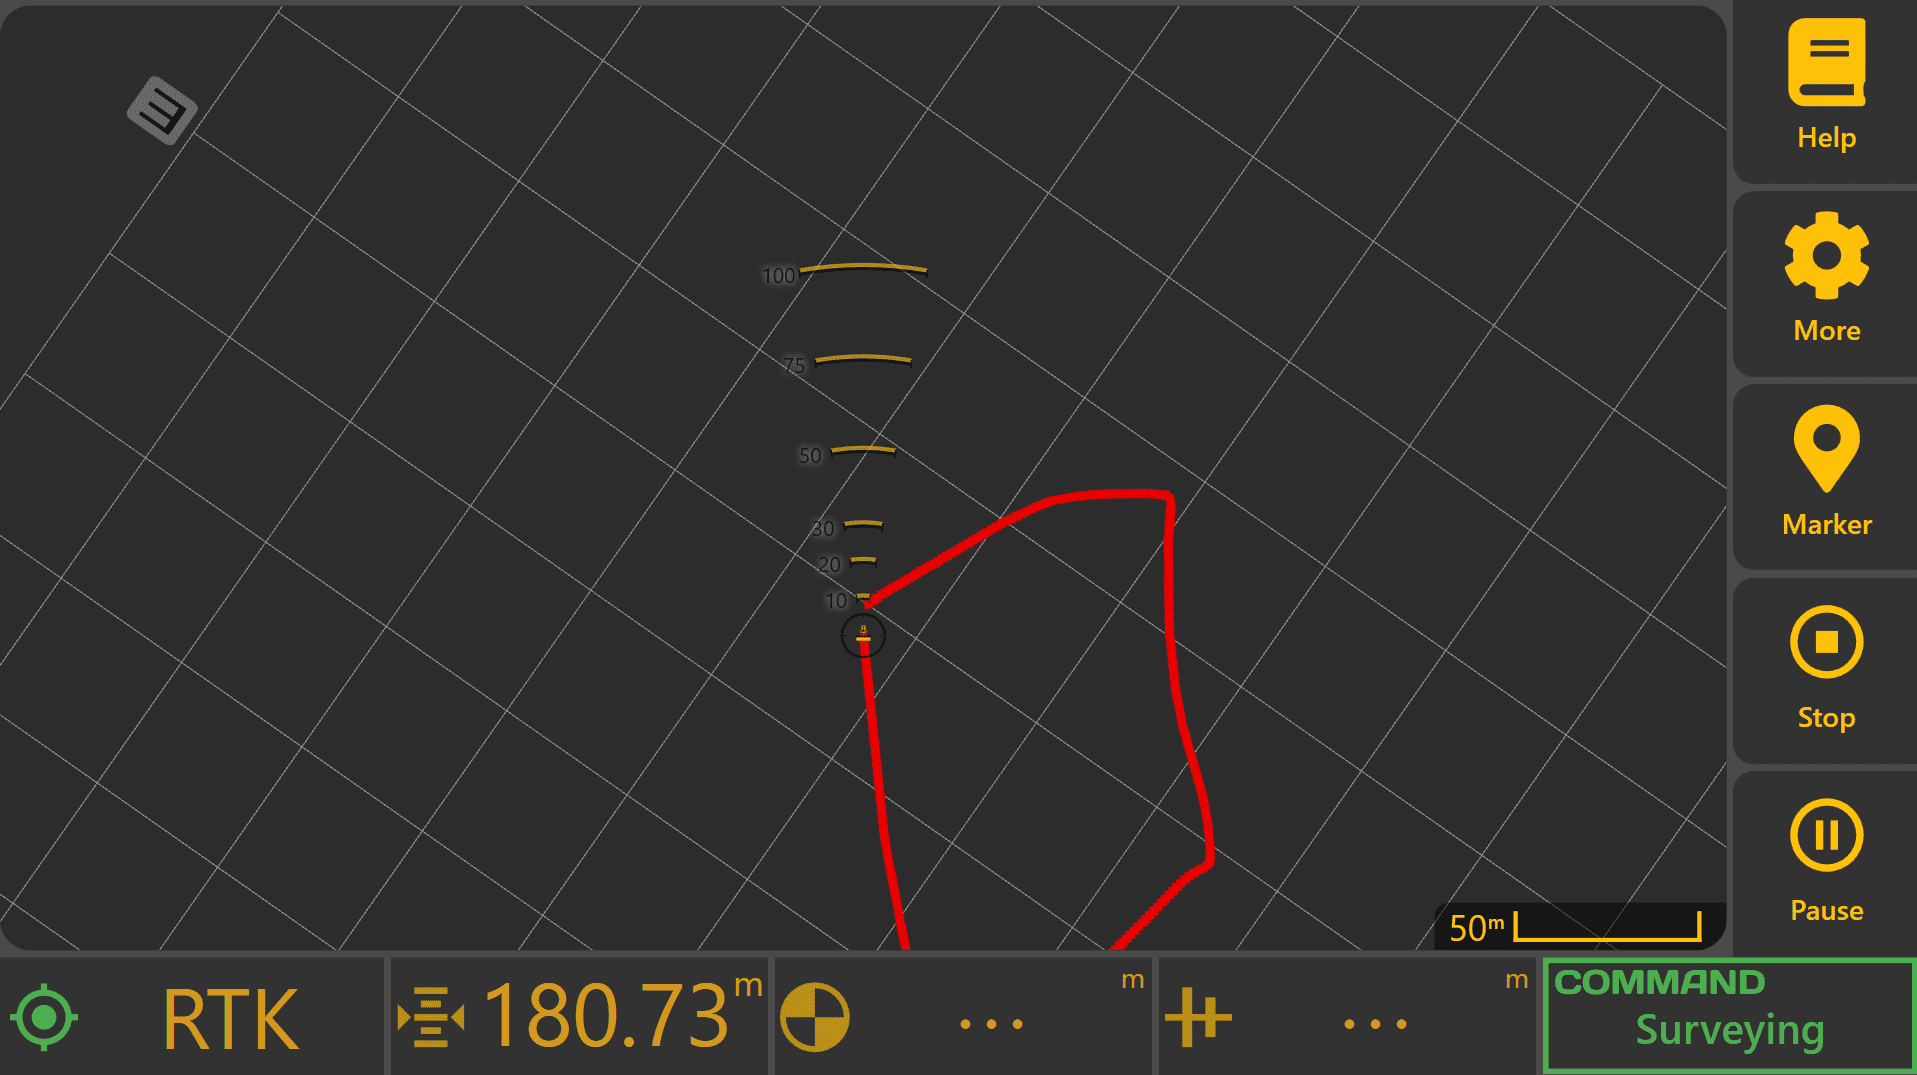
If a mistake is made before completing the survey, press Cancel to discard the current survey and begin again.
Additional Boundary, Drain/Path or Full Field surveys can be recorded by pressing Start Survey again after completing the previous survey.
Recording Markers
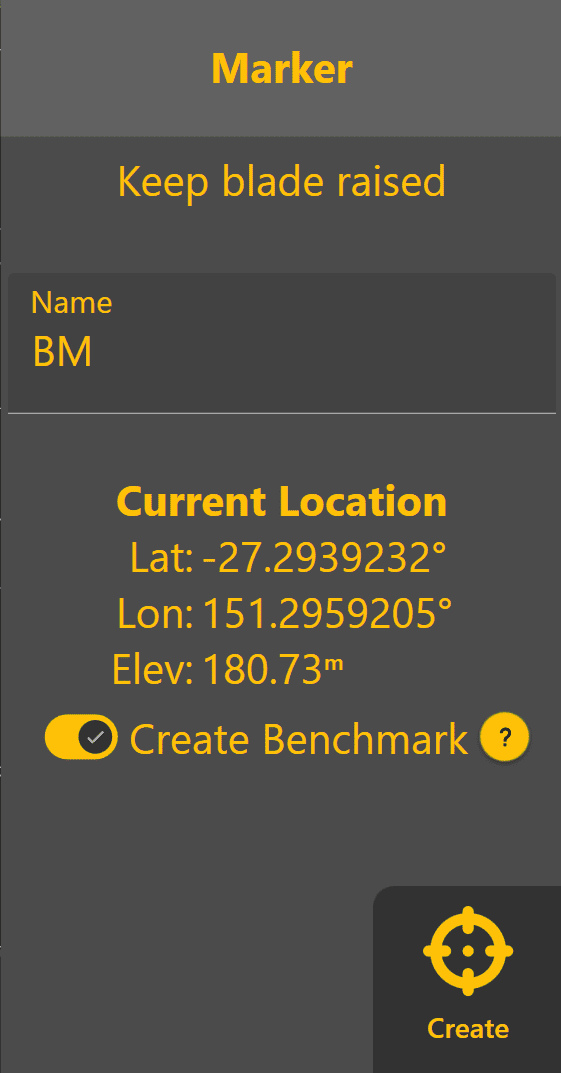
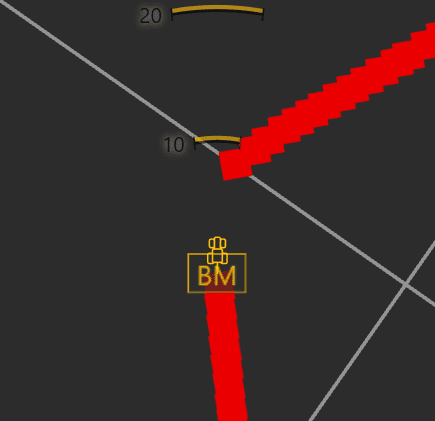 Before exporting the survey, it is often useful to create any important project markers, such as:
- Benchmark locations.
- Obstacles or hazards.
- Fence lines or gateways.
- Trees, poles or irrigation equipment.
- Other significant field features.
These markers become part of the exported project and can simplify later design and construction work.
Exporting Survey Data
Once all required survey data has been collected:
- Press Export.
- Select the desired export format.
- Choose the destination folder.
- Press Export.
Currently supported export formats include:
| Format | Purpose |
|---|---|
| .tci | |
| FieldLevel XML | Export for compatible third-party design software. |
The exported survey file can then be supplied to a designer or imported into another compatible application for further processing.
Operator TipTip:
Survey quality directly affects design quality. Maintain a consistent machine speed, achieve RTK positioning before recording, and collect sufficient coverage of the entire area. Missing sections or poor-quality survey data can lead to inaccurate designs and additional work later.