4.3 | Loading or Importing a Project
Loading a Design File
To load a design file, press Done at the top-right to return to the Level COMMAND apply page, then press More > Change Project:
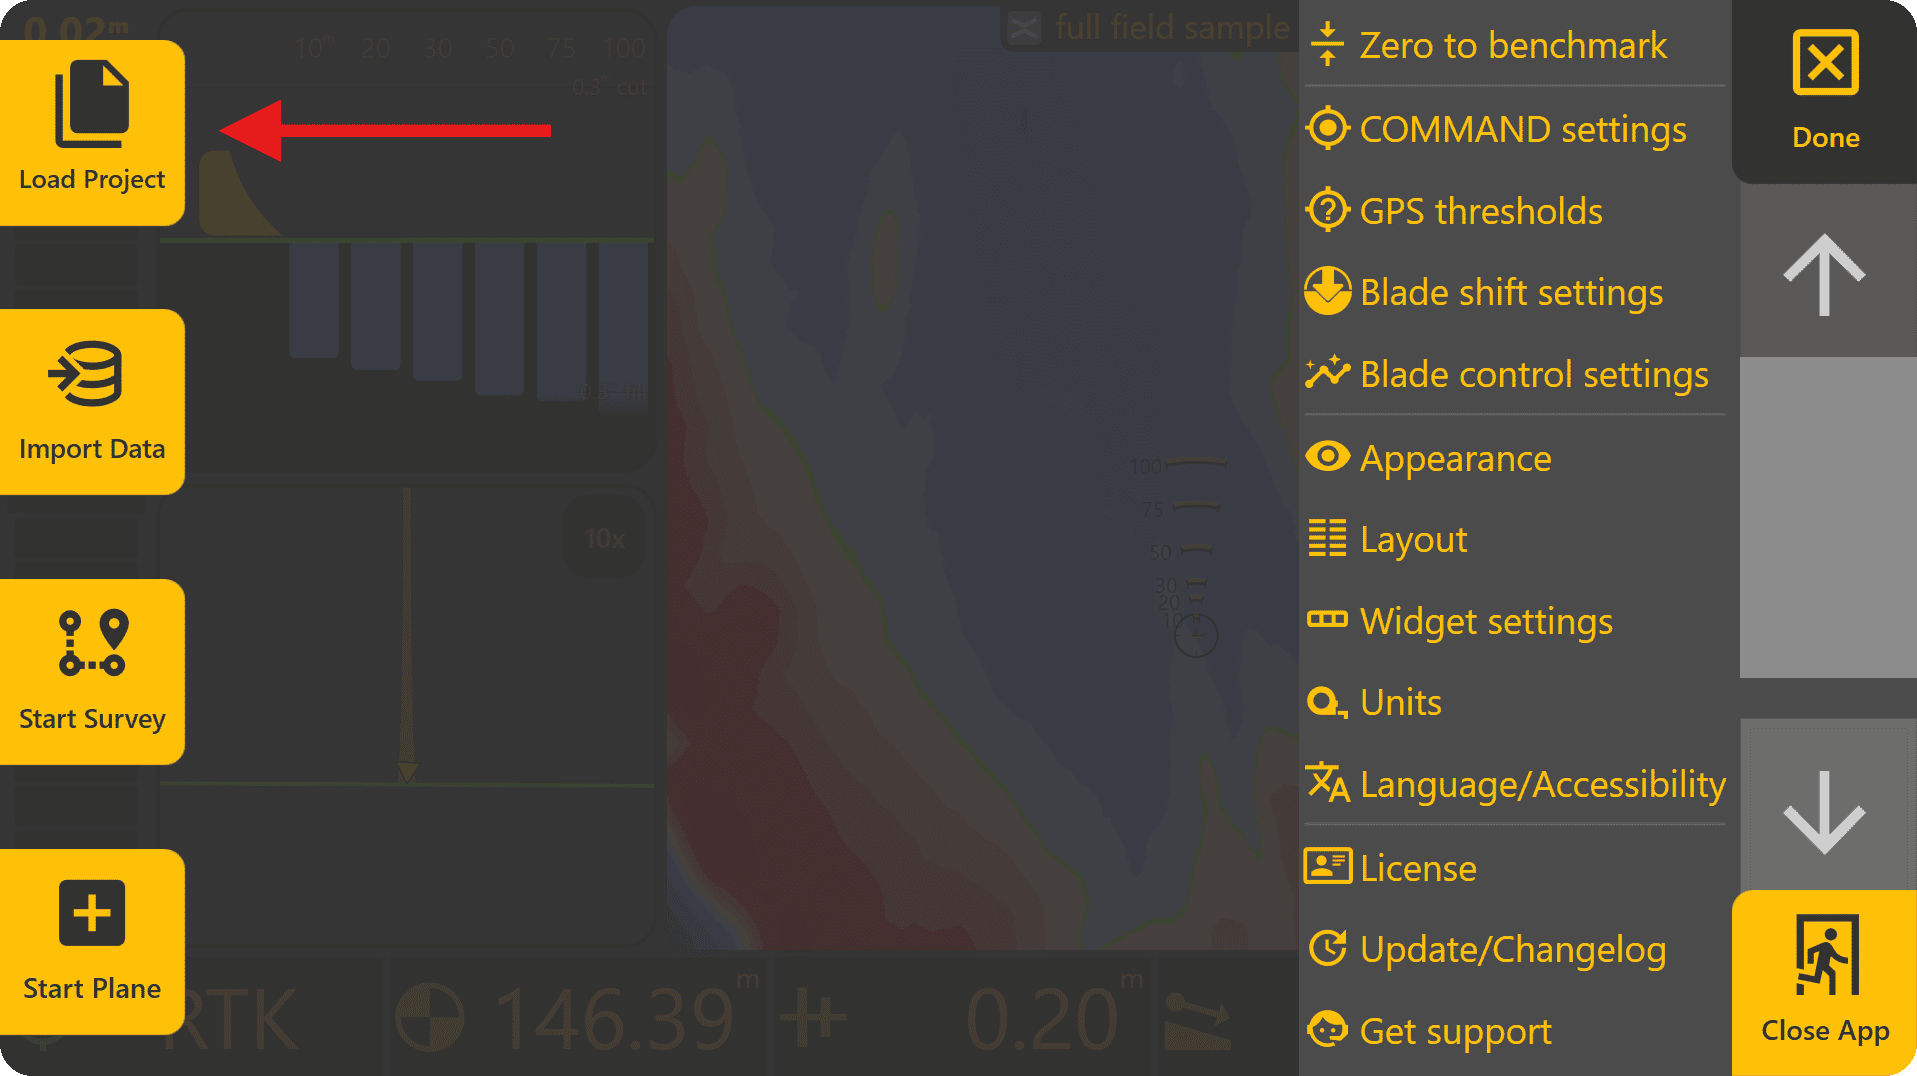
If loading an existing Plane Project, select it from the list and press Load Selected. If loading a .tci or .gps design file, press To Import.
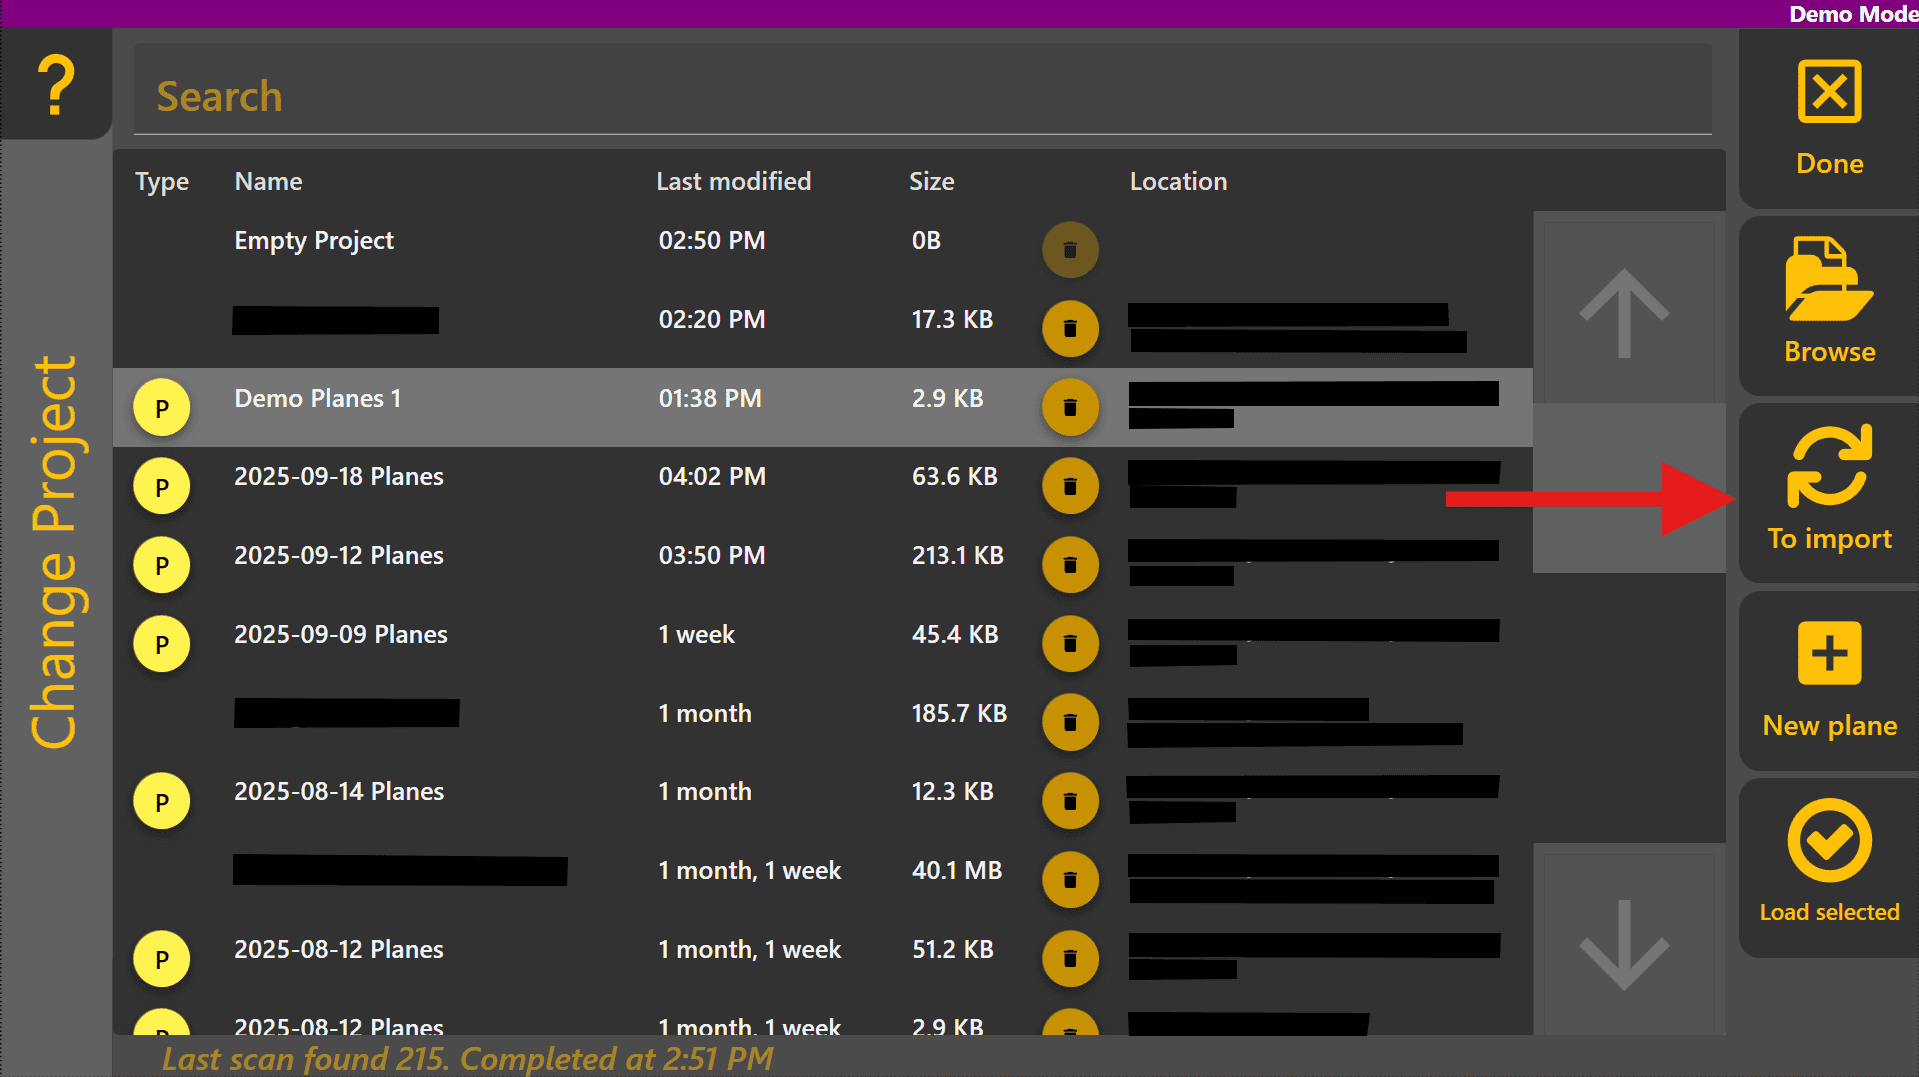
Select the design file from the list and press Load Selected.

Once all hardware components have been fitted, the COMMAND ECU needs to be set up for the correct configuration to operate Level COMMAND.
Creating a Basic Plane
To create a basic plane, begin by pressing More > Start Plane, then name the plane project and choose where it should be saved. Begin designing a plane by pressing Create Plane at the bottom right (or alternatively the Planes button and then select one of the Plane slots).
Set the height of the implement cutting edge about 20cm / 0.5ft above the ground surface to begin with and set the origin. If working on a steeply sloped area, you may want to "drive-out" the primary slope using the plane tool and can then test control above the surface without risking implement contact with the ground.
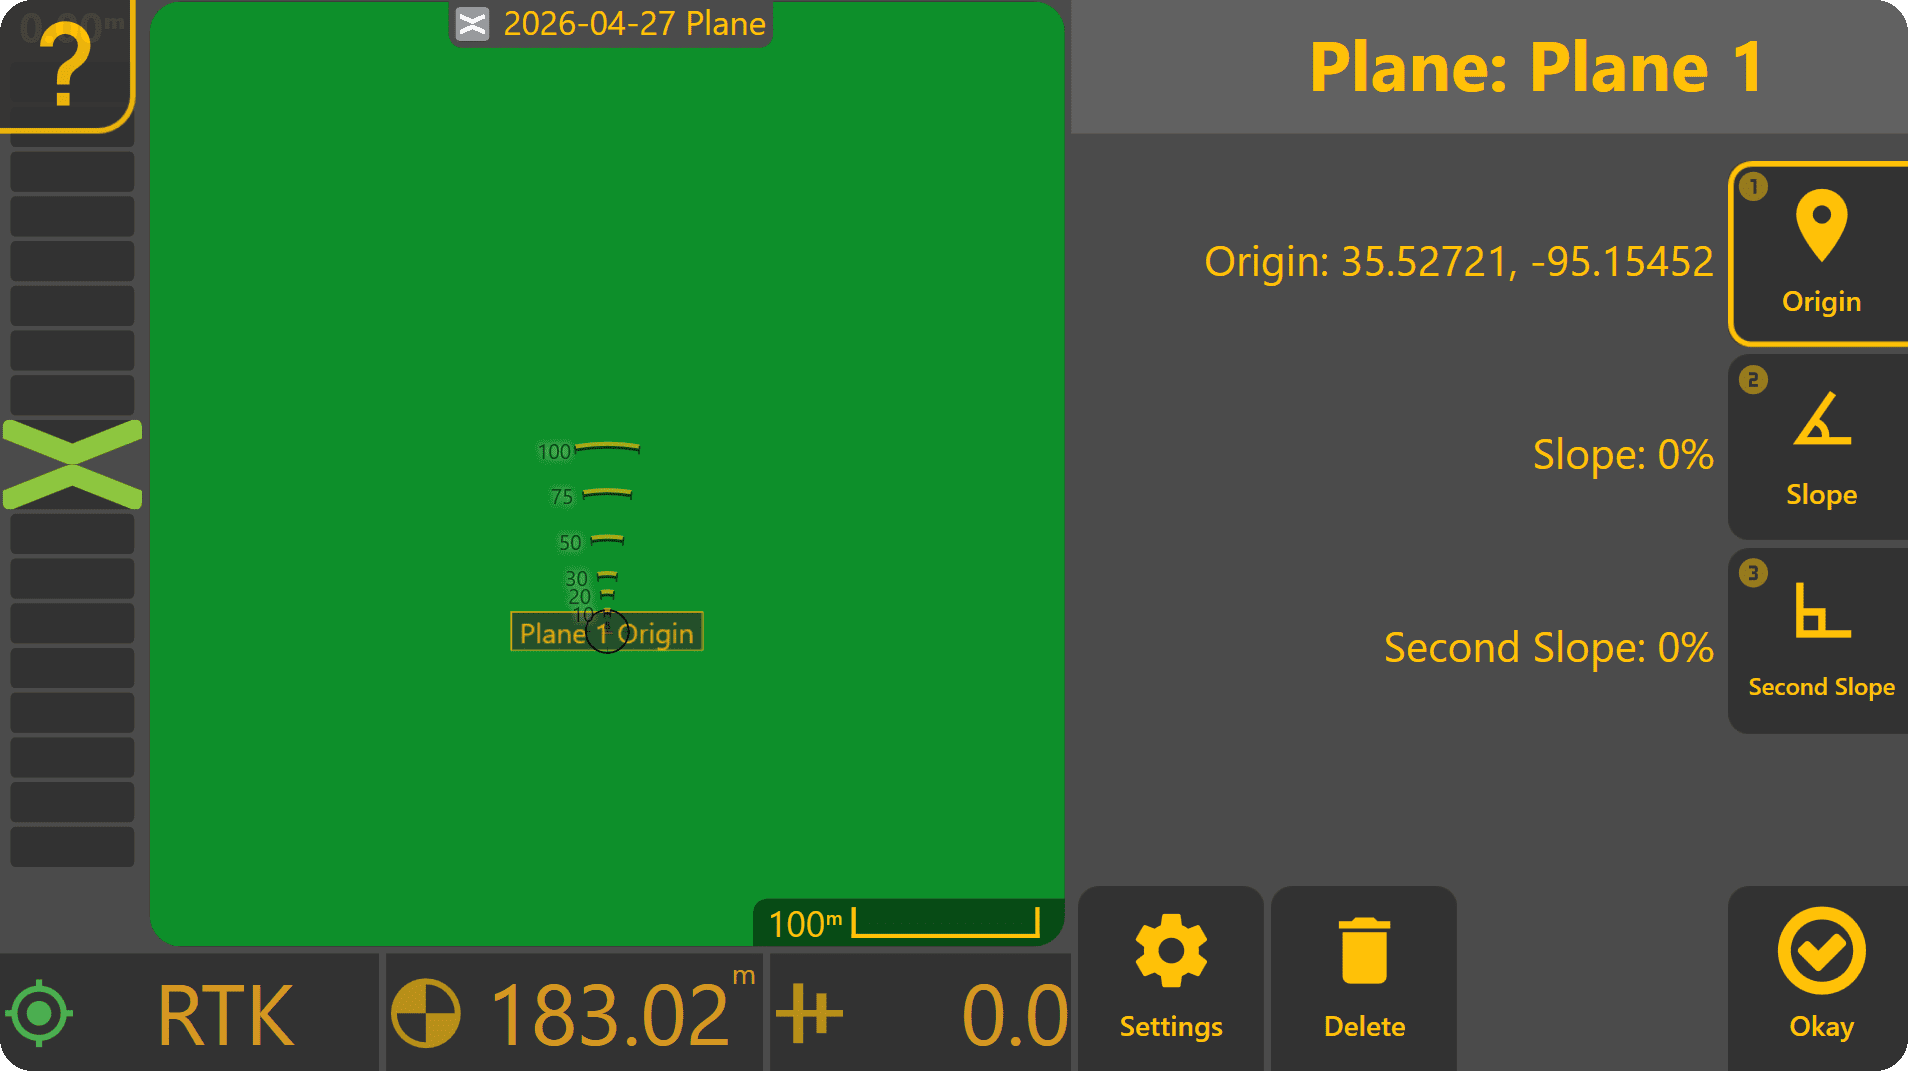
Press Origin to edit the plane's origin point. Press Use GPS to set the plane origin to the current implement height.
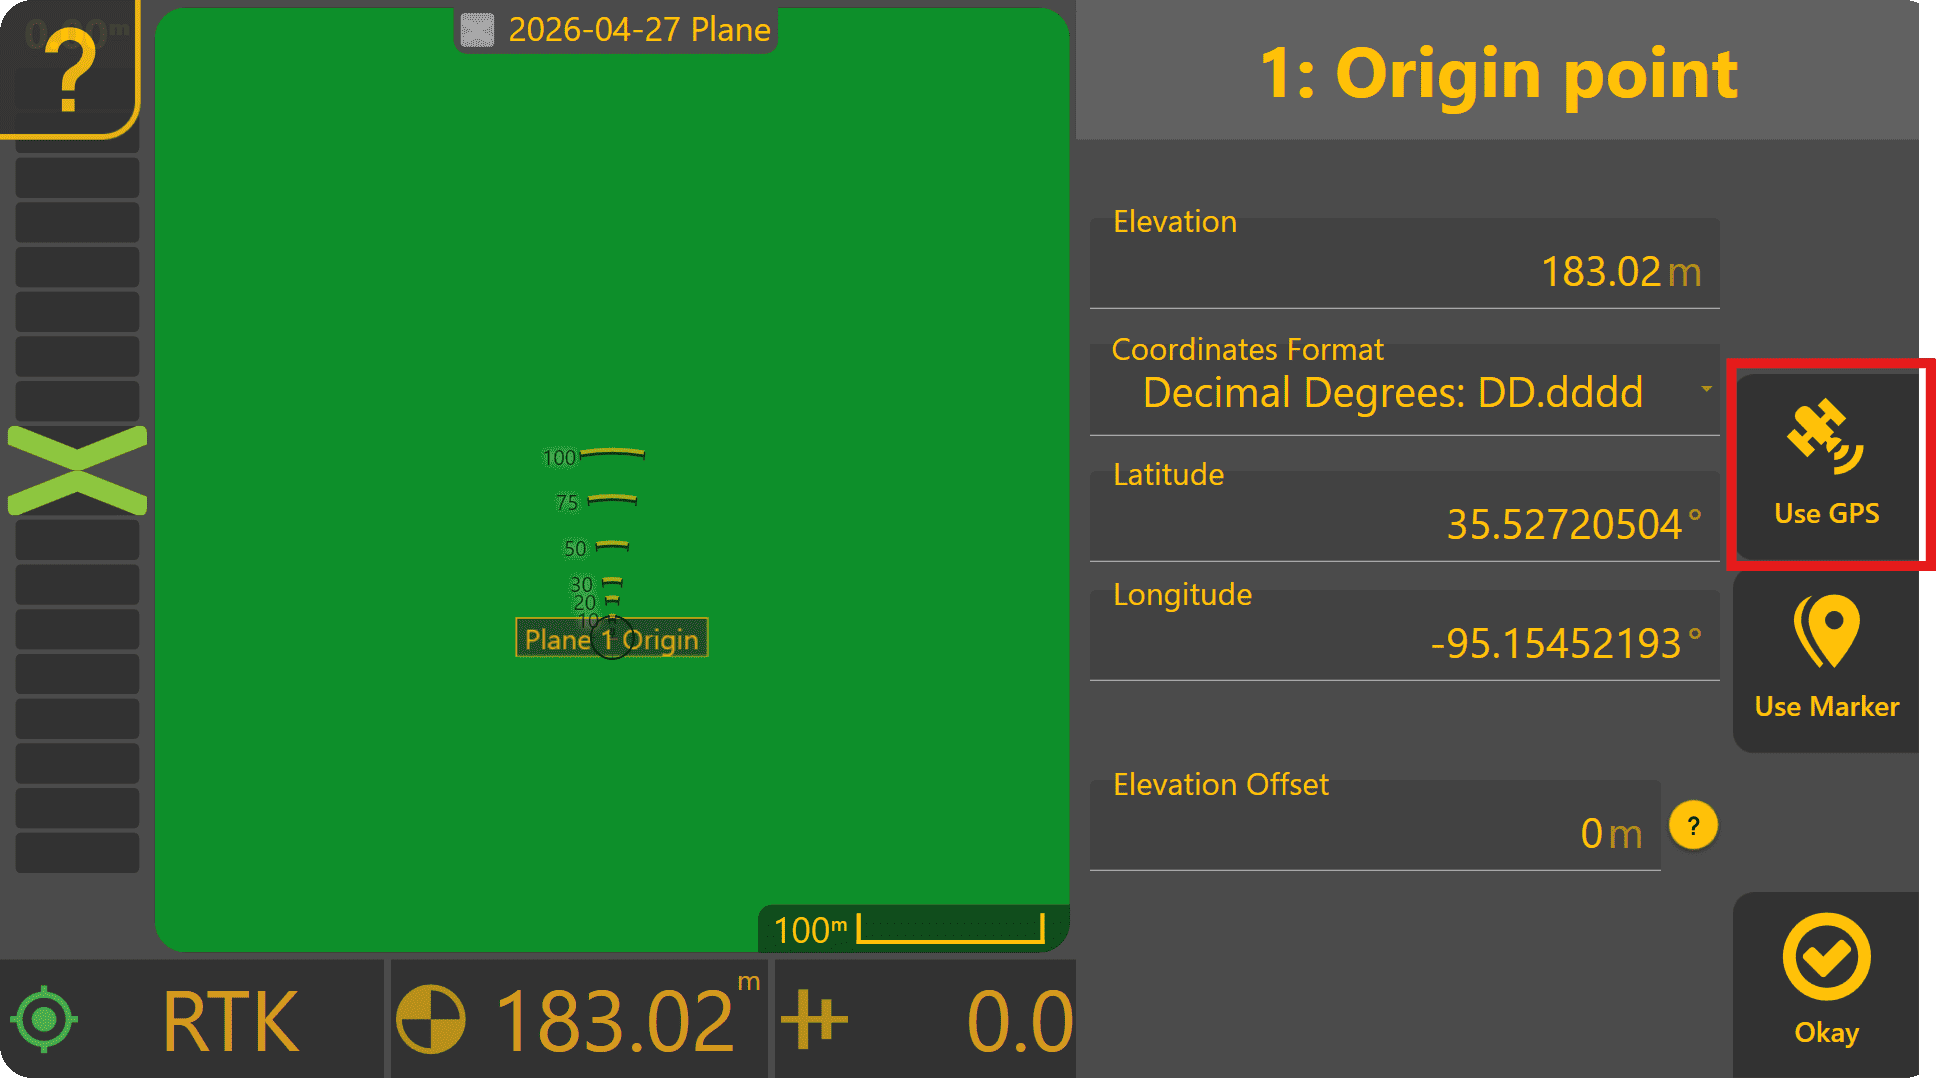
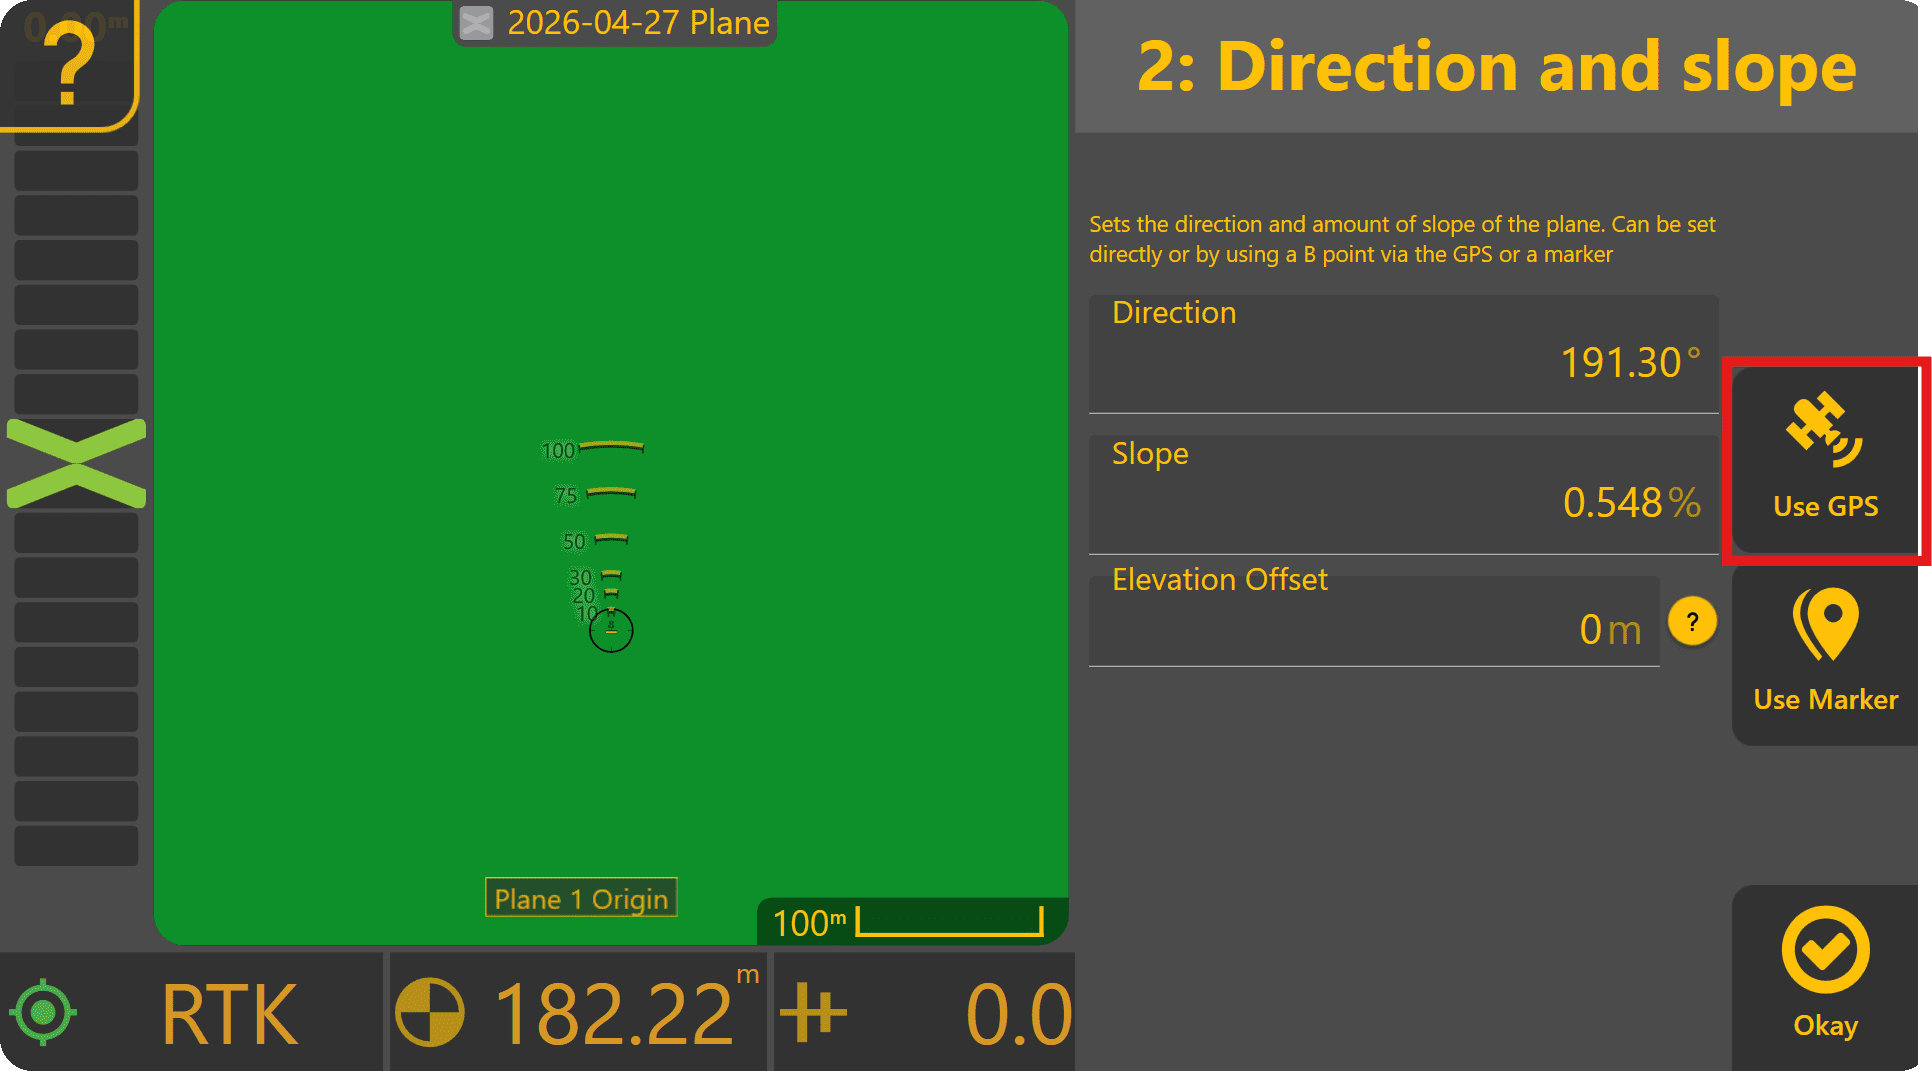
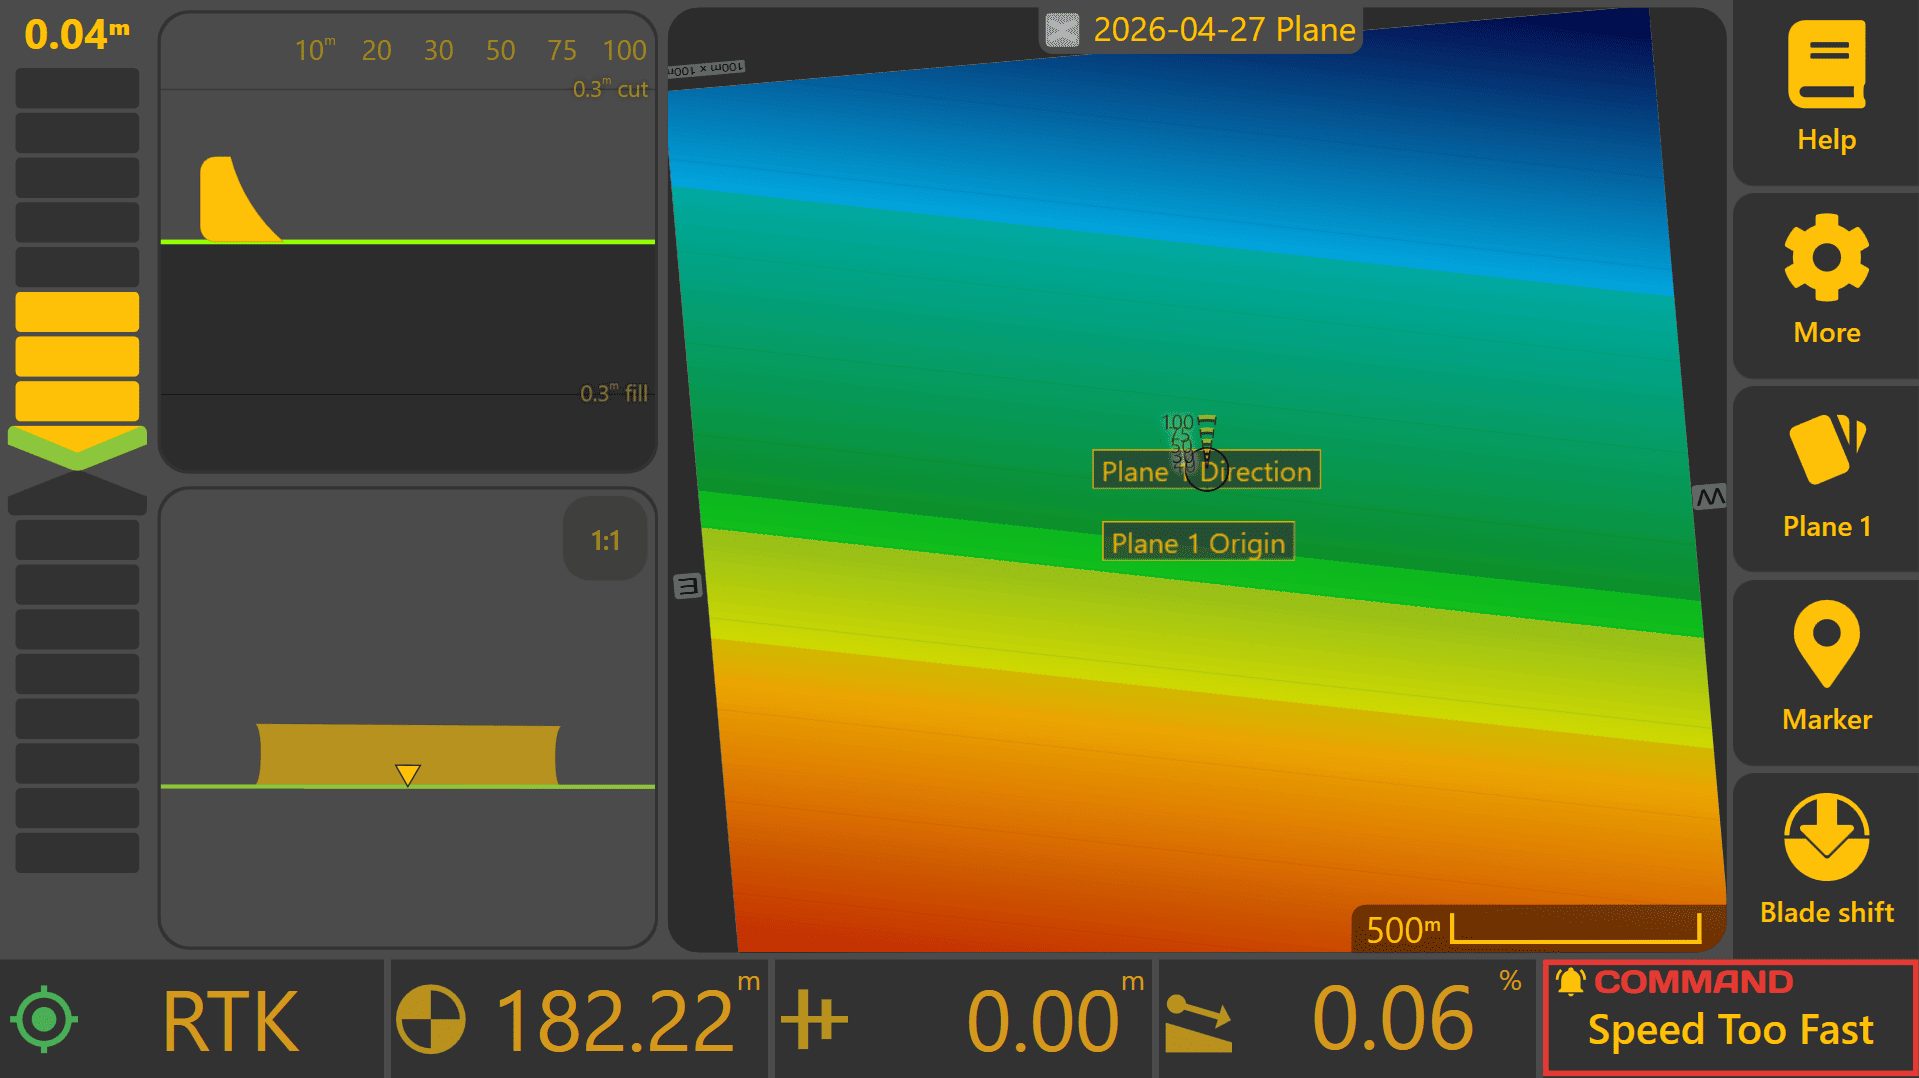
Press Okay - a flat plane has now been created at the origin point. If testing on a slope, press Slope, then drive from the origin point to the lowest point of the surface. Press Use GPS to set the slope point to the current implement height - the plane should now have a new slope angle and direction.