# The 'Collect' wizard page

## Open the Collect Wizard
![Wizard button](https://docs.t3rra.com/uploads/images/gallery/2025-03/scaled-1680-/7evtqhtk5lpnbasoawnix1mnz-zm6z6sxc4fa-png.png) If you are at the Main Page and want to begin surveying first press the '**Wizard**' button.
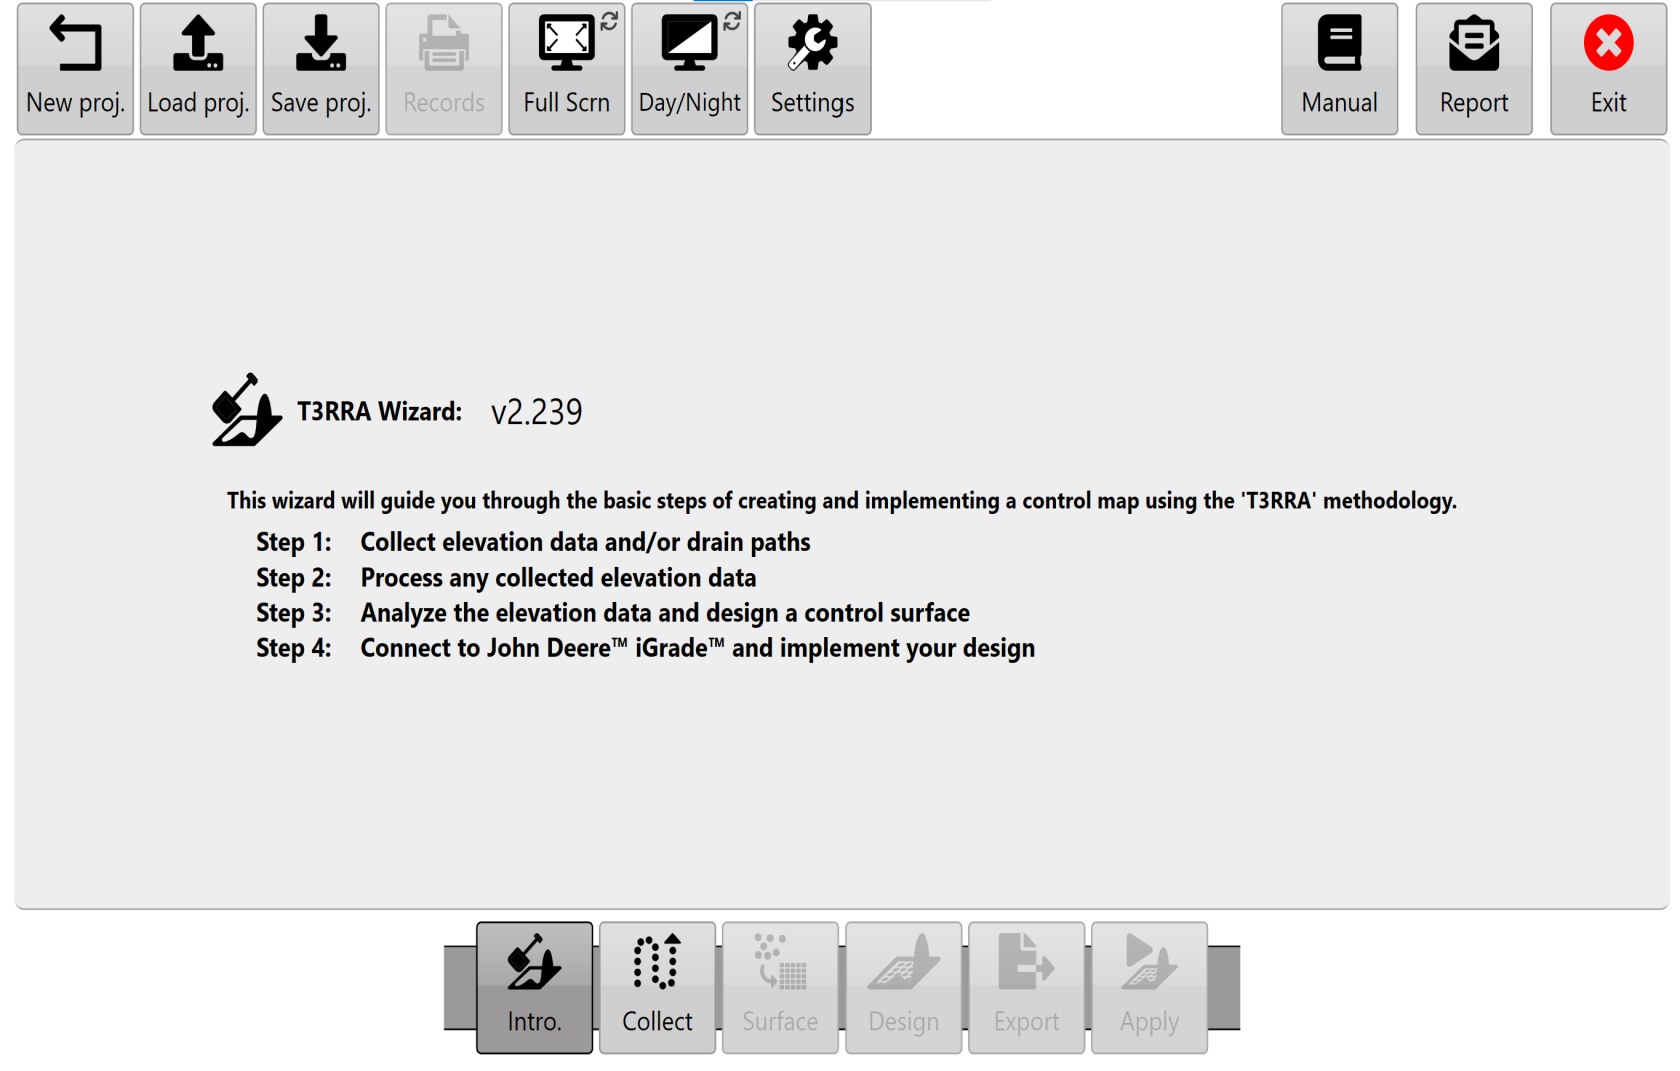
<span style="font-size:16px;">![T3RRA main page with the Wizard workflow](https://docs.t3rra.com/uploads/images/gallery/2025-03/scaled-1680-/2O34cqfw7ftmcnweuip4k9btk8xckkfek7hia-png.png) </span>

![Collect wizard-step button](https://docs.t3rra.com/uploads/images/gallery/2025-03/scaled-1680-/SlUyt1oewapnf3bockx5z-2ionxwnohgnkv0g-png.png) Then choose the second wizard step ‘**Collect**’ at the bottom of the page. This will take you to the ‘**Collect**’ wizard page.
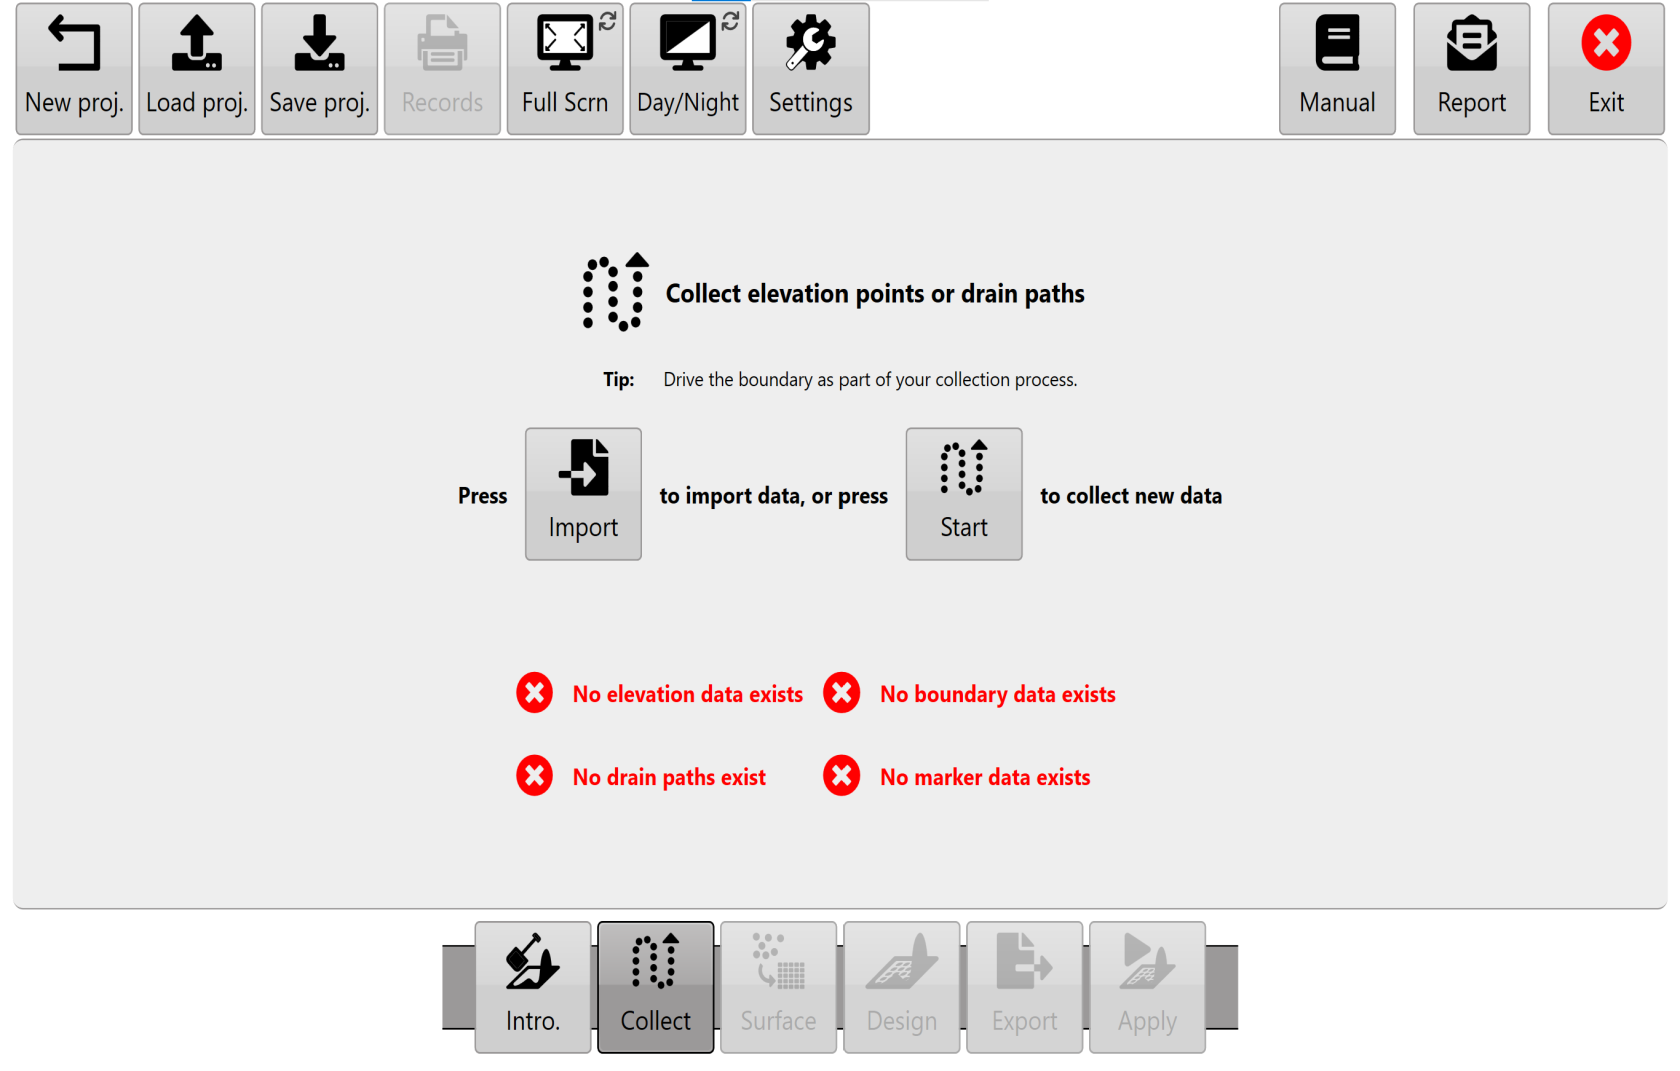
<span style="font-size:16px;"><span dir="ltr" style="font-family:Helvetica, sans-serif;">![Collect wizard page](https://docs.t3rra.com/uploads/images/gallery/2025-03/scaled-1680-/iYOvqz6gpqnbv3q3vzhtxi61g-bui4vh1ml-q-png.png)</span></span>

## Import or Begin a Survey

![Import survey-data button](https://docs.t3rra.com/uploads/images/gallery/2025-03/scaled-1680-/Agg7d-aw7-o2-ytwfdin4ht7qpimtammatgzw-png.png)You are able to import survey data from other sources as CSV for Field and Drain surveys or as KML for Boundary Surveys. Press the '**Import**' button to import existing survey data in CSV format.

Hint: If you would like to examine the CSV format used by T3RRA software to import/export survey points, simply export some collected data and open the resulting file in a text editor.
![Start survey button](https://docs.t3rra.com/uploads/images/gallery/2025-03/scaled-1680-/n15lqgzj8nx64smdbgjqfiry-vfjw2ftnnyzq-png.png)To begin collecting elevation points use the ‘**Start**’ button (in the centre section of the screen). If data has previously been collected this will still be present when you enter the mapping screen.
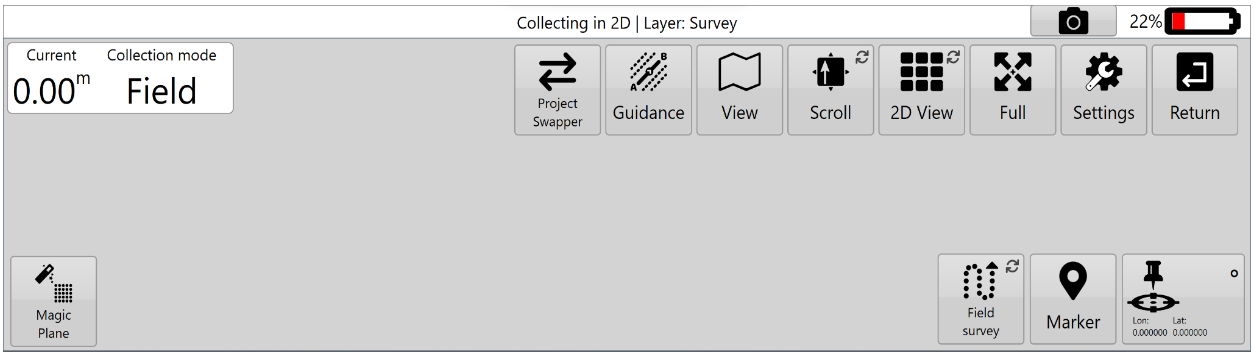
<span style="font-size:16px;">![Collection screen in Field survey mode](https://docs.t3rra.com/uploads/images/gallery/2025-03/scaled-1680-/L7ikgg53wx-9qhalnmmpqzzmdf7totknkwdzq-png.png)</span>

![Drop-marker button](https://docs.t3rra.com/uploads/images/gallery/2025-03/scaled-1680-/x3neldiviglvltsrs509dwphjrm4bz6opmugq-png.png)We consider it best practice to *drop a marker for reference* prior to beginning any survey. Do this at a location you know you can return to reliably. This will assist you in shifting the survey points in the future should it become necessary to do so.

## Choose a Survey Type

Before collecting elevation points you must decide whether you are collecting data for a full field, for a drain or a boundary. We distinguish between these three collections because the way the data is processed in subsequent steps is quite different. You can however collect drains, full field and boundary surface points at the same time by swapping between them as required. Survey modes are swapped between by pressing the survey button in the bottom right of the screen until the icon for the type of surveying you wish to do is displayed or until the text in the top left corner of the screen reads as the type of surveying you would like to do.

<p class="callout info">NOTE: Best practice is to not overlap different survey types. Instead, press Pause when traveling over different survey points then Resume once clear.</p>

(the icons below: Field survey on left, Drain survey in center, Boundary survey on right)

<table class="fr-no-borders" id="bkmrk--22" style="width:100%;"><tbody><tr><td style="width:33.3333%;"><span>![Field survey mode button](https://docs.t3rra.com/uploads/images/gallery/2025-03/scaled-1680-/egtwloicorcoxqbjjz4w23m1anbzci-u3ilvq-png.png)</span></td><td style="width:33.3333%;"><span>![Drain survey mode button](https://docs.t3rra.com/uploads/images/gallery/2025-03/scaled-1680-/AaZmnpztmtytc2pcagzz-7m2yamc2jwuxpfow-png.png)</span></td><td style="width:33.3333%;"><span>![Boundary survey mode button](https://docs.t3rra.com/uploads/images/gallery/2025-03/scaled-1680-/r0wntjrsr1ghwtsnagls5i9lkyv5nzadajflw-png.png)</span></td></tr></tbody></table>

## Collect and Edit Survey Points

![Start collecting button](https://docs.t3rra.com/uploads/images/gallery/2025-03/scaled-1680-/W8Wwpnjwl5qdeujcqdlwwqfftppmgox2dsm1q-png.png)To begin collection select the ‘**Start**’ button.
![Pause collection button](https://docs.t3rra.com/uploads/images/gallery/2025-03/scaled-1680-/dKW4ivzxpbggerzuhrusixkydywdnh3ahyrnq-png.png)The ‘Pause’ button is used to finish data collection while moving around obstacles or avoiding replication of survey points, while the ‘**Stop**‘ button is used when data collection is finished.

You can edit your survey data at this point. For more information, see “Survey point edit controls”. These options are documented under the collection page, and operate the same way.
![Stop collection button](https://docs.t3rra.com/uploads/images/gallery/2025-03/scaled-1680-/vIgo-lxnzu-hyct62ctxhfe-u0ox9ajdijtcq-png.png)

<span style="font-family:Helvetica, sans-serif;"><span dir="ltr" style="font-size:16px;color:rgb(0,0,0);font-weight:300;">![Survey-point editing controls](https://docs.t3rra.com/uploads/images/gallery/2025-03/scaled-1680-/1P3bzirtaks7un-8hytultn8jreqyqwerh2vq-png.png)</span></span>

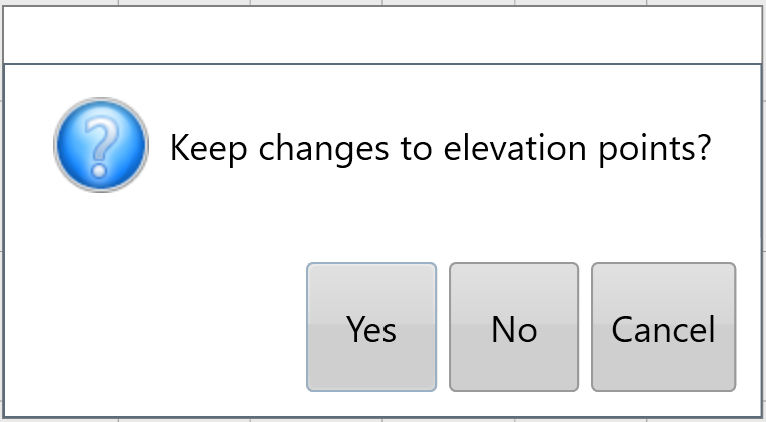
When all collection and editing of data points is complete use the '**Return**' button to return to the main ‘**Collect**’ wizard page. You will be asked to confirm keeping changes to the elevation data.

## Save the Project

At this point it is recommended that you save your project. If you wish to save the file externally use '**Export**' step of the wizard found at the bottom of the page. Field and Drain Surveys data will be exported as CSV files, Boundary survey data will be exported as KML files
<table class="fr-no-borders" id="bkmrk--48" style="width:100%;"><tbody><tr><td style="width:50%;text-align:center;">![Save project button](https://docs.t3rra.com/uploads/images/gallery/2025-03/scaled-1680-/FUxt-xka19pw5ipnydzwa2yg-flr7oyemm-za-png.png)</td><td style="width:50%;">![Export data button](https://docs.t3rra.com/uploads/images/gallery/2025-03/scaled-1680-/Qqkqlt-5go5tbqinmcanhujpsbwhw0eyljy4w-png.png)</td></tr></tbody></table>

<p class="callout danger">NOTE: You should always use ‘**Save proj.**’ to save your T3RRA project. This saves in the native file format and is the easiest file type to reopen in T3RRA software. Exporting is optional, and depending on the type of export you perform you may not always be saving all the information that exists with your T3RRA software project.</p>

Video: [Watch the surveying workflow video on YouTube](https://www.youtube.com/watch?v=ikGuhZYBri8).

<span class="fr-video fr-deletable fr-fvc fr-dvb fr-draggable" style="font-size:16px;"><iframe class="fr-draggable align-center" height="360" src="https://www.youtube.com/embed/ikGuhZYBri8?&wmode=opaque" style="border:0;" title="T3RRA surveying workflow video" width="640"></iframe>

</span>