# 8.2 | Setting Zero
Important: Before work can begin, the system must be “zeroed”. Both the T3RRA software and iGrade™ must be zeroed.Important concepts:
1. **Benchmarks**. Benchmarks are “control points”. These are known locations in or out of the field that can be returned to as required. They have a known location in the real world (hopefully marked by a peg, or some easily identifiable marker) and also have known locations on your digital map (marked by a digital marker). They are used to tie the real world and the digital world together. Whenever you are located at the benchmark in the real world, you should also be located at the same place on your digital map. If there is a discrepancy (either horizontally or vertically) then a correction factor can be applied to the digital map to correct it. We call this process “zeroing”.
2. **Zero Cut/Fill Area****.**A “zero cut/fill area” is a location in a field where neither cuts nor fills are expected. That is, part of the field where the design calls for the original elevation to remain untouched. The important thing about these areas is that they can be relied upon to always have the same elevation and thus can be useful to check against.“Zeroing” is a generic term for making sure that the digital map, the actual field surface, and the GPS measured blade height are all aligned. In practice this means combining a number of factors to calculate offsets in the horizontal (X,Y) and vertical (Z) directions. There are multiple ways to do this. The appropriate method depends on the circumstances of the survey, the design, and the implementation. We will explore the available methods and some example operational scenarios below.After zeroing you should save the project. The zero offset is stored in the project and this will avoid needing to set zero again. If any of the GPS Receivers are adjusted, moved or replaced you will need to zero your system again.
##### **Setting the Zero Offset**When you press the button to set zero during implementation you are presented with 5 methods of doing so.
###### 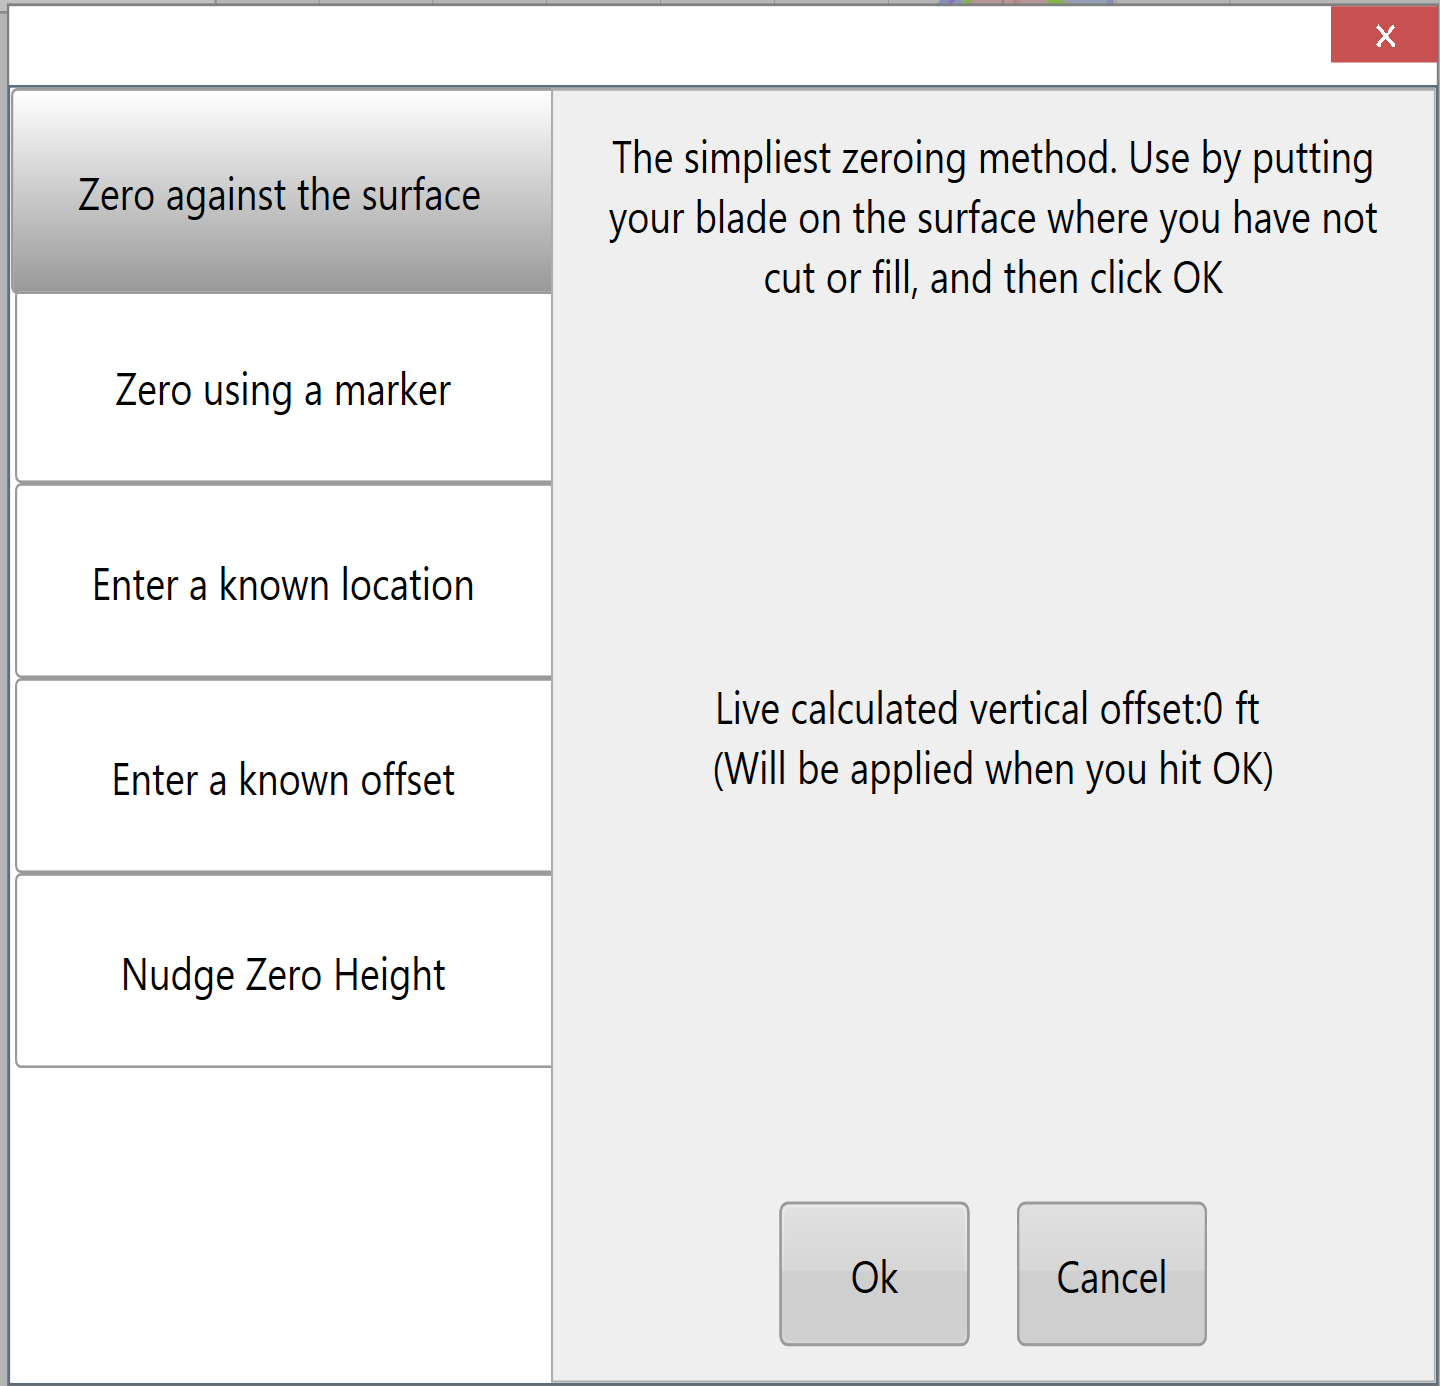**1. Zero against the surface**This method is most useful if you have done your own survey using your own base station. Effectively all you need to do is to tell the system when the cutting edge of the implement is resting directly on the ground in an area of the field where no dirt has been moved. Our recommendation is that you do this in a zero cut/fill area. On a cut/fill map this is a gray or green (depending on color-scheme selected) area. We also recommend that you zero in a location where you are over the wheel tracks of the path that was taken while surveying. Mark your zeroing point (benchmark) with a peg or a flag and drop a digital marker in the T3RRA software. You should then be able to return to this benchmark if you suspect that your GPS has drifted or developed an inaccuracy.
###### 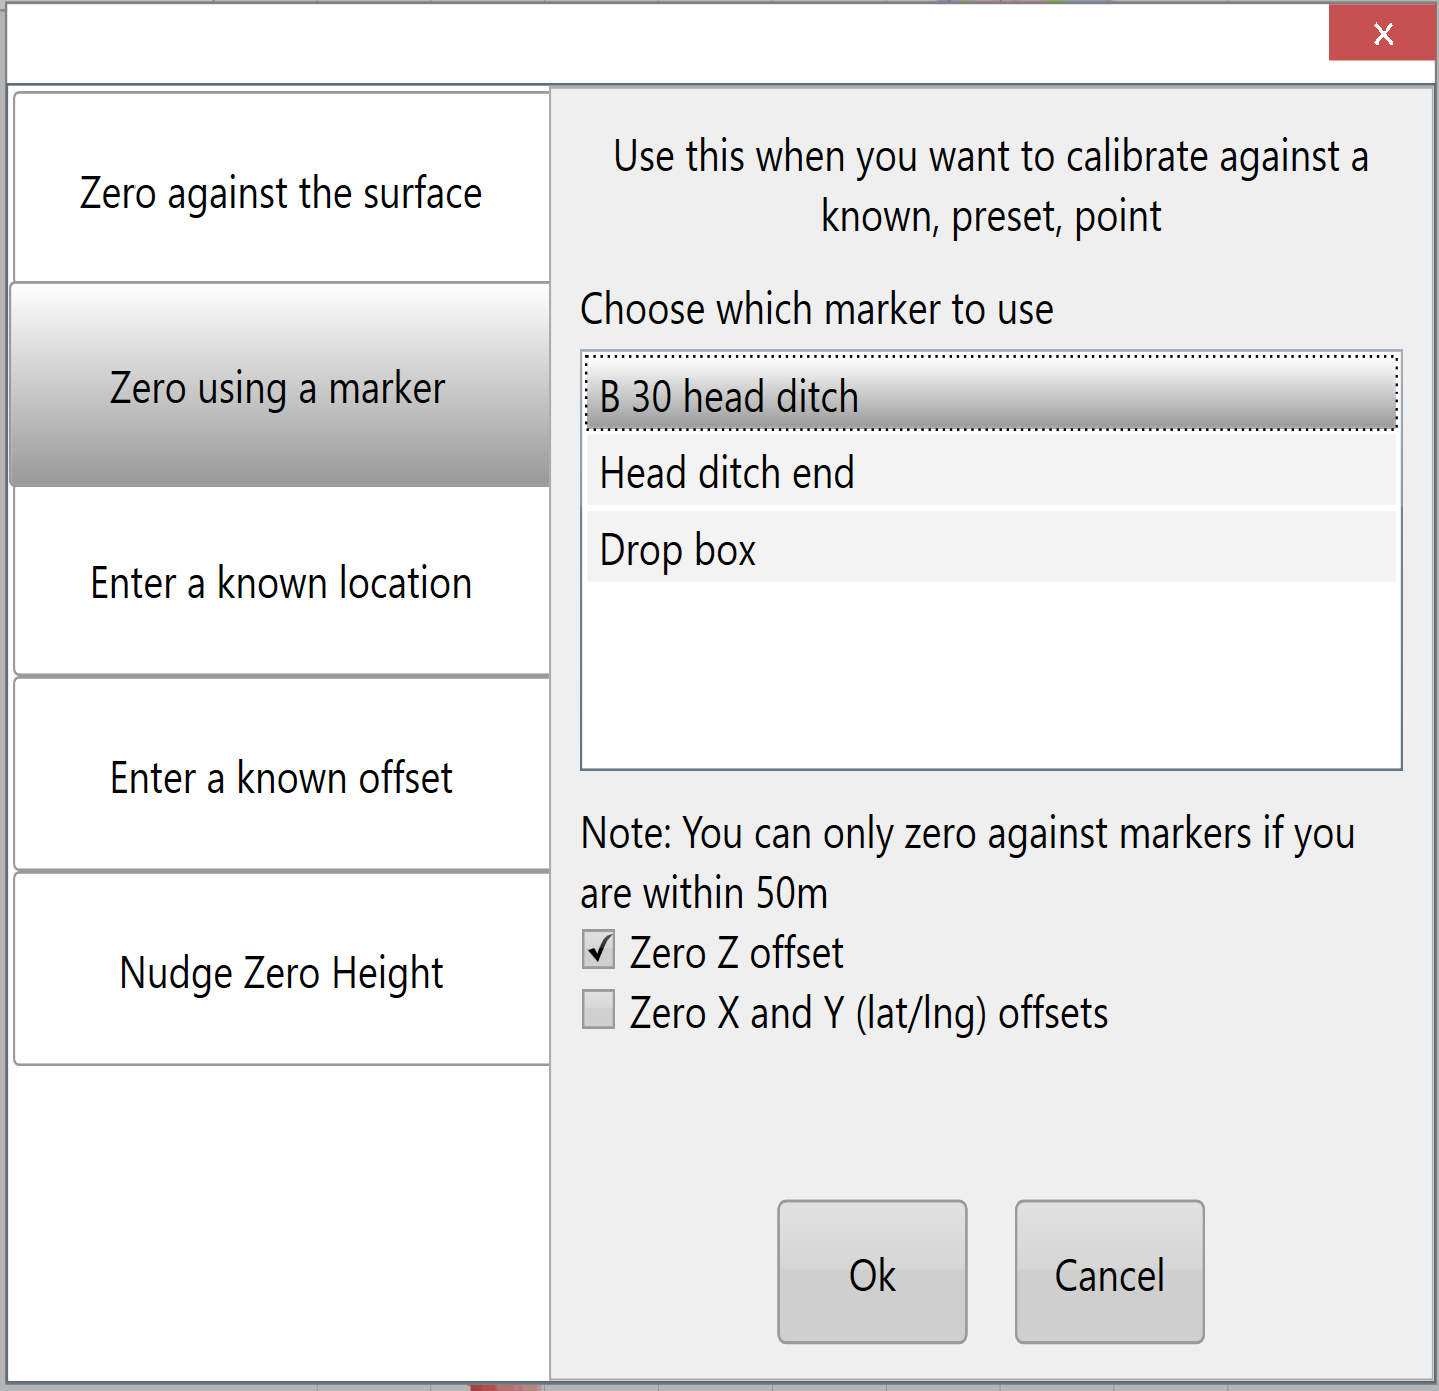**2. Zero against a marker**This method is best used when you have a digital marker that you know has the correct position and height associated with it. Potentially this marker may have been created in another software package (like T3RRA Design) or may have been placed by you. You also must be at the exact location in (or out of) the field that the digital marker represents. Ideally this will be marked by a peg, or other permanent object. **This method has the benefit of being able to optionally zero the control map in the horizontal direction as well.******
One point to note here relates to dropping markers while surveying with a scraper. Normally you will survey with the scraper at full elevation. This means that markers dropped will be at the same height as the rest of the survey. This is good. You may be tempted to lower the cutting blade to the ground when placing a marker on the map while surveying. Do NOT do this. Do not alter the scraper elevation when surveying just to drop a marker. If you come back to the same location as the marker when zeroing DO place the blade on the ground prior to setting the zero. The difference in the scraper blade height when surveying (verse implementing) will be accounted for.
###### 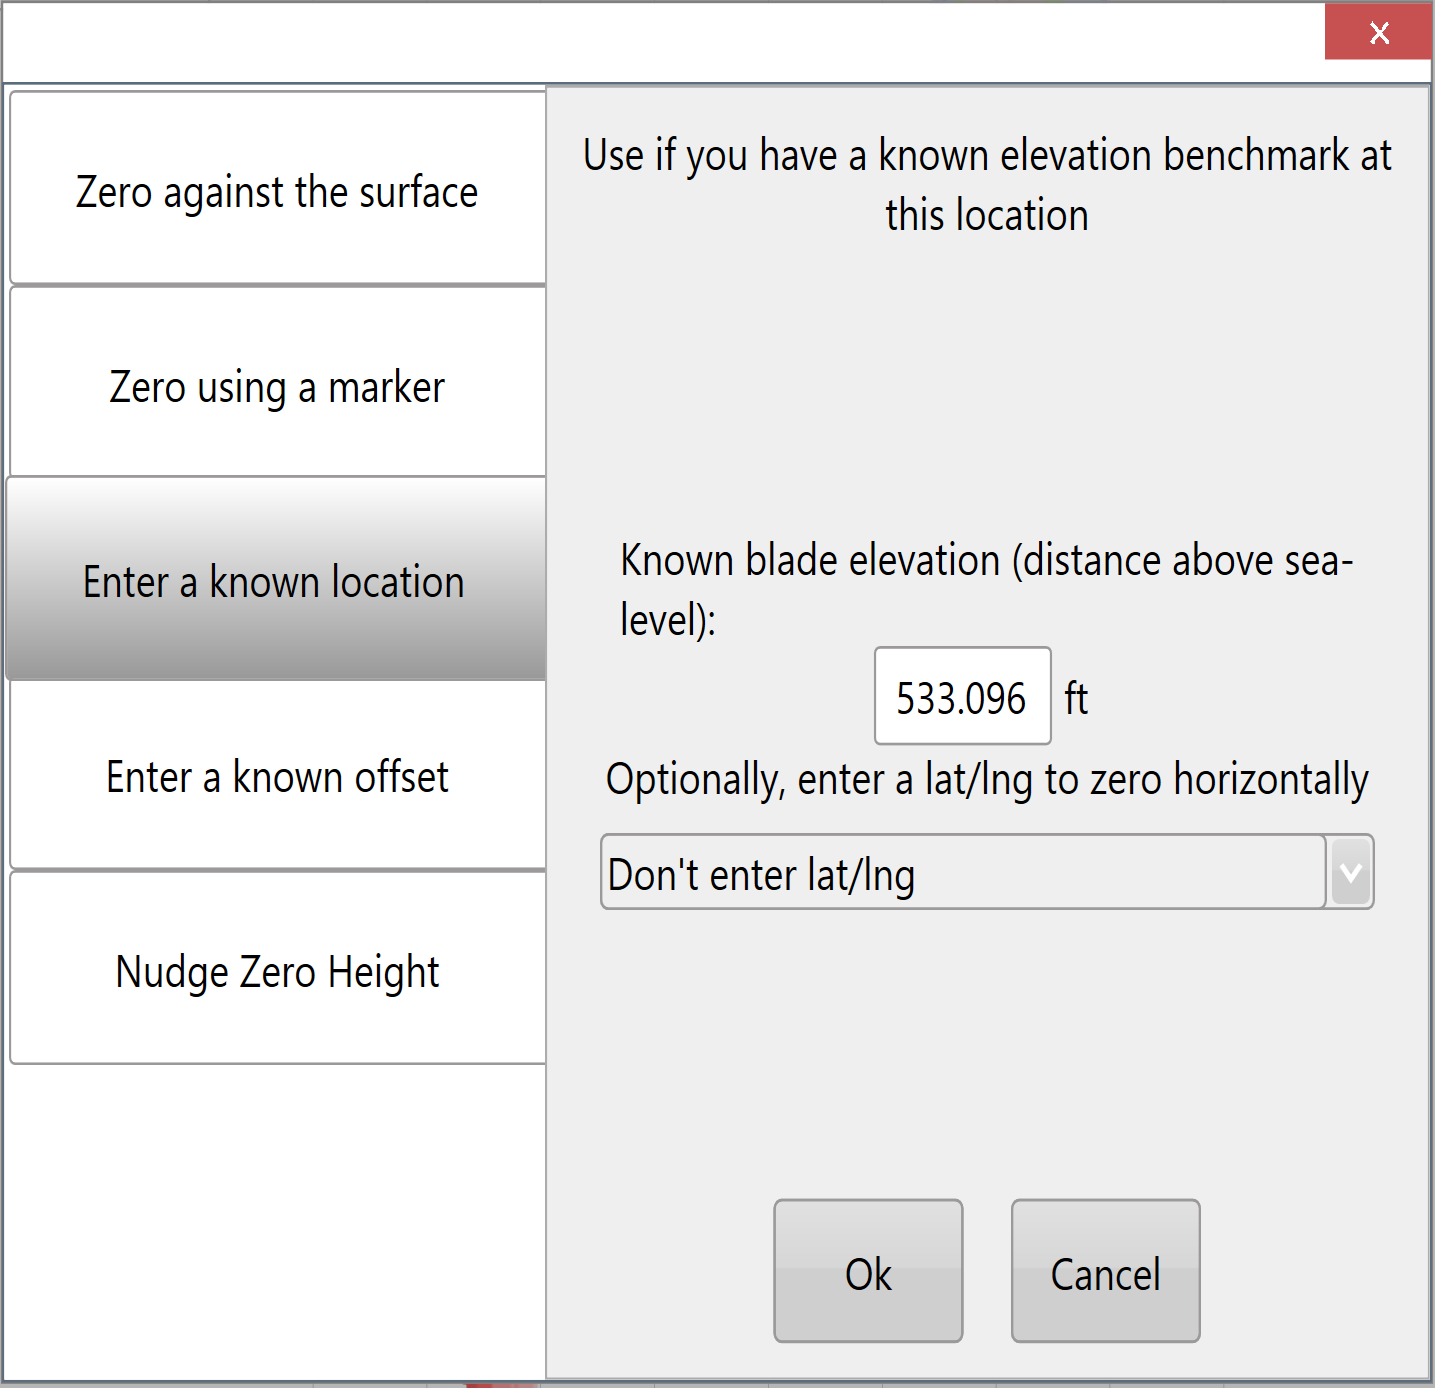**3. Zero against a known location**Sometimes you will have a location in the field where the height (and possibly horizontal location) is known. An example of this would be where a surveyor has surveyed the field and has left a survey peg to benchmark off. As long as you have imported the surveyors terrain file that peg can be used to zero the system. Drive to the peg, place your cutting edge on top of the peg (assuming the known height is at the top of the peg) and zero. You can optionally add in the latitude and longitude to adjust the map horizontally if this information has also been supplied.
###### 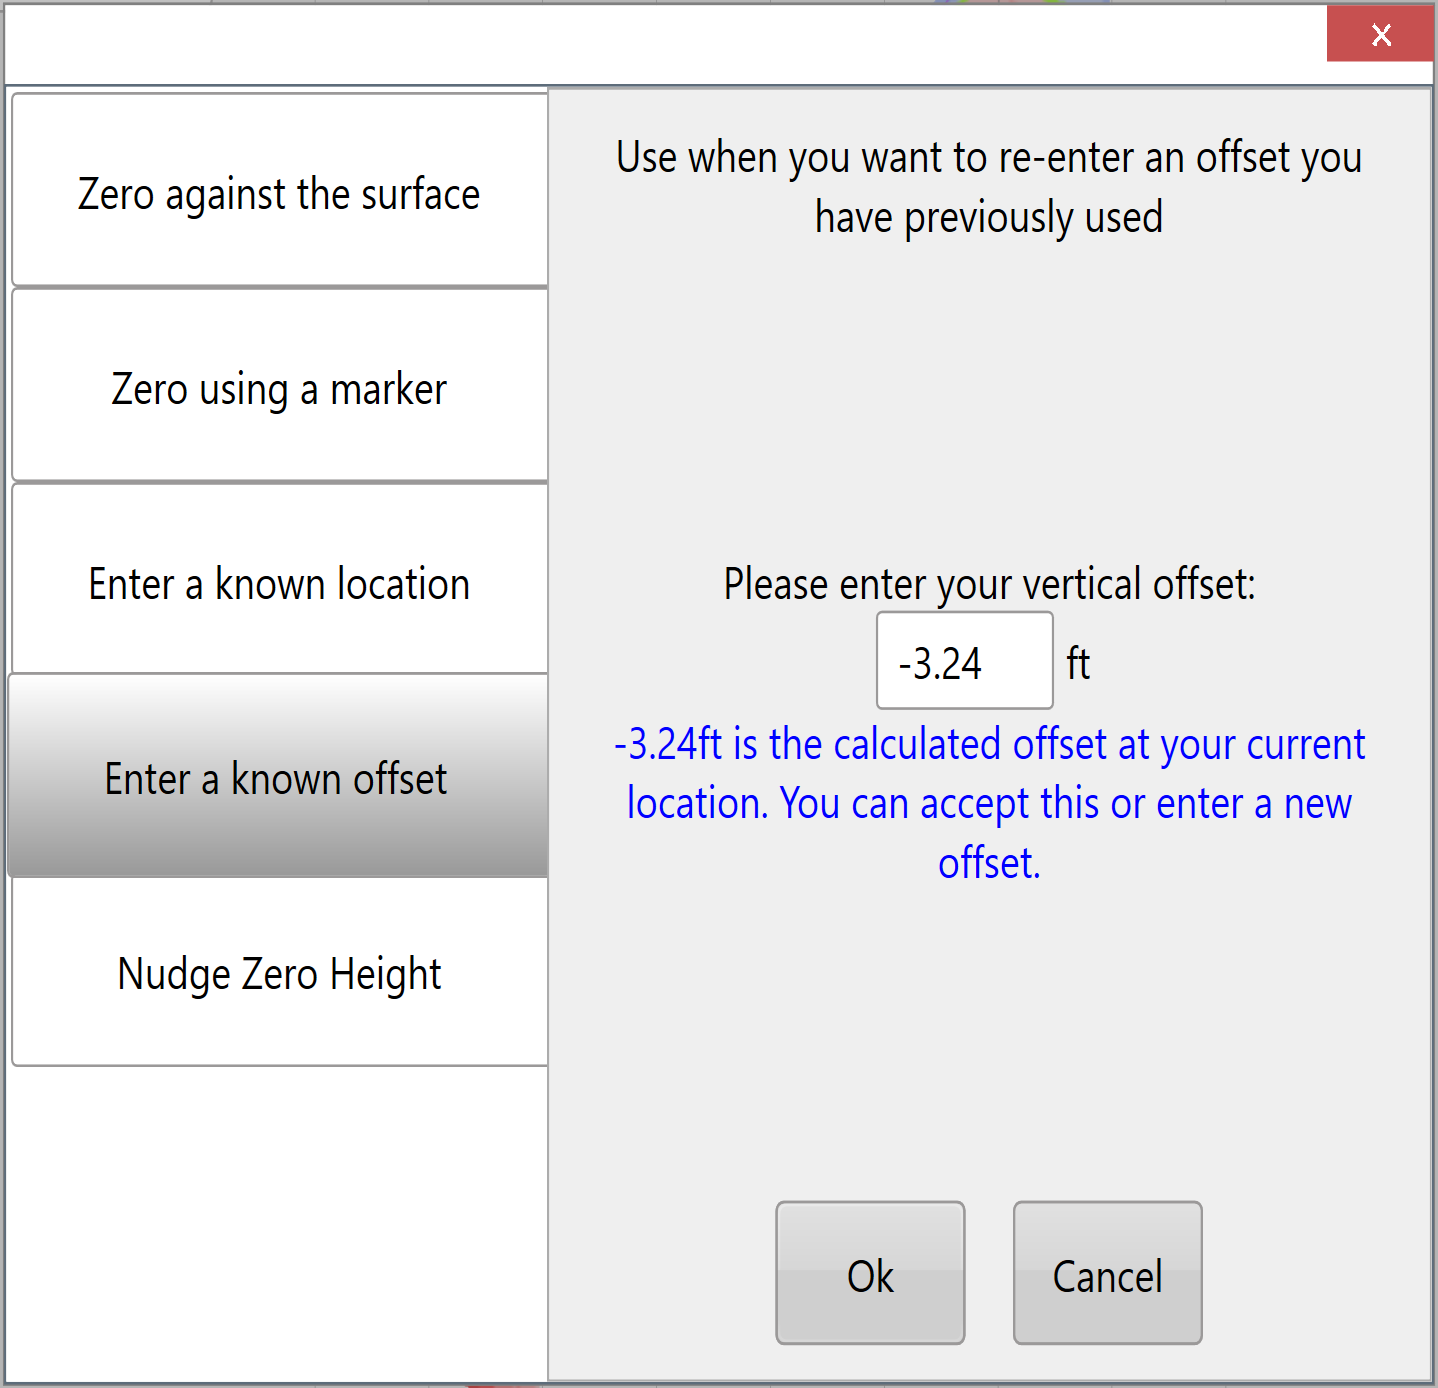**4. Zero using a known offset**The vertical offset used to zero can be calculated manually if you are aware of all the contributing elevation differences. In most cases it is far easier and less error prone to use another method. However there are instances where calculating this value is straightforward. For instance, if you use the implement receiver on a scraper pan to survey with the offset used for zeroing is simply the height of the blade above the ground while surveying. This method can also be useful in another situation. If you have zeroed a project and recorded the resulting vertical offset you can manually enter it back into the project if needed. This might happen if you take the project into another program to alter (such as T3RRA Design) but it returns without the vertical offset (which may have been stripped out as part of the process).
###### 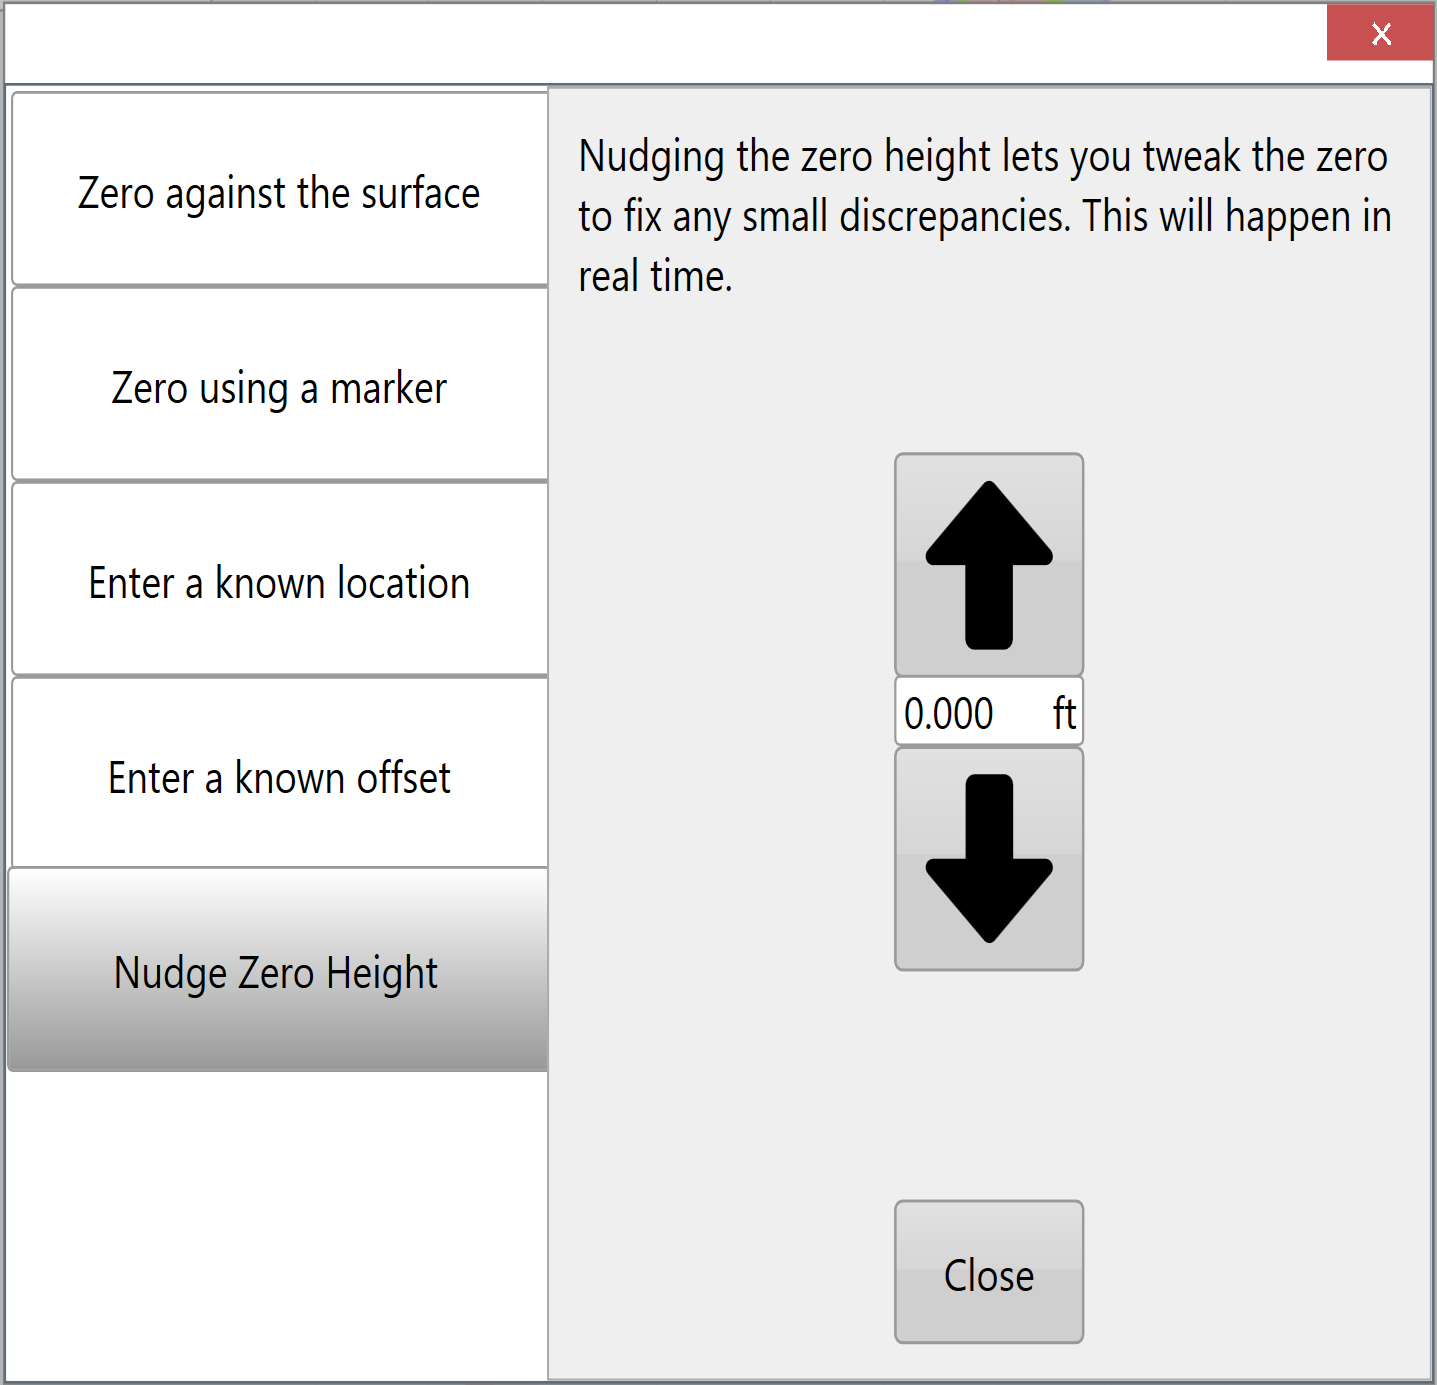**5. Zero by nudging**Even after zeroing you may need to alter the vertical offset slightly. Compensating for GPS drift may be a reason to do this. Or you may want to alter the design surface height slightly to improve your cut and fill balance.