# 7.11 | Auto-Drains Design

<span style="font-weight: 300;">![Auto Drains tool button](https://docs.t3rra.com/uploads/images/gallery/2025-03/scaled-1680-/Y7k0knle-88wlcon-vf58simnmsxhf2zptefa-png.png)You can use Auto-Drains to </span><span style="font-weight: 300;">automatically generate drain paths for wet areas in your field. It will calculate optimal ditch lines to drain depressions. There are two tabs in Auto-Drains:</span>

1. <span style="font-weight: 300;">‘</span><span style="font-weight: 400;">**Create**</span><span style="font-weight: 300;">’ controls the parameters that must be met before drains are applied to the surface.</span>
2. <span style="font-weight: 300;">‘</span><span style="font-weight: 400;">**Edit Drains**</span><span style="font-weight: 300;">’ allows for editing of the drain paths.</span>

![Auto-Drains workspace showing an elevation map and drain design controls](https://docs.t3rra.com/uploads/images/gallery/2025-03/scaled-1680-/qEWohzffnqgysvwngv-cmtny8ardcmcnif-ew-png.png)

## <span style="font-weight: 400;">**Create Drains**</span>

<span class="fr-video fr-deletable fr-fvc fr-dvb fr-draggable"><iframe class="fr-draggable align-center" height="360" src="https://www.youtube.com/embed/j-e5TWS83ds?&wmode=opaque" style="border: 0;" title="Create Drains demonstration video" width="640"></iframe>

</span>

[Watch the Create Drains video on YouTube](https://www.youtube.com/watch?v=j-e5TWS83ds)

![Create Drains controls for smoothing and depression criteria](https://docs.t3rra.com/uploads/images/gallery/2025-03/scaled-1680-/71Or1jktou9glbskezj5kxwo4mzkl-32x0qza-png.png)<span style="font-weight: 400;">‘**Line smoothing strength**</span><span style="font-weight: 300;">’ - Adjusts how many sharp turns and how smoothly the drain lines flow. The further to the right the slider is the more rounded the lines will be (with decreased sharp turns).</span>

<span style="font-weight: 400;">‘**Surface smooth strength**’ - A</span><span style="font-weight: 300;">djusts the surface by applying an averaging filter to the surface of the field to remove bumps and dips without creating a full field earthwork design.</span>

<span style="font-weight: 300;">'</span><span style="font-weight: 400;">**Min. drain length**</span><span style="font-weight: 300;">' - Sets the minimum length a drain must be to be displayed on the surface.</span>

<span style="font-weight: 300;">‘</span><span style="font-weight: 400;">**Min. depression area**</span><span style="font-weight: 300;">' - Sets the minimum surface area a depression must cover before T3RRA software will consider draining it.</span>

<span style="font-weight: 300;">'</span><span style="font-weight: 400;">**Min. depression volume**</span><span style="font-weight: 300;">' - Sets a minimum volume for a depression before a drain will be implemented.</span>

<p class="callout info"><span style="color: rgb(226,80,65); font-weight: 300;">(<span style="font-weight: 400;">A depression will only be drained if it meets all </span><span style="font-weight: 400;">of the minimum length, area, and volume criteria.)</span></span></p>

<span style="font-weight: 300;">‘</span><span style="font-weight: 400;">**View Depressions**</span><span style="font-weight: 300;">’ - All depressions will be made visible (including those that did not meet above requirements).</span>

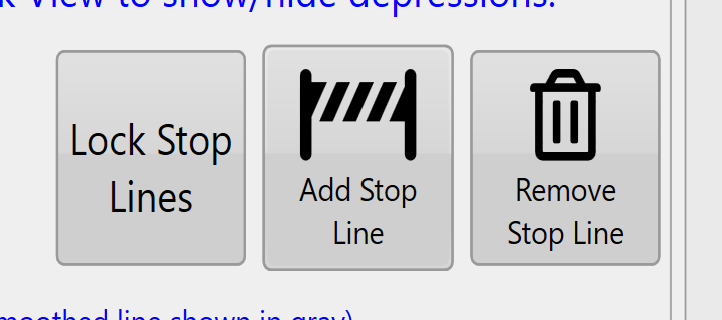
<span style="font-weight: 300;">‘</span><span style="font-weight: 400;">**Add Stop Line**</span><span style="font-weight: 300;">’ - Creates a line on the screen with red anchors at each end. Drain lines will not cross this line. ![Add Stop Line controls beside Lock Stop Lines and Remove Stop Line](https://docs.t3rra.com/uploads/images/gallery/2025-03/scaled-1680-/4cJbac36mc6e8ggyu169ddszkon6sv0pygt3a-png.png)To confirm the placement, press the ‘</span><span style="font-weight: 400;">**Lock Stop Lines**</span><span style="font-weight: 300;">’ button</span>. Pressing the white anchor in the centre of the lines will create another red anchor so that lines can be adjusted. Additional stop lines can be added by pressing the ‘<span style="font-weight: 400;">**Add Stop Line**</span><span style="font-weight: 300;">’ button again.</span>
## <span style="font-weight: 400;">**Edit Drains**</span>

<span style="font-weight: 300;">![Edit Drains panel showing the existing-drain list and edit controls](https://docs.t3rra.com/uploads/images/gallery/2025-03/scaled-1680-/Dqutc4brxwailf-aiqtwate8xidgka0-tll4q-png.png)</span>

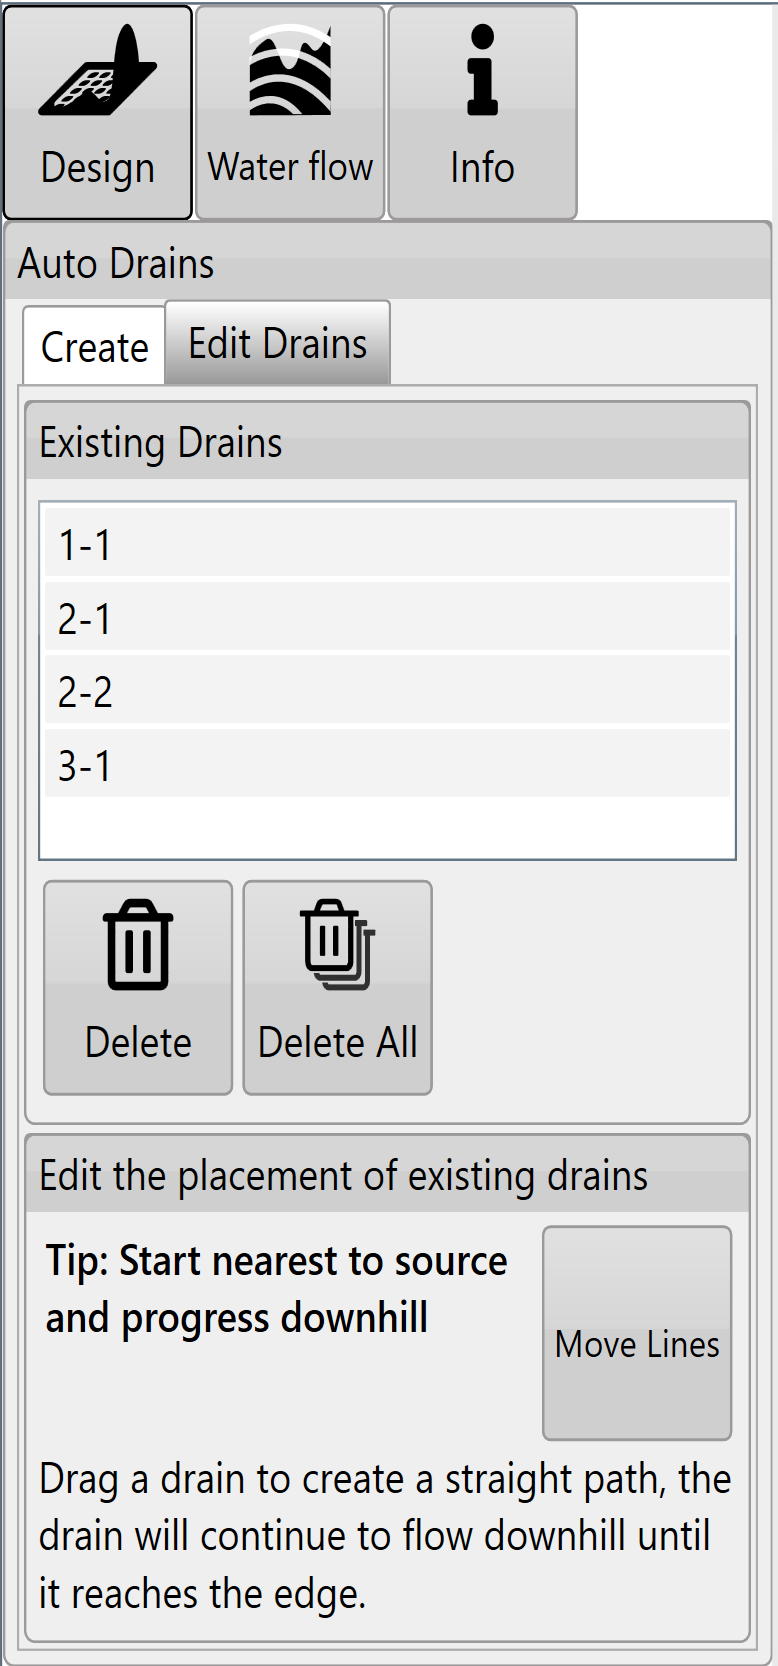
<span style="font-weight: 300;">The ‘</span><span style="font-weight: 400;">**Existing Drains**</span><span style="font-weight: 300;">’ list will show all drains in the current project.</span>

- <span style="font-weight: 300;">Tapping on any of the drains in the list will select or unselect it. Multiple drains can be selected at once.</span>
- <span style="font-weight: 300;">‘</span><span style="font-weight: 400;">**Delete**</span><span style="font-weight: 300;">’ will delete all of the selected drains.</span>
- <span style="font-weight: 300;">‘</span><span style="font-weight: 400;">**Delete All**</span><span style="font-weight: 300;">’ deletes all drains in the list (even if they have not been selected).</span>
- <span style="font-weight: 300;">‘</span><span style="font-weight: 400;">**Move Lines**</span><span style="font-weight: 300;">’ will allow all the drain lines on the surface to be edited(shown in bottom image).</span>
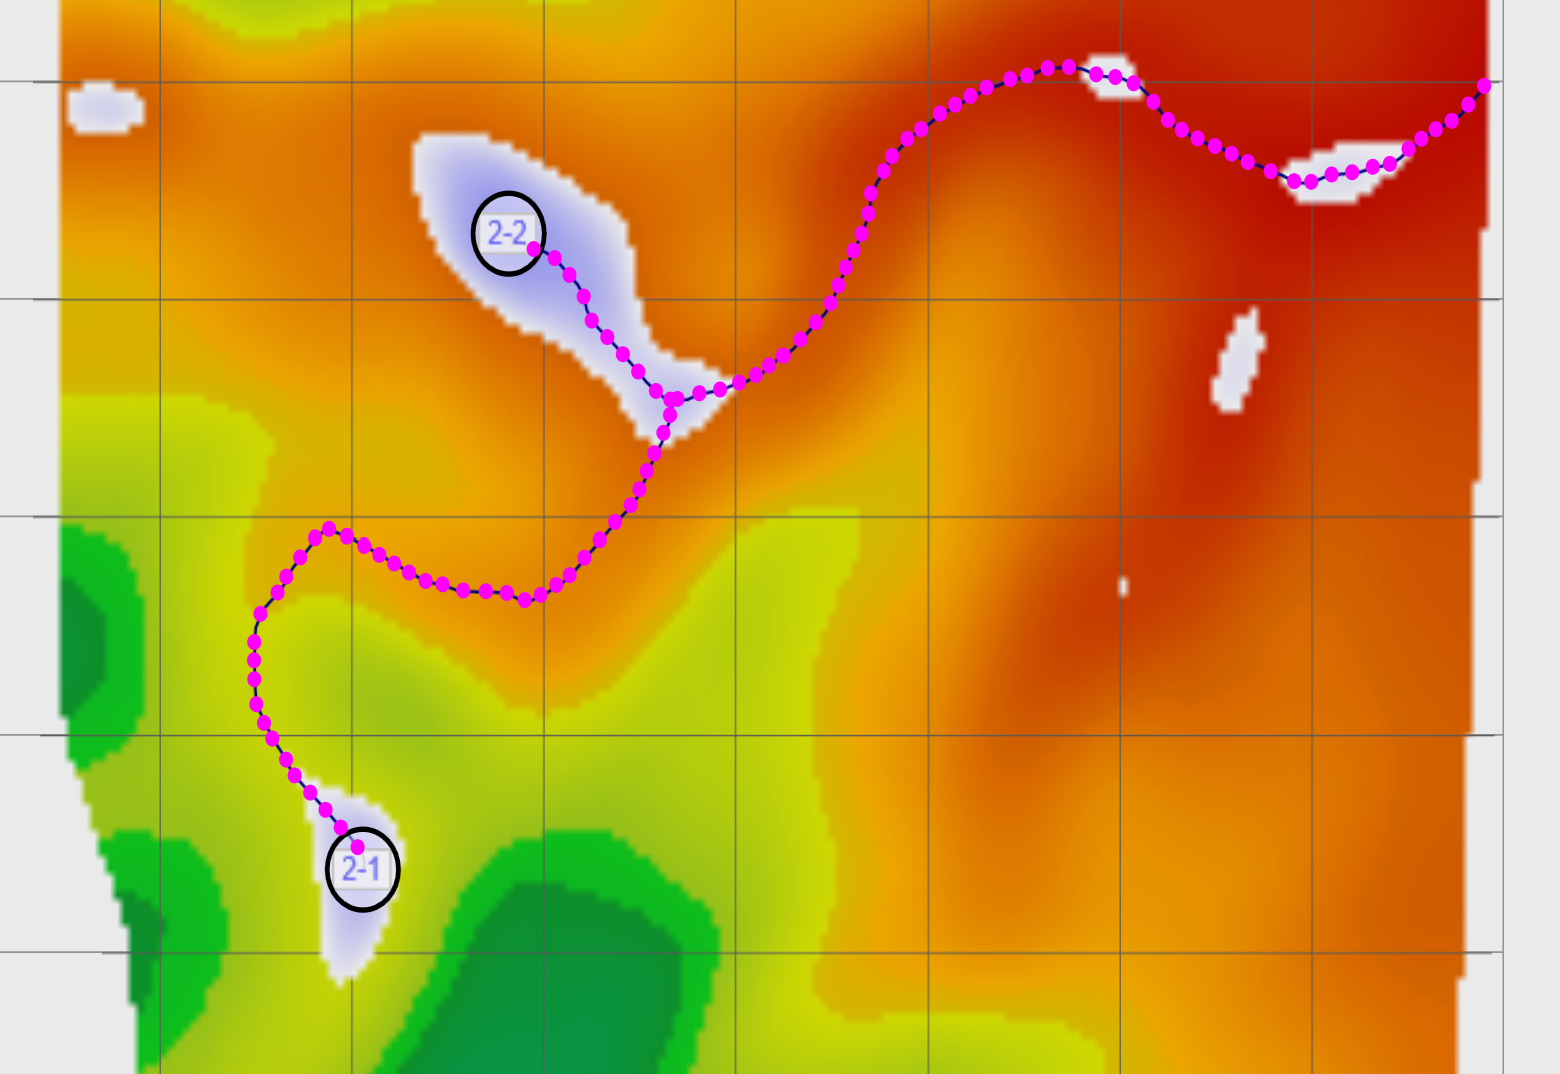
- <span style="font-weight: 300;">Drain lines will have blue dots along them to indicate they can be moved to adjust the drain path.</span>
- <span style="font-weight: 300;">Always start at the origin point (which can also be moved) and move downhill w<span style="font-style: normal; font-weight: 300; letter-spacing: normal; text-align: left; text-indent: 0px; text-transform: none; word-spacing: 0px; white-space: normal; text-decoration-thickness: initial; text-decoration-style: initial; text-decoration-color: initial; display: inline; float: none;">hen moving drain lines</span>. </span>
- <span style="font-weight: 300;">The drain lines will automatically adjust their paths according to your changes to ensure they flow off the edge of the surface.</span>
- <span style="font-weight: 300;">Press '</span><span style="font-weight: 400;">**Save Changes**</span><span style="font-weight: 300;">' to keep changes or ‘</span><span style="font-weight: 400;">**Discard Changes**</span><span style="font-weight: 300;">’ to revert to the original paths.</span>

<p class="callout info"><span style="color: rgb(255,0,0); font-weight: 300;">![Elevation map showing the drain paths discussed in the NOTE.](https://docs.t3rra.com/uploads/images/gallery/2025-03/scaled-1680-/v7vrepegjk15-nrpj2c6jodrd3gcquxpwiag-png.png)NOTE: If you make an adjustment on a drain line and make a second adjustment closer to the origin point the first adjustment will revert to the line's original state. Auto-drains ALWAYS flow downhill from the point of the last change.</span></p>

<span style="font-weight: 300;">Once you are happy with the drains go back to the wizard page and use the ‘</span><span style="font-weight: 400;">**Drain Design**</span><span style="font-weight: 300;">’ function to set their profiles and cross sections.</span>

<span style="font-weight: 300;"><span class="fr-video fr-deletable fr-fvc fr-dvb fr-draggable"><iframe class="fr-draggable align-center" height="360" src="https://www.youtube.com/embed/2bidhKMix7s?&wmode=opaque" style="border: 0;" title="Edit Drains demonstration video" width="640"></iframe>

</span></span>

[Watch the Edit Drains video on YouTube](https://www.youtube.com/watch?v=2bidhKMix7s)