# 6. Surfacing
# Surfacing
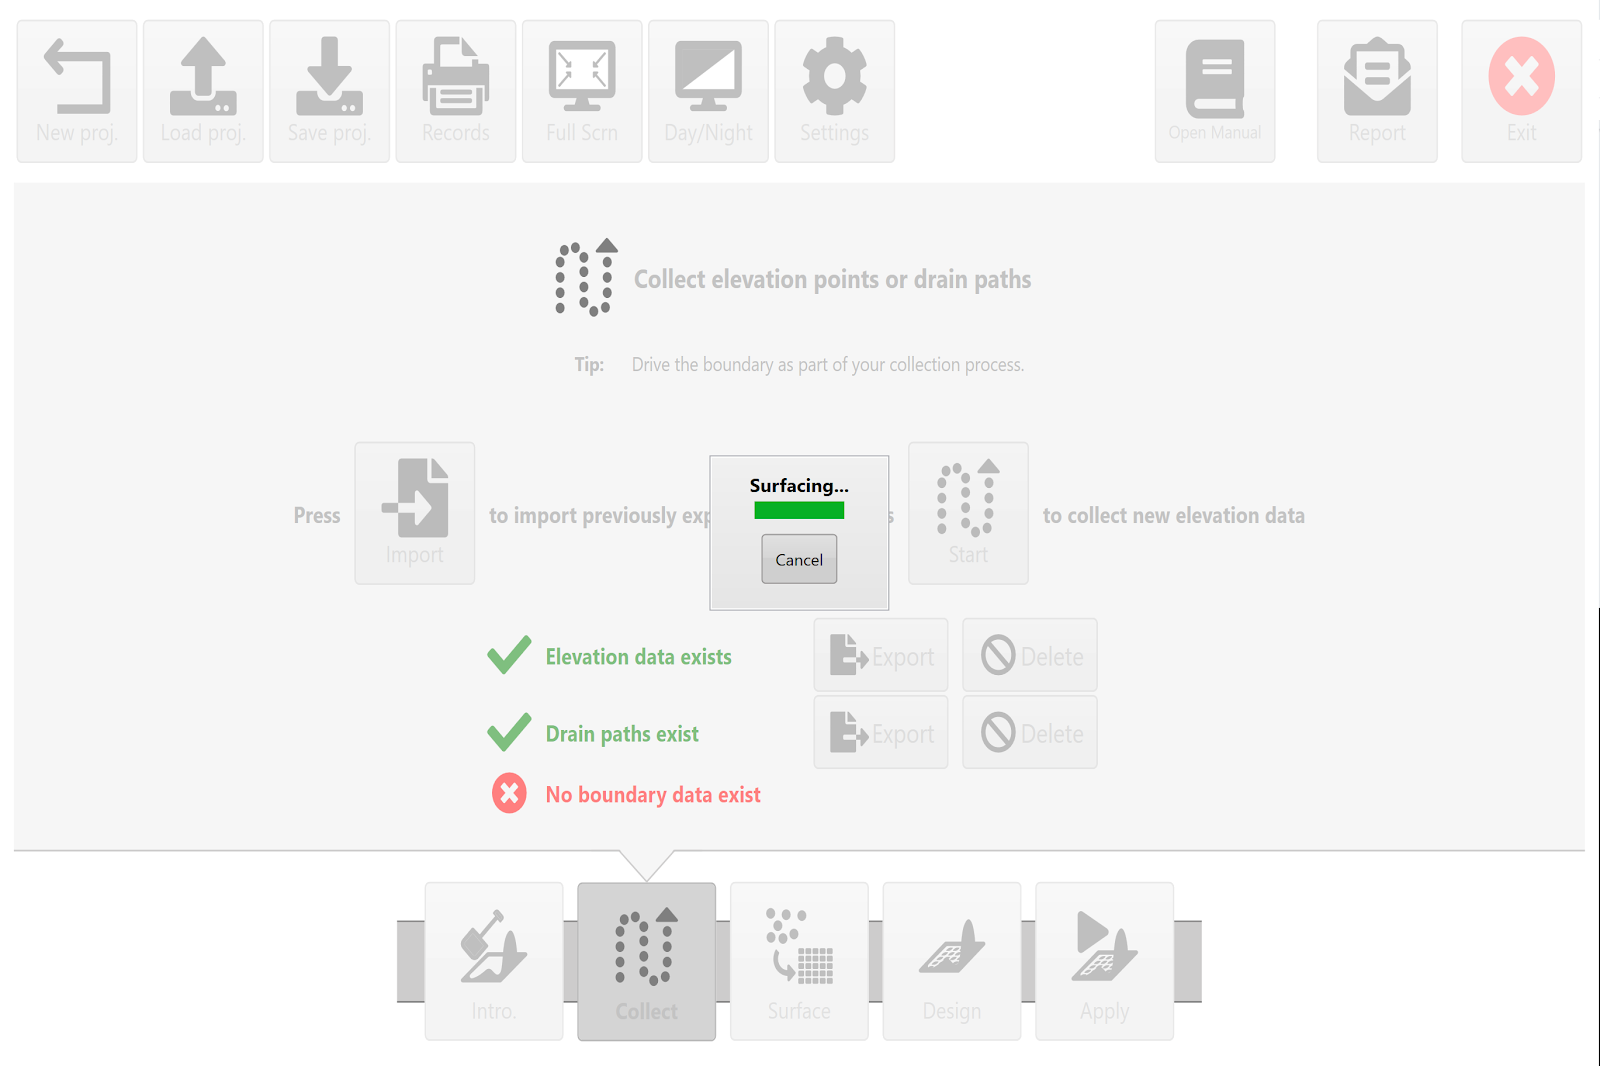
"**Surfacing**" is a term used to describe the process of creating a continuous map (i.e., a “surface”) from all the discrete elevation data points collected in the '**Collect**' wizard step. This is done so that every location in the field (or work area) has an elevation point associated with it, not just the places where GPS data was physically collected. The software estimates values in all the blank areas between the survey dots. For every blank position on the map it looks a set distance in every direction to find actual surveyed points. This distance is called the ‘**Search radius**’. Once it finds enough points it will estimate the blank location based on these points.Upon exiting the '**Collect**' step, T3RRA will attempt to automatically calculate the best search radius and create a surface from the collected data. If you wish to view the surfaced data before going to the ‘**Design**’ wizard step, pressing the '**Surface**' wizard button (at screen bottom) will allow you to both view it and make manual changes (if it does not match your expectations). **NOTE**: If you make a change to the collected elevation points (for example: by deleting a drain) you should re-run the surfacing step.
# Setting the Search Radius Manually
If the automatically generated search radius does not achieve what you expect it is possible to manually adjust the search radius in the bottom left corner of the surfacing page. There are a few things to take into account when manually adjusting the search radius.When converting discrete elevation points into a continuous surface, a ‘**Search radius**’ is required. To estimate the elevation at any point on the surface which was not directly measured, we look at the surrounding measured points. The distance the surfacing algorithm will look for surrounding points is determined by the search radius.Gaps will appear on the surface if the search radius is smaller than required. There is normally no visible effect on the resultant surface if the search radius is larger than required (although the surfacing will take longer to complete). In some instances surface artifacts will occur where the surface bridges across sections of the field where you would not expect it to. Examples might be a pond in a field, or the inside corner of an “L” shaped field. You can sometimes remove these areas by choosing a smaller search radius. Normally the effect of these artifacts is not great, although they can have impacts on your area and dirt volume records.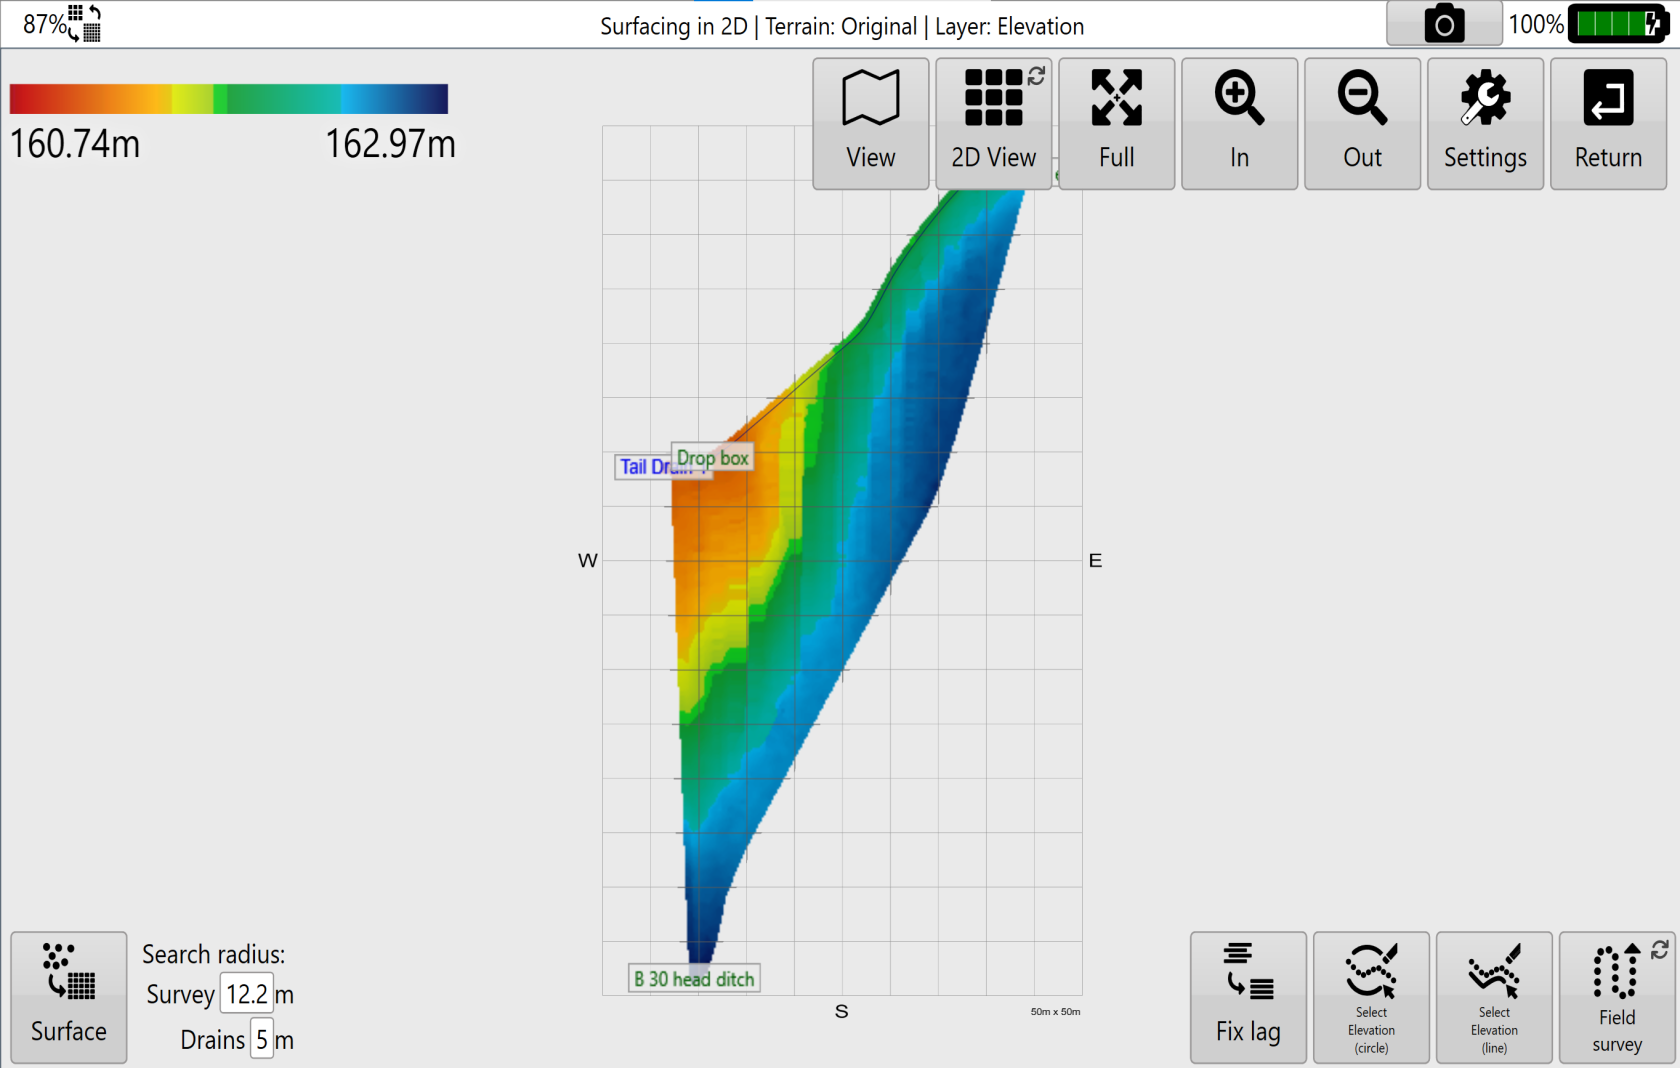In general, a search radius should be about 2 times the swath width at which the data was collected. This sizing should ensure that the time it takes to apply the surface is still short but that as much data as possible is used to generate a representative map.
# Inline Offset
'**Inline Offset**', also known as **'Fix Lag'**, is a surfacing tool that assists in making corrections to elevation data that is imported from other sources.To access this tool press the ‘**Fix Lag**’ button located at the left end of the tools at the bottom of the screen. Pressing this button will open a pop-up window that will provide you with the options to correct elevation alignment. When correcting elevation data adjustments will be updated in real time on the map. This will help to make sure that the changes you are making are correct before accepting them. 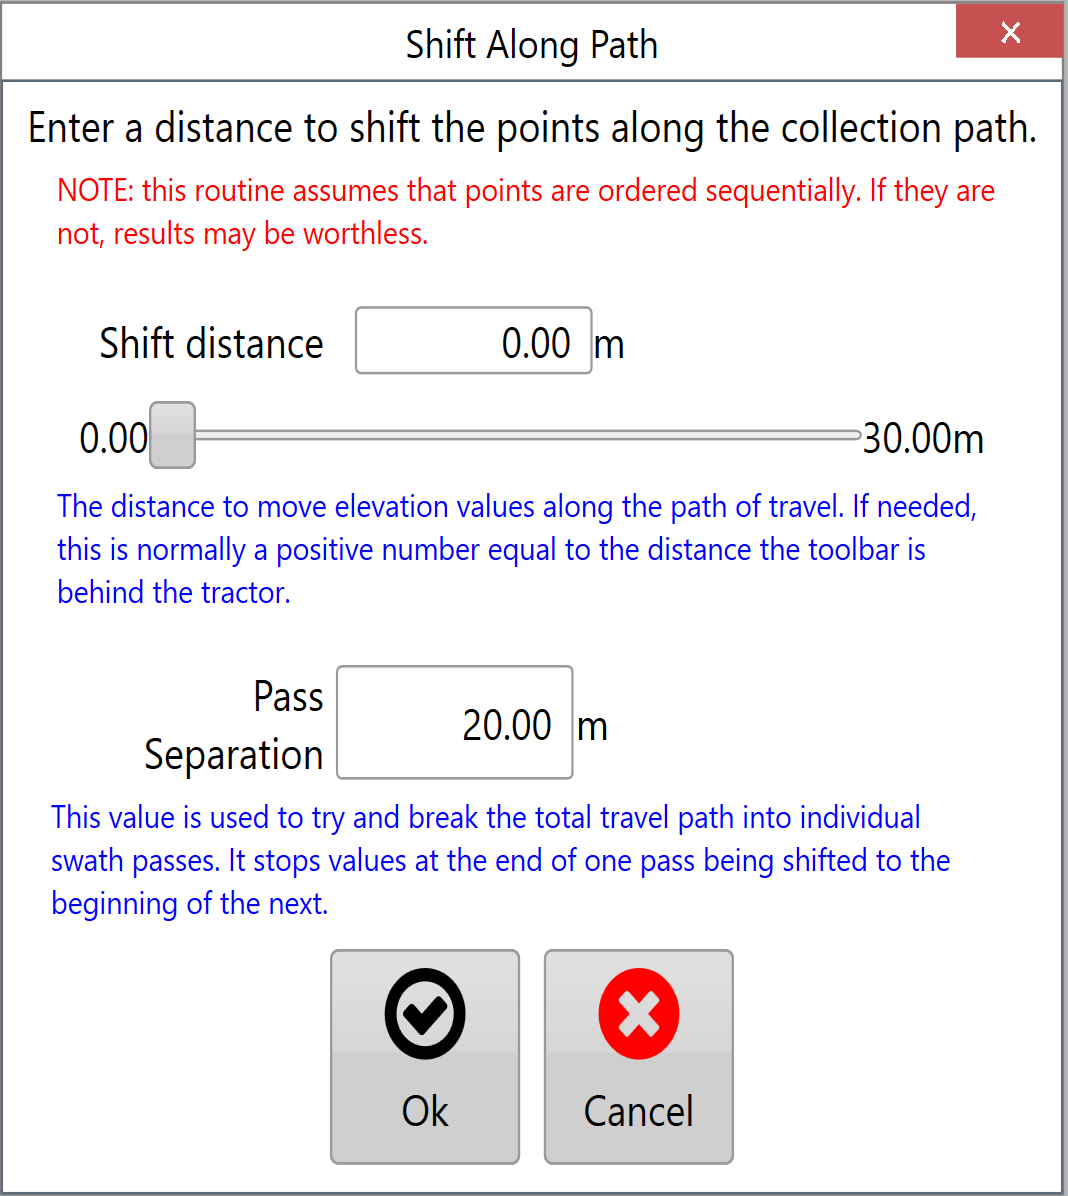There are 2 settings that control the correction of elevation data. '**Shift distance**' moves the data points along the recorded path and can only adjust data to a maximum distance of 30m/100ft. The distance can be manually set or adjusted using the slider.'**Pass Separation**' is how far must be between any point and the next point along before it is considered to be a new segment. There is no limit to this distance.When making changes to the data in the inline offset window they will be reflected on the surface on the map - Check that your change has the desired effect before accepting.
# Surfacing a Survey also creates a design
This is a concept that can be confusing at first. When you surface a set of collected survey points you create a terrain model of the original elevation in the field. This is expected. But T3RRA software also automatically creates a design surface for you as well. This design surface is an exact duplicate of the original elevation surface.Because T3RRA software allows you to create design surfaces in separate regions of a field, and also create design surfaces based on existing design surfaces, it makes sense to always have a base layer to work off. And this base layer is an exact duplicate of the original surface.A side effect of this automatic creation of design layers is that you can go straight to implementation after surfacing even if you have not specifically created a design (surfacing is normally automatic, so really you can usually skip directly to implementing directly after collecting!). A design surface does exist, it’s just that the cut/fill map is made up of 0 values for the whole field.
# Survey point edit controls
During surveying and surfacing, there are various different ways to edit/remove drain and survey points. Field survey points are small circles, and drain survey points are small squares. The available tools include selecting by Z (indicated with a histogram), select by lasso, select by circle, and select by path:Most of the “Select by” tools operate in very similar ways. Press down on the screen at a starting position and then drag away from that position to define the extent of the deleted area.**'****Select by Z’** allows you select elevation points by their height. After you click on it, you’ll see a graph of all your elevation data. Choose the data you want to select by clicking on the two dashed lines and using them to ‘wrap’ the data you want to select. When you click “Apply” you will be able to see the selection on the map, the selected points will be black.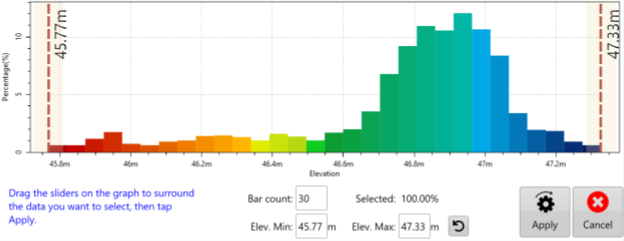**'****Select by circle****'** will select everything within the circumference of the drawn circle. Press down at the center of the circle and then drag outwards. A blue dotted line will show what you are about to select. The data will be selected when you release your finger. **‘Select by lasso’** allows a freeform selection. Click on the map and drag your finger to draw around the data you wish to edit. A blue dotted line will show what you are about to select. The data will be selected when you release your finger.'Select by path' will delete all consecutive points between point A and point B. Press down on the point where you would like to start, drag the point to an end point. All points that had been collected on that path between these two points will be selected. The data will be selected when you release your finger. While these functions are in use their buttons will display large red circles on them. This indicates that deleting is active. This is to help make sure you do not accidentally select things while trying to perform other tasks such as moving the screen or zooming. Pressing the buttons will cancel selection.
---
Once selections have been made you have two options.
#### Deleting Survey/Drain PointsClick on the “Delete” button that appears after selecting points. This will immediately delete the selected points. It’s recommended to save before doing this as the change is permanent.
#### Changing height of Survey/Drain PointsClick on the “Modify Elevation button” and you will then see the below screen. Enter the amount to change the elevation by and click “Apply”. Your data will immediately be updated and you will be able to see the change on screen. It’s recommended to save before doing this as the change is permanent.
# Survey Point edit controls
During surveying and surfacing, there are various different ways to edit/remove drain and survey points.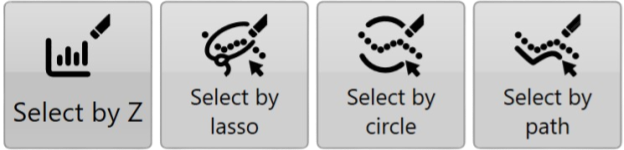**'****Select by Z’** allows you select elevation points by their height. After you click on it, you’ll see a graph of all your elevation data. Choose the data you want to select by clicking on the two dashed lines and using them to ‘wrap’ the data you want to select. When you click “Apply” you will be able to see the selection on the map, the selected points will be black.**'****Select by circle****'** will select everything within the circumference of the drawn circle. Press down at the center of the circle and then drag outwards. A blue dotted line will show what you are about to select. The data will be selected when you release your finger. 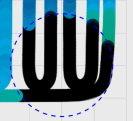**‘Select by lasso’**allows a freeform selection. Click on the map and drag your finger to draw around the data you wish to edit. A blue dotted line will show what you are about to select. The data will be selected when you release your finger.'Select by path' will delete all consecutive points between point A and point B. Press down on the point where you would like to start, drag the point to an end point. All points that had been collected on that path between these two points will be selected. The data will be selected when you release your finger.While these functions are in use their buttons will display large red circles on them. This indicates that deleting is active. This is to help make sure you do not accidentally select things while trying to perform other tasks such as moving the screen or zooming. Pressing the buttons will cancel selection.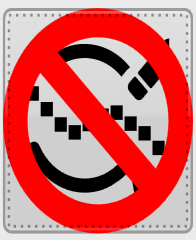Once selections have been made you have two options.
#### **Deleting Survey/Drain Points**Click on the “Delete” button that appears after selecting points. This will immediately delete the selected points. It’s recommended to save before doing this as the change is permanent.
#### **Changing height of Survey/Drain Points**Click on the “Modify Elevation button” and you will then see the below screen. Enter the amount to change the elevation by and click “Apply”. Your data will immediately be updated and you will be able to see the change on screen. It’s recommended to save before doing this as the change is permanent.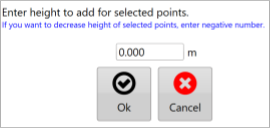
####