5.2 | Apply View Layout
The Layout page allows the Apply View to be customised to suit different machines, grading tasks and operator preferences.
To open the Layout page from the Apply View, press:
More → Layout
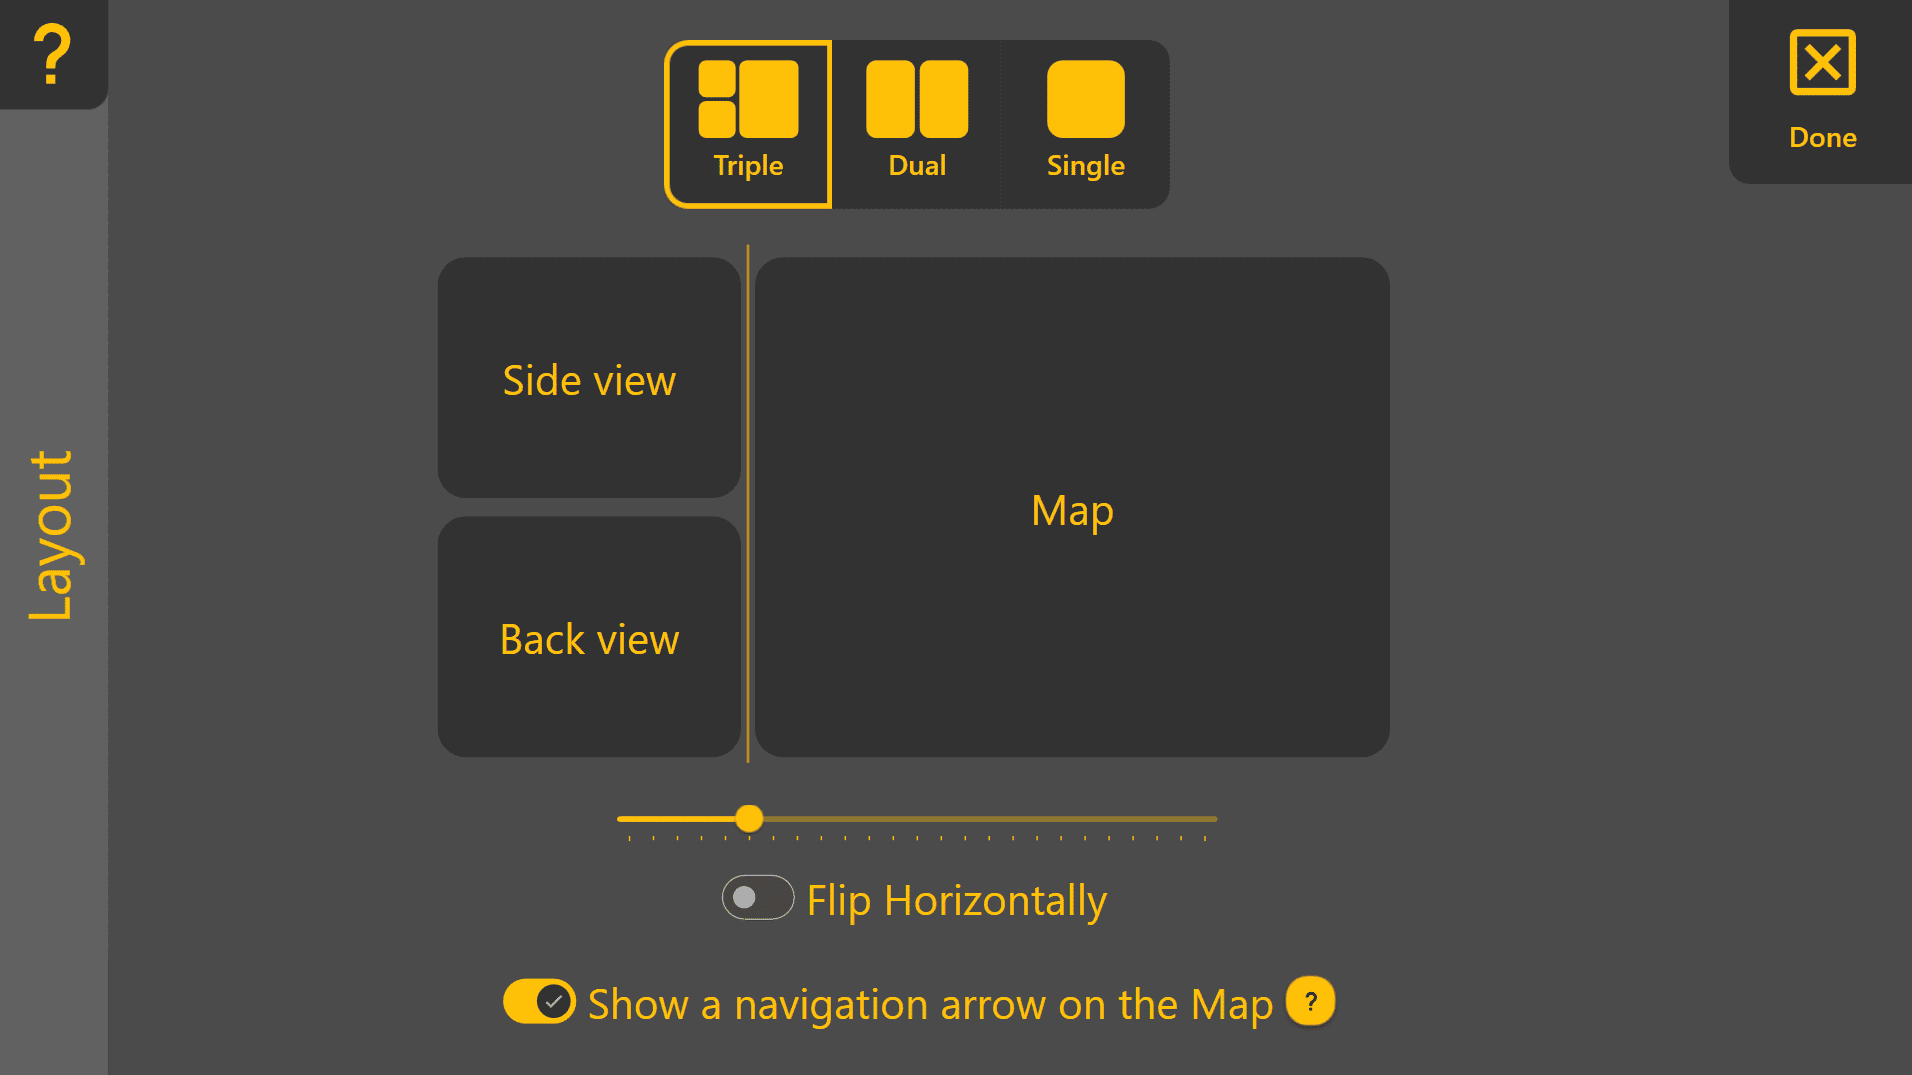
Choosing a Layout

Three layout modes are available:
- Triple – Displays one main viewing area with two secondary viewing areas.
- Dual – Displays one main viewing area with one secondary viewing area.
- Single – Displays a single view across the entire screen.
Select the desired layout by pressing Triple, Dual or Single at the top of the page.
Selecting Display Views
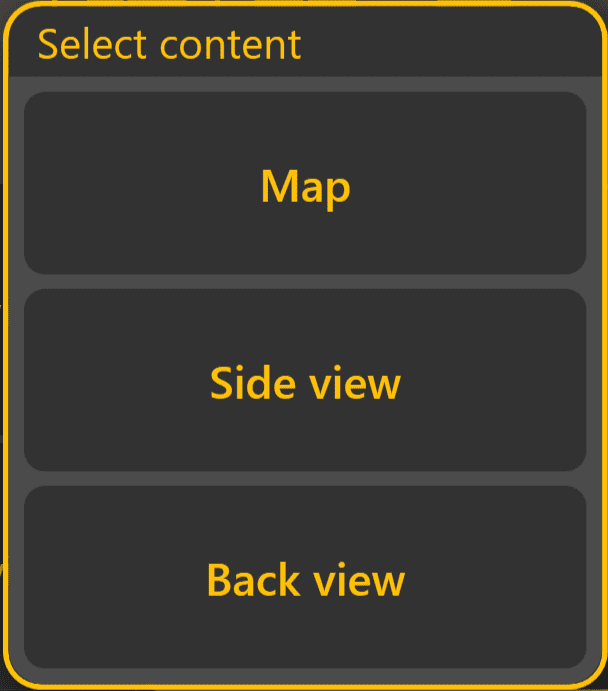
Each display area can independently display one of the following:
- Map
- Side View
- Back View
Simply press any display area shown on the Layout page to choose which view it will display.
This allows the Apply View to be configured for different operating tasks. Common examples include:
- Full-screen Map for maximum work area visibility.
- Map + Side View to preview upcoming cut and fill.
- Map + Back View to monitor cross-fall.
- Map + Side View + Back View to view all guidance information simultaneously.
Layout Options
Additional options are available when using the Dual or Triple layouts.
Split Position
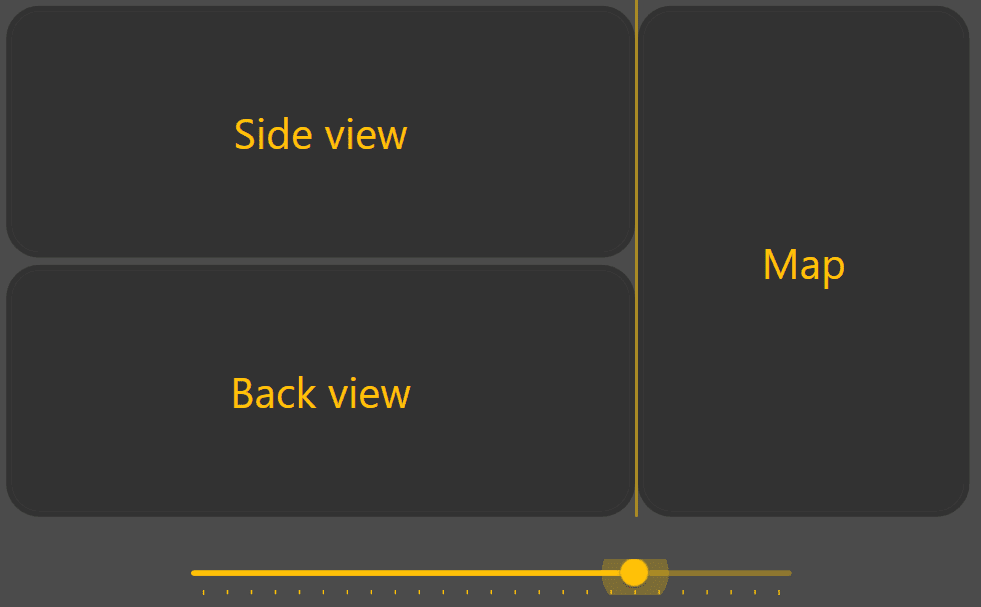 Use the slider to adjust how much screen space is allocated to the main viewing area and the secondary viewing areas.
Increasing the size of the main viewing area provides a larger Map display, while increasing the secondary viewing areas makes the Side View or Back View easier to monitor.
Flip Horizontally
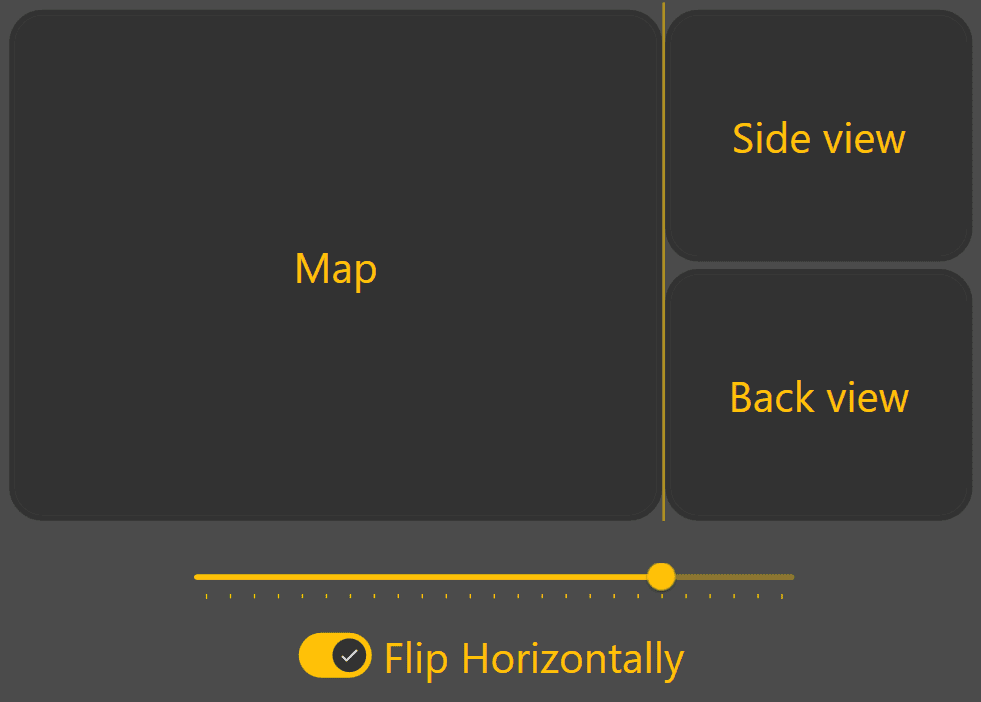
Enable Flip Horizontally to swap the positions of the main and secondary viewing areas.
This can improve visibility depending on display mounting position or operator preference.
Navigation Arrow
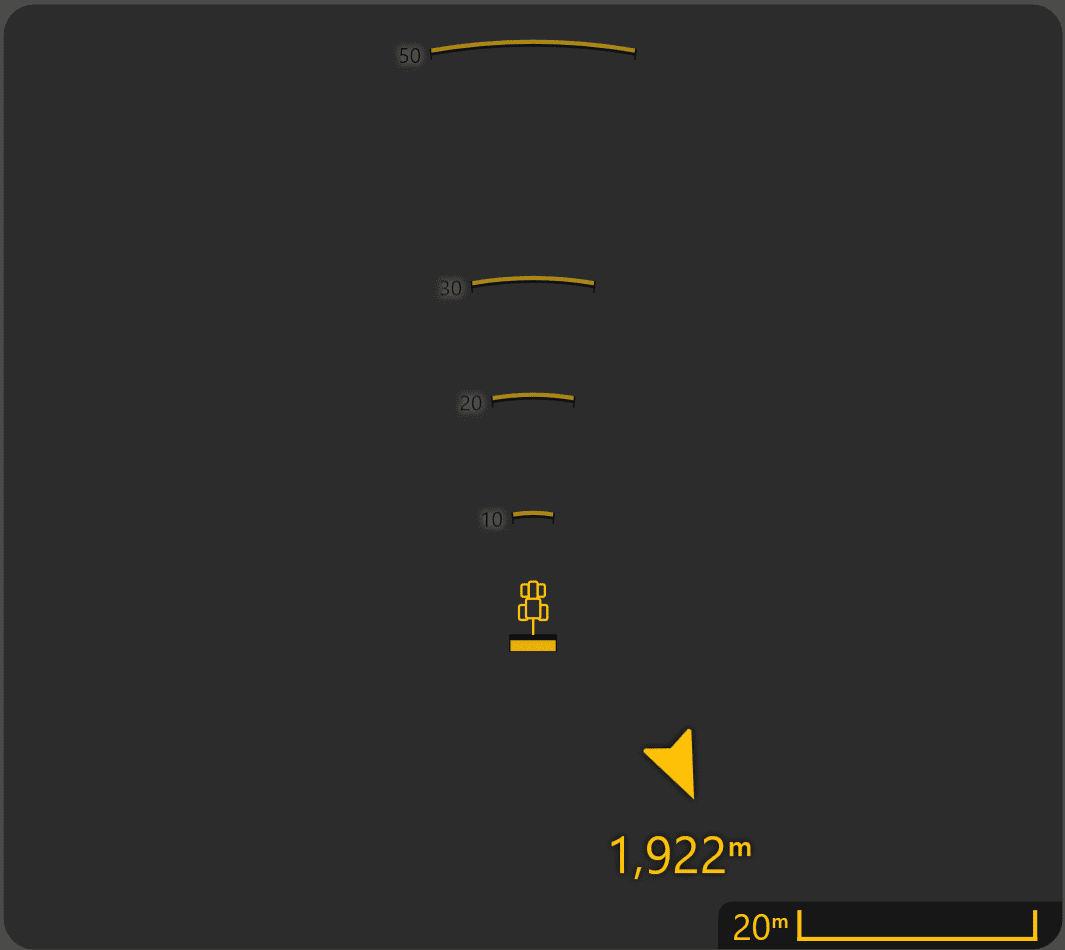
The arrow points towards the centre of the project surface and displays the approximate direction and distance to the work area. This can be particularly useful when travelling between fields or locating a project after loading it.
Continue to 5.3 | Widget Customisation to configure the information displayed along the bottom of the Apply View.