7 | Settings & Preferences
This chapter describes the application settings used to customise the Level COMMAND user experience. It covers display preferences, measurement units, language, software updates, licensing, support tools and advanced application settings.
- 7.1 | Appearance
- 7.2 | Units
- 7.3 | Language & Accessibility
- 7.4 | Updates & Release Management
- 7.5 | Licensing
- 7.6 | Support & Error Reporting
- 7.7 | Diagnostics / Advanced
7.1 | Appearance
The Appearance page allows you to customise how Level COMMAND is displayed. These settings only affect the user interface and map presentation—they do not change how the guidance or automatic control system operates.
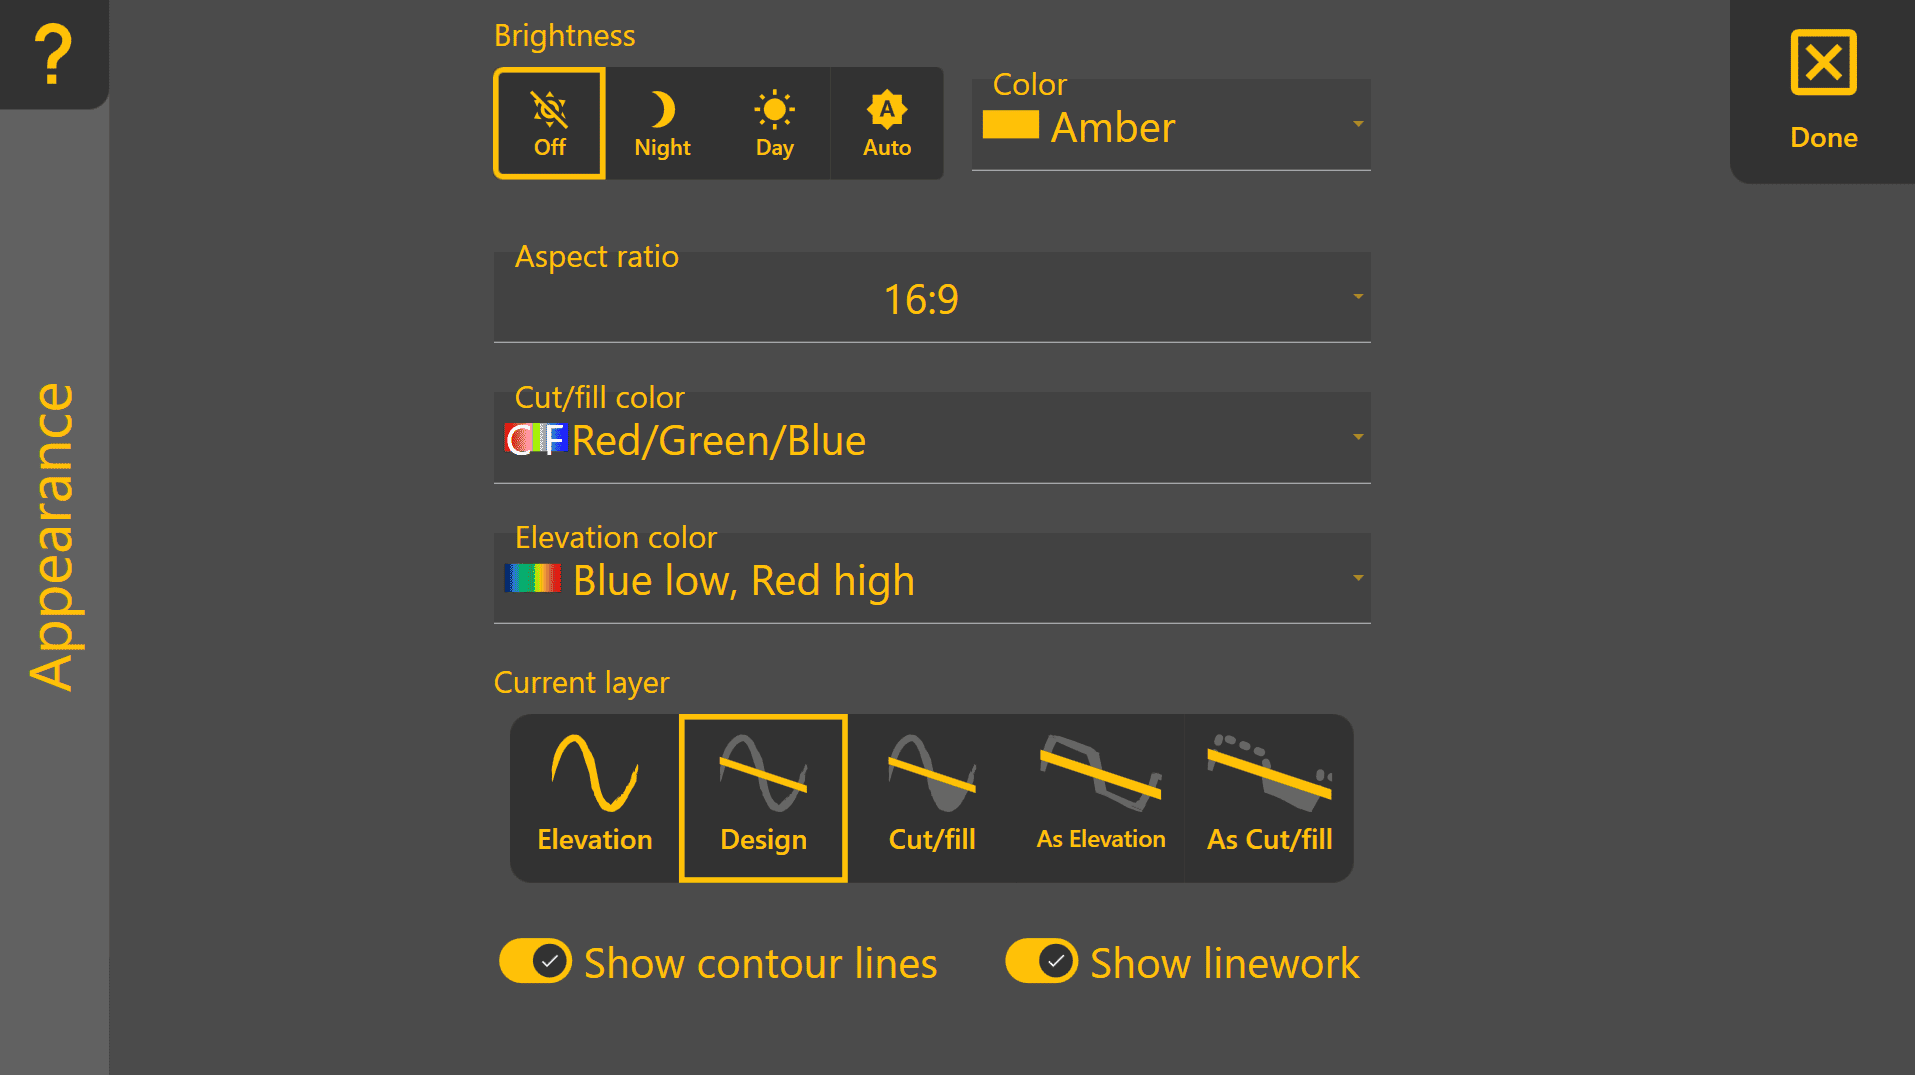
Brightness
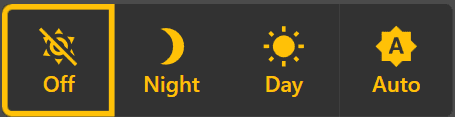
Adjusts the display brightness to suit different lighting conditions.
- Off – Level COMMAND does not control screen brightness.
- Night – Reduces brightness for comfortable viewing in low-light conditions.
- Day – Sets the display to maximum brightness.
- Auto – Automatically adjusts brightness based on the current time and location, dimming at sunset and brightening at sunrise.
 Theme Colour

Selects the primary colour used throughout the Level COMMAND interface.
Aspect Ratio
Optimises the interface layout for your display.
Select the aspect ratio that best matches your device:
- 16:9
- 16:10

Cut/Fill Colour Scheme
Selects the colours used to display Cut/Fill maps.
Two colour schemes are available:
- Magenta / Green – Magenta represents cut areas and green represents fill areas.
- Red / Green / Blue – Red represents cut, green represents on-grade, and blue represents fill.
The Magenta / Green scheme may be easier to distinguish for some users with red-green colour vision deficiency, while Red / Green / Blue provides a clearer visual indication of areas already on grade.

Elevation Colour Scheme
Changes the colour palette used to display elevation maps.
Different colour schemes may improve visibility depending on personal preference or lighting conditions.

Current Map Layer
Selects which project layer is displayed on the map.
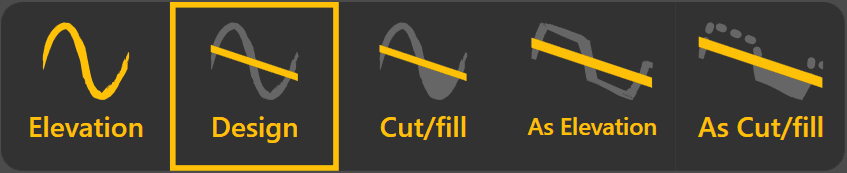
Available layers include:
- Elevation – Displays the original surveyed ground surface before any earthworks have been carried out.
- Design – Displays the design surface that the machine is working towards.
- Cut/Fill – Shows where material must be cut or filled relative to the original elevation surface.
- As Elevation – Displays the measured surface as work progresses, providing a live representation of completed earthworks. Contour lines are not displayed for this layer.
- As Cut/Fill – Displays the remaining cut and fill required by comparing the current surface with the design surface. Contour lines are not displayed for this layer.
Show Contour Lines

Enables or disables contour lines on supported map layers.
Contour lines are available for Elevation, Design, and Cut/Fill layers. They are not shown for As Elevation or As Cut/Fill, as these layers update continuously while work is being performed.
Show Linework

Shows or hides imported project linework on the map.
Turning linework off can simplify the display when working with projects containing a large number of lines or boundaries.
7.2 | Units
The Units page allows you to select the measurement units used throughout Level COMMAND.
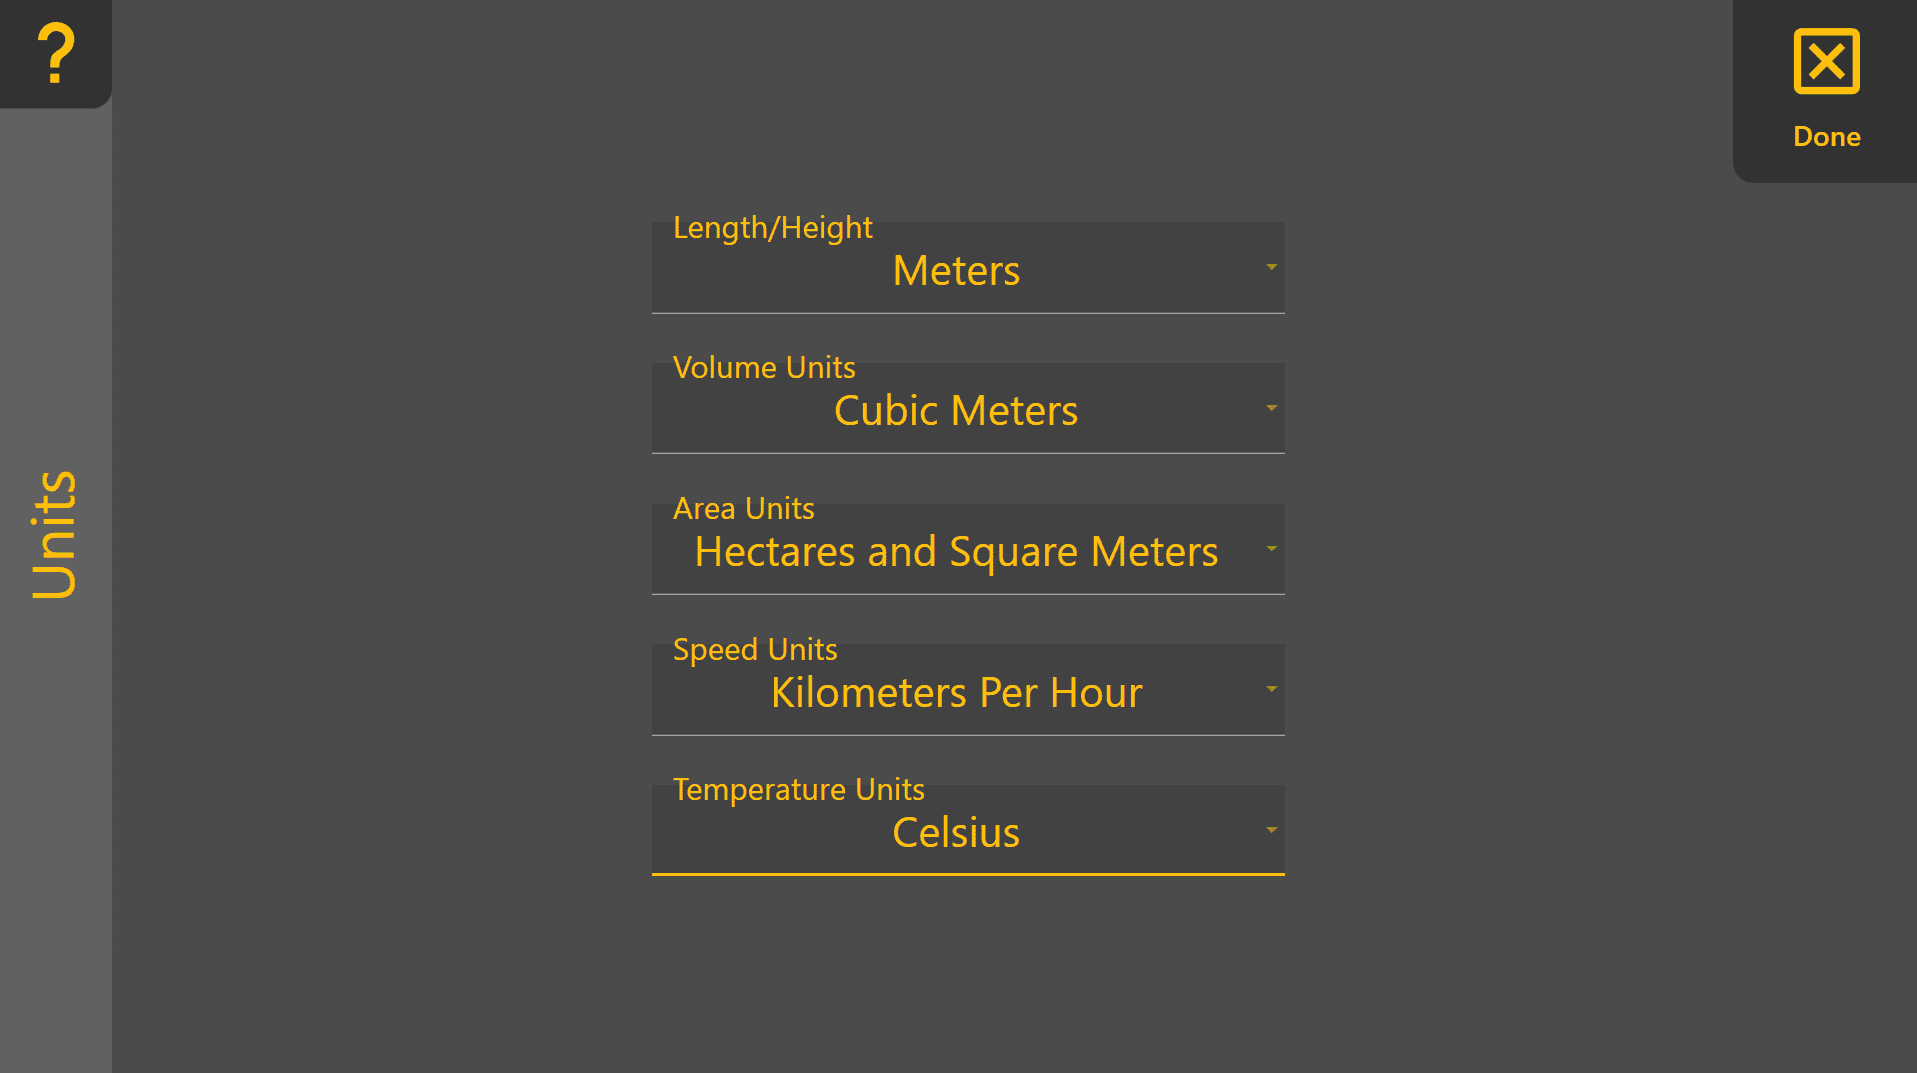
The available unit categories are:
- Length / Height – Millimetres, Centimetres, Metres, Inches, or Feet.
- Volume – Cubic Metres, Cubic Yards, or Cubic Feet.
- Area – Hectares and Square Metres, or Acres and Square Feet.
- Speed – Metres per second, Feet per second, Metres per minute, Feet per minute, Metres per hour, Kilometres per hour, or Miles per hour.
- Temperature – Degrees Celsius or Degrees Fahrenheit.
For the best experience, restart Level COMMAND after changing any unit settings to ensure all displays are updated consistently.
7.3 | Language & Accessibility
The Language & Accessibility page allows you to customise the interface language and on-screen keyboard behaviour to suit your device and operating preferences.
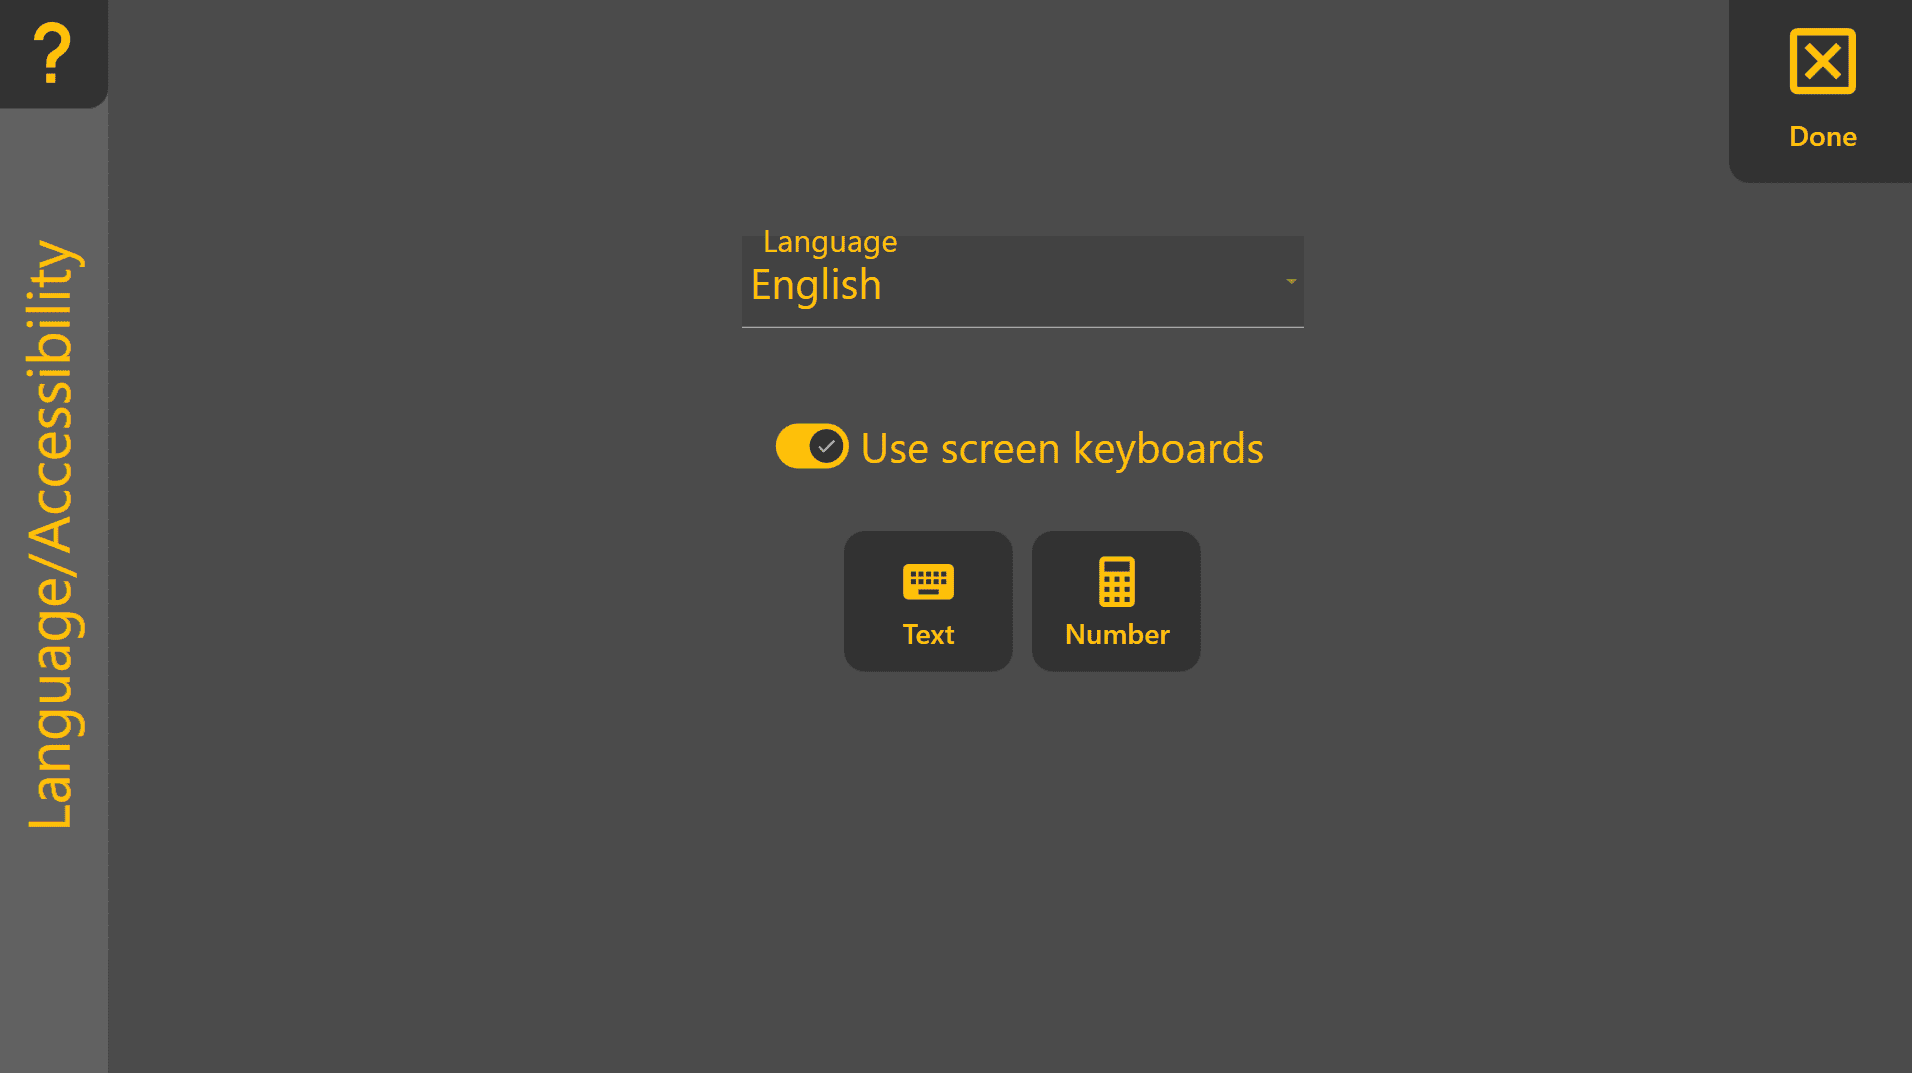
Language
Selects the display language used throughout Level COMMAND.

For the best experience, restart Level COMMAND after changing the language.
Use Screen Keyboards
When enabled, Level COMMAND automatically opens the appropriate on-screen keyboard whenever text or numeric input is required.
This setting is particularly useful when using tablets or touchscreen devices without a physical keyboard.

Keyboard Test
The Show for Text and Show for Number buttons allow you to verify that the configured on-screen keyboards are operating correctly.
- Show for Text – Opens the text keyboard.
- Show for Number – Opens the numeric keypad.
These options are intended as a quick test if the on-screen keyboard is not appearing as expected.
If the On-Screen Keyboard Does Not Appear
If the Windows on-screen keyboard does not open automatically:
- Verify that Use Screen Keyboards is enabled.
- Confirm that the Windows on-screen keyboard is installed and enabled.
- Connect a physical keyboard if required.
Refer to the Microsoft Windows documentation for additional information about configuring on-screen keyboards.
7.4 | Updates & Release Management
The Update/Changelog page allows you to keep Level COMMAND up to date and review changes introduced in each software release.
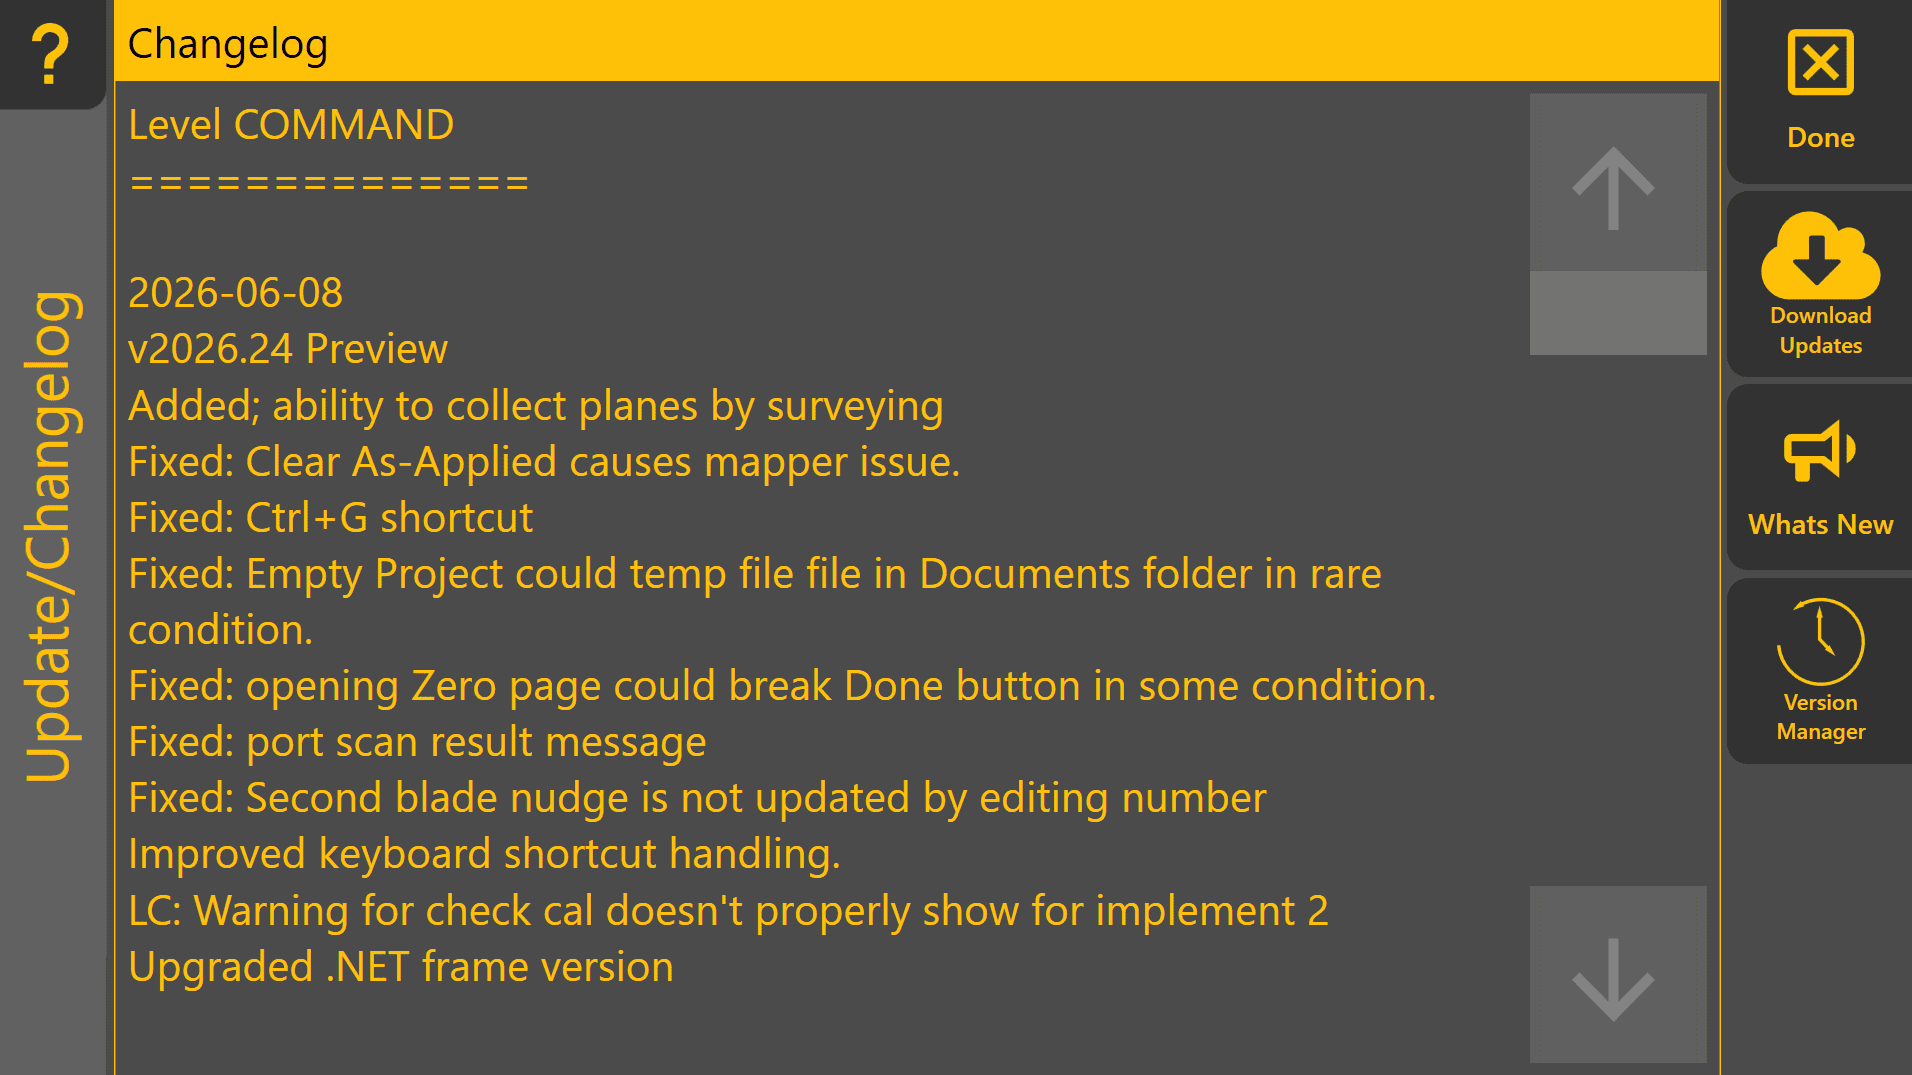
Keeping the software current provides access to new features, performance improvements and bug fixes. However, if the system is operating reliably during an active project, consider postponing updates until the project has been completed.
Changelog
The Changelog displays the release notes for the currently installed version of Level COMMAND.
Reviewing the changelog allows operators and dealers to understand what has changed between software versions, including new features, improvements and resolved issues.
 Download Updates
Downloads and installs the latest available version of Level COMMAND.
An active internet connection is required.
Before updating, ensure the machine is not actively being used for production work.
 What's New

Displays the release notes for the latest available software version before installation.
This allows you to review new features, improvements and resolved issues when deciding whether to update.
 Version Manager
The Version Manager allows previously installed versions of Level COMMAND to be restored if required.
Rolling back to an earlier version should generally only be performed for compatibility purposes or under the guidance of T3RRA Support.
If a previous version is required due to unexpected behaviour after an update, consider submitting a diagnostic report so the underlying issue can be investigated.
Unable to Check for Updates
If Download Updates or What's New cannot be accessed:
- Verify that an internet connection is available.
- Confirm that any firewall or network restrictions permit access to the update service.
- Refer to 8 | Diagnostics & Troubleshooting if the problem persists.
7.5 | Licensing
The Licensing page is used to activate Level COMMAND and register the software for normal operation.
To open the Licensing page, press More → License.
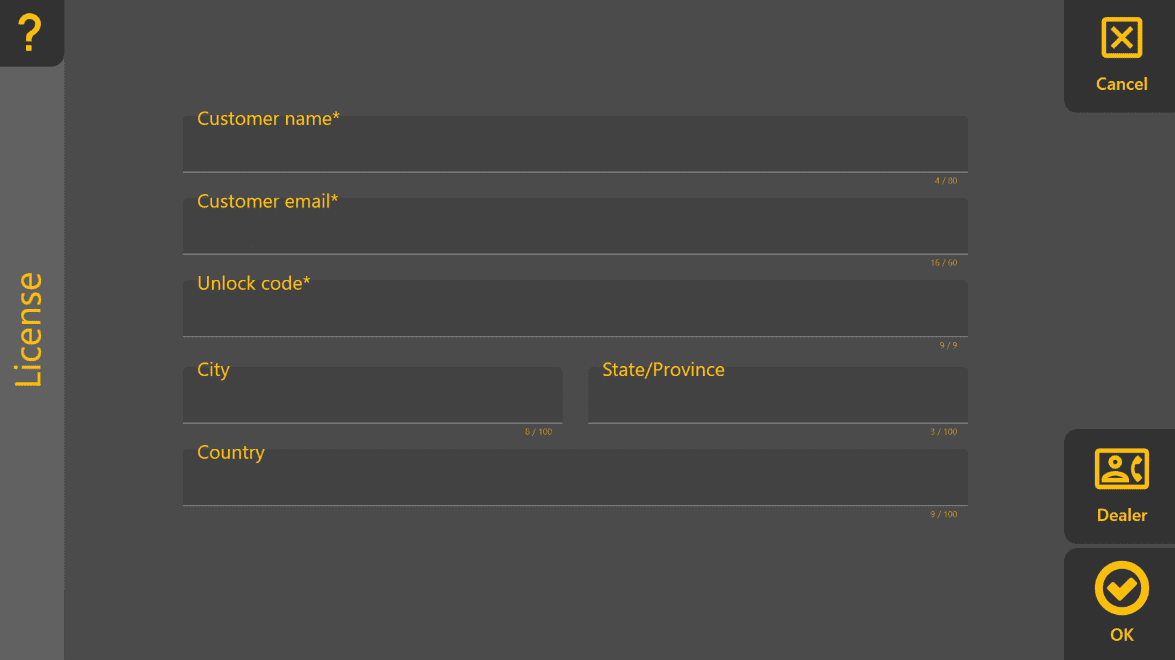
A valid licence is required for normal operation. If Level COMMAND has not been activated, a Demo Mode banner is displayed across the top of the Apply View.
Activating Level COMMAND
To activate the software:
- Press More → License.
- Enter the required customer information.
- Enter the supplied Unlock Code.
- Press OK.
The customer email address is used for licensing and product-related communication where required.
Dealer Information
Press Dealer to view the contact details of the authorised T3RRA dealer responsible for supplying or supporting the system.
This information can be useful when requesting assistance with:
- Software activation.
- Product support.
- Installation or commissioning.
- Technical enquiries.
If Activation Fails
If Level COMMAND cannot be activated:
- Verify that the Unlock Code has been entered correctly.
- Confirm that all required fields have been completed.
- Contact your authorised T3RRA dealer if the problem persists.
7.6 | Support & Error Reporting
The Support & Error Reporting tools allow operators and dealers to receive remote assistance and provide feedback directly to T3RRA.
To access the Error Reporter, press More → Report.
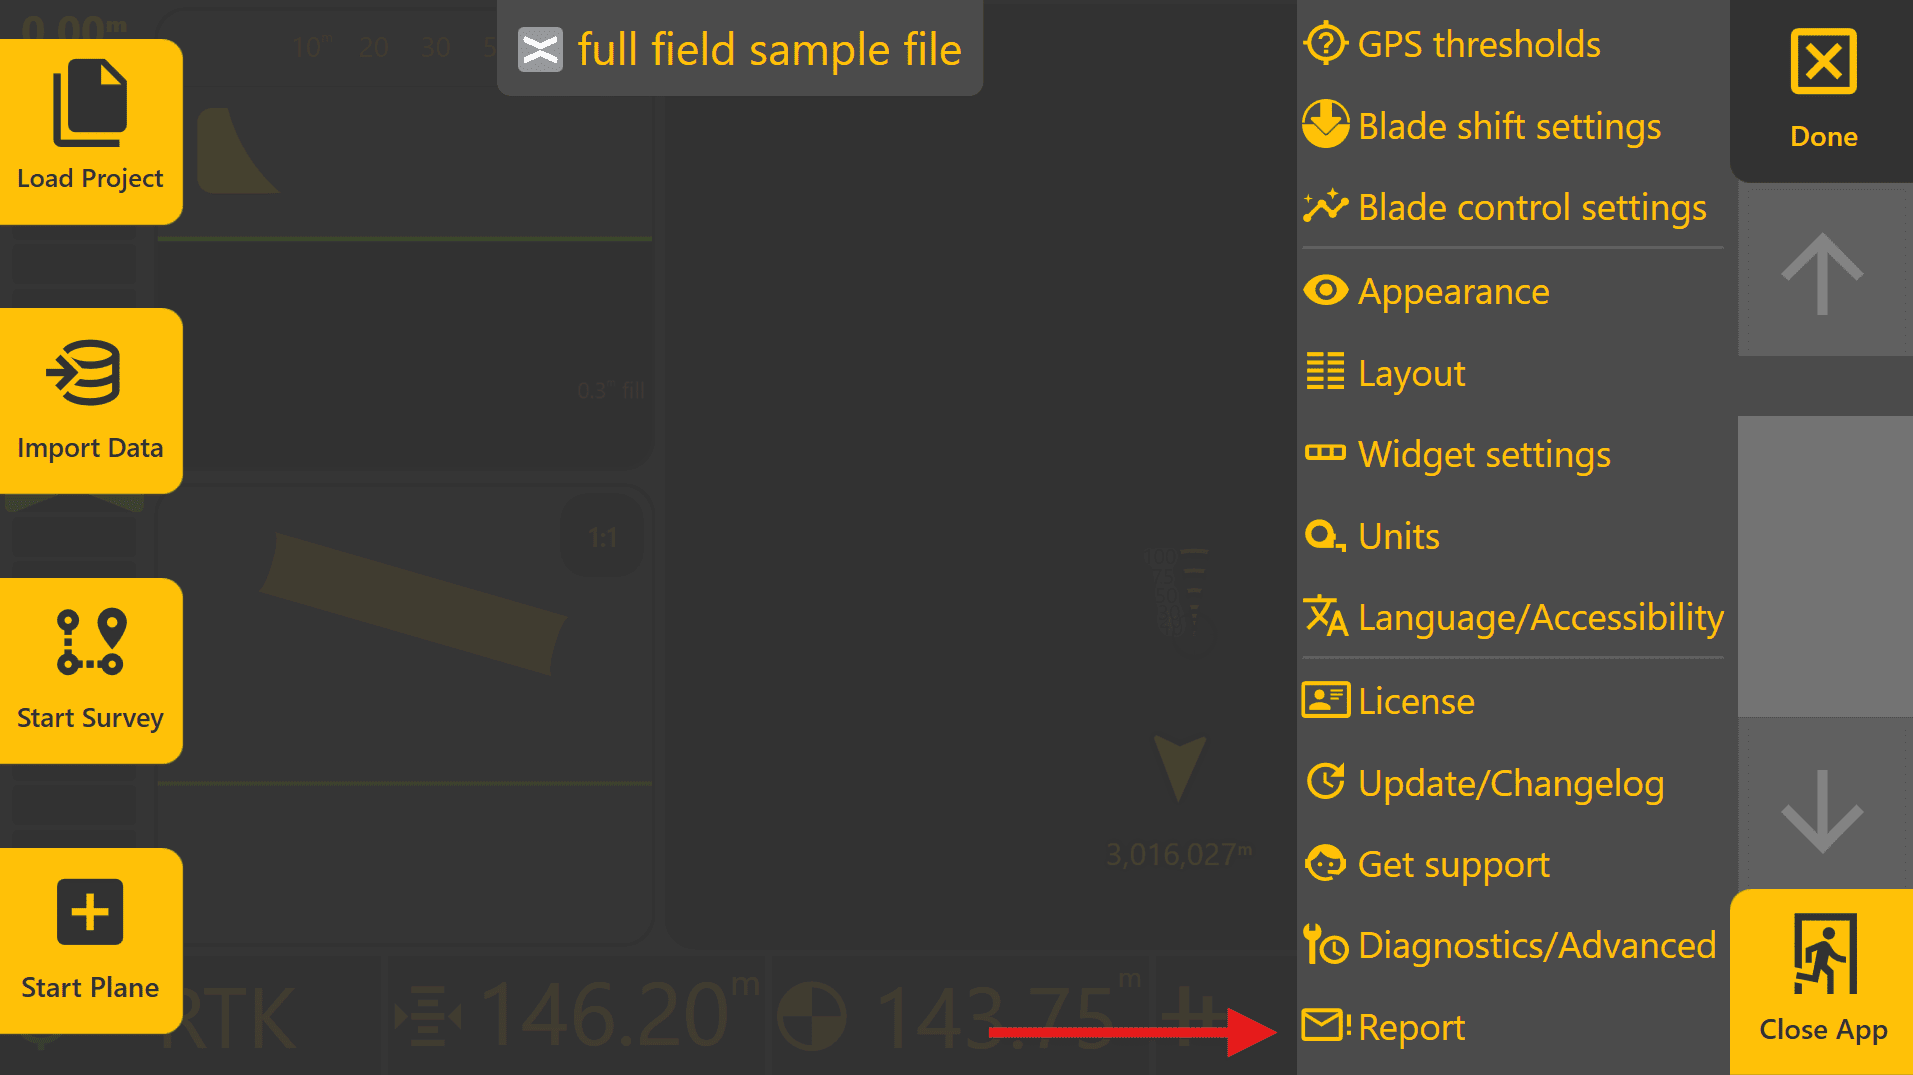
An internet connection is required for Remote Support and sending reports.
Error Reporter
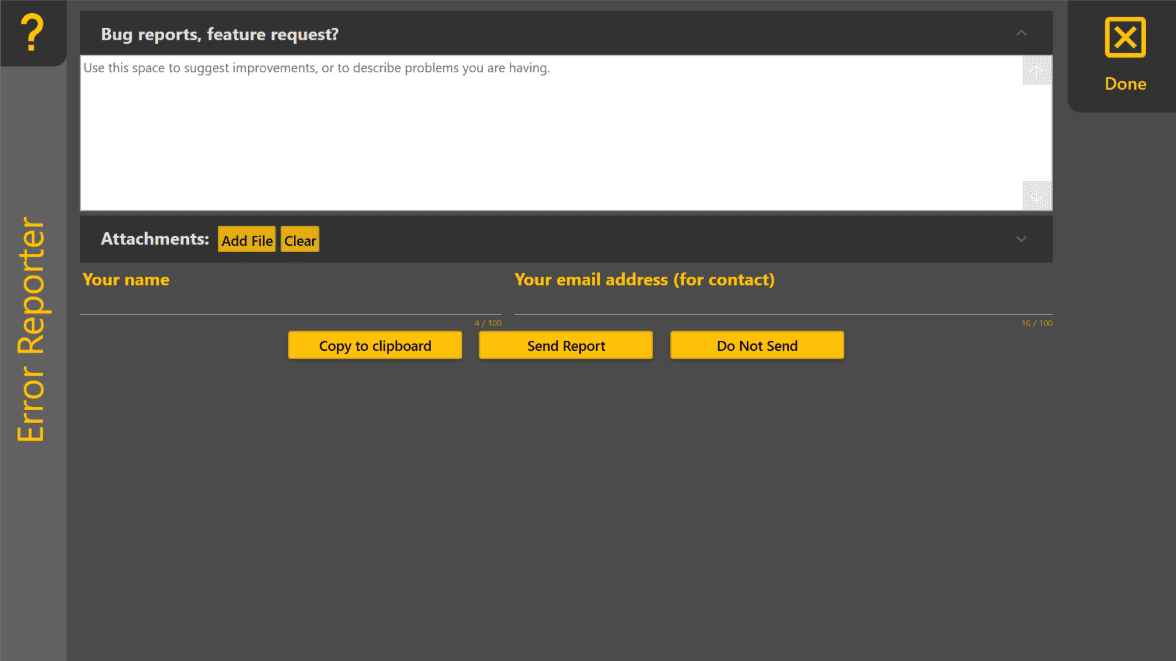
The Error Reporter allows bug reports, feature requests and other feedback to be submitted directly to T3RRA.
Your name and email address are automatically populated using the information entered on the License page.
Creating a Report
For the most useful reports:
- Clearly describe the issue or requested feature.
- Include the steps that led to the problem.
- Explain what you expected to happen and what actually occurred.
- Attach screenshots, project files or log files where available.
Supporting files can be added using Add File.
Sending or Saving a Report
The Error Reporter provides three options:
| Option | Purpose |
|---|---|
| Send Report | Sends the report and any attached files directly to T3RRA. |
| Copy to Clipboard | Copies the report contents to the clipboard for pasting into an email or other support request. |
| Do Not Send | Closes the Error Reporter without submitting the report. |
After selecting Send Report, do not close Level COMMAND until confirmation is displayed indicating that the report has been sent successfully. Closing the application too early may prevent attached files from being uploaded.
Operator Tip: The more information included with a report, the easier it is to reproduce and investigate. If possible, include screenshots, project files, log files and a clear description of the steps leading up to the issue.
Remote Support
Remote Support allows your authorised dealer to assist with troubleshooting and system configuration without requiring direct access to the machine.
To enable Remote Support:
- Press More → Get Support.
- Select Setup Remote Support.
- Wait while the Remote Support application is downloaded and installed.
- Provide the displayed support code to your dealer.
Once connected, your dealer can assist with diagnosing configuration issues and investigating system behaviour.
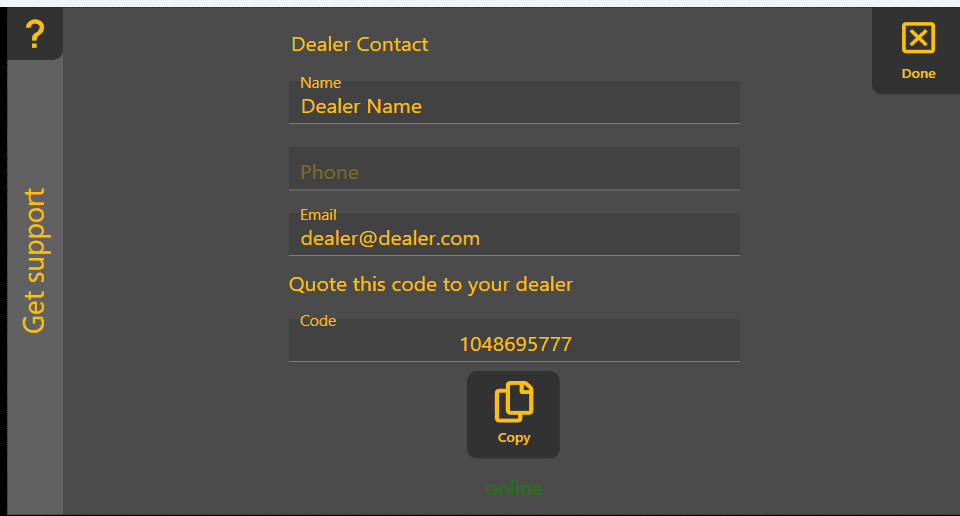
The Setup Remote Support button is only displayed if the Remote Support application has not already been installed.
7.7 | Diagnostics / Advanced
The Diagnostics & Advanced page provides access to advanced application settings, diagnostic tools and project information.
To open this page, press More → Diagnostics / Advanced.

Most options on this page are intended for dealers, advanced users or troubleshooting with the assistance of T3RRA Support. Unless instructed otherwise, the default settings are recommended.
Application Settings
Several application behaviours can be configured from this page, including:
- Start Level COMMAND when the computer starts – Automatically launches Level COMMAND when Windows starts.
- Enable GPS Data Log – Records GNSS data for later analysis and troubleshooting.
- Enable Diagnostic Data – Collects diagnostic information that can assist T3RRA with investigating software or system issues.
- Opt-in to Early Access Features – Enables access to preview features before they are included in a standard software release.
Project Information
The lower section of the page displays useful information about the currently loaded project, including:
- Project file location.
- Last saved date and time.
- Project centre location.
- Additional project properties.
This information can be useful when locating project files or assisting with technical support.
Diagnostic Tools
Additional utilities are available for advanced troubleshooting and system maintenance, including:
- Saving and restoring application settings.
- Resetting application settings.
- Managing installed software versions.
- Viewing diagnostic logs.
- Clearing As Applied data.
- Setting a custom splash image.
- Other maintenance and support tools.
These functions are typically used only during commissioning or when troubleshooting with T3RRA Support.
Look Ahead
The Look Ahead value can also be adjusted from this page.
Look Ahead compensates for the delay between calculating a control command and the machine responding hydraulically. Correct adjustment can improve grading performance, particularly at higher operating speeds.
This setting should normally remain at its default value unless tuning is being performed by an experienced dealer or under the guidance of T3RRA Support.
For more information, refer to 6.7 | Predictive Control & Look Ahead.
Operator Tip: The default settings on the Diagnostics & Advanced page are suitable for almost all installations. If a change is made while troubleshooting, record the original value so it can be restored if required.